Bullion Stitch – not only for embroidery

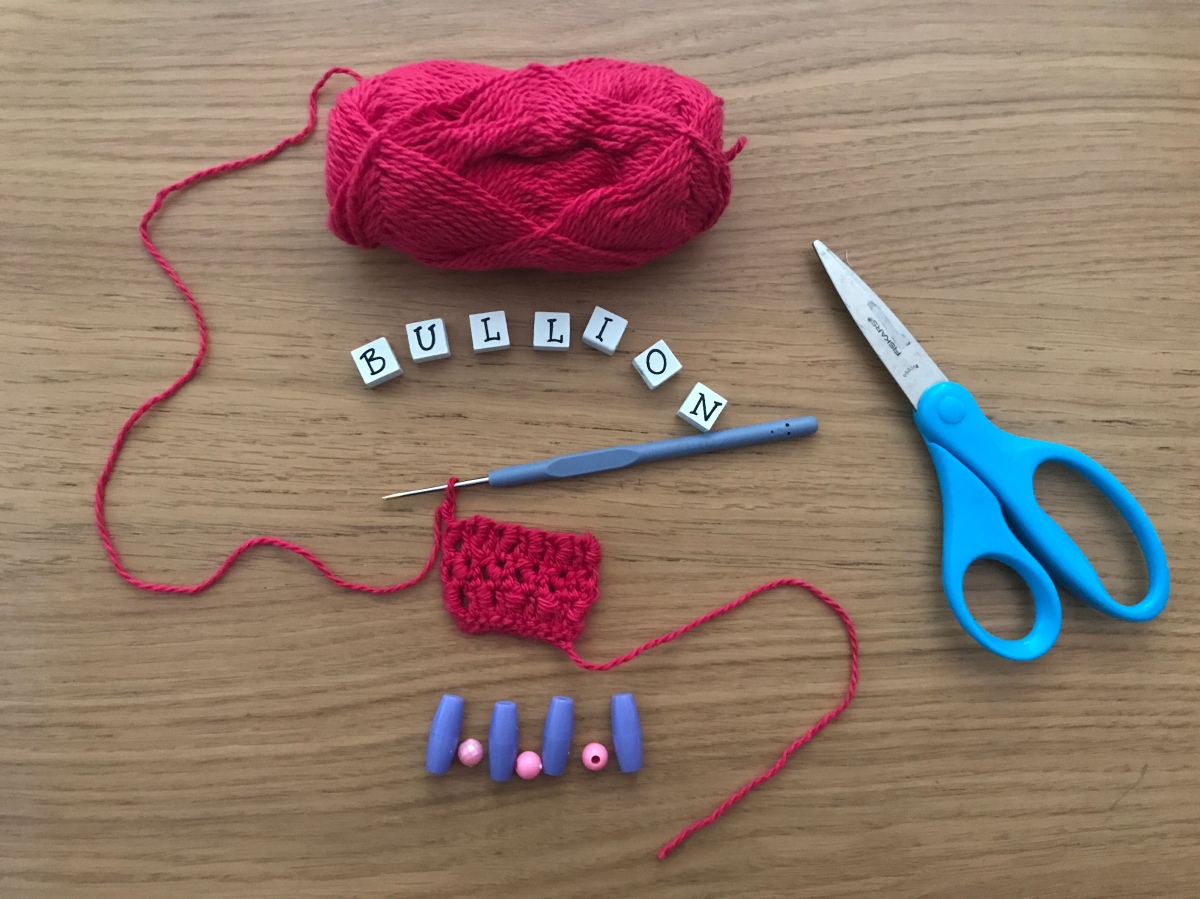
Bullion stitch is widely known among crafters, who are mainly focusing on embroidery.

In embroidery term Bullion stitch is a decorative technique that is worked by twisting a thread around a sewing needle several times before inserting the needle into the cloth.

Bullion stitch can also be used in crochet as a technique to create more textured stitch. This stitch can be used on blankets or throws but also on garments even summer tops. The best outcomes are with fine yarn and smaller hook, the stitch is see through so it gives it the perfect usage during warmer weather (vests, crop tops, tanks or tops in general).

How to do a Bullion Stitch

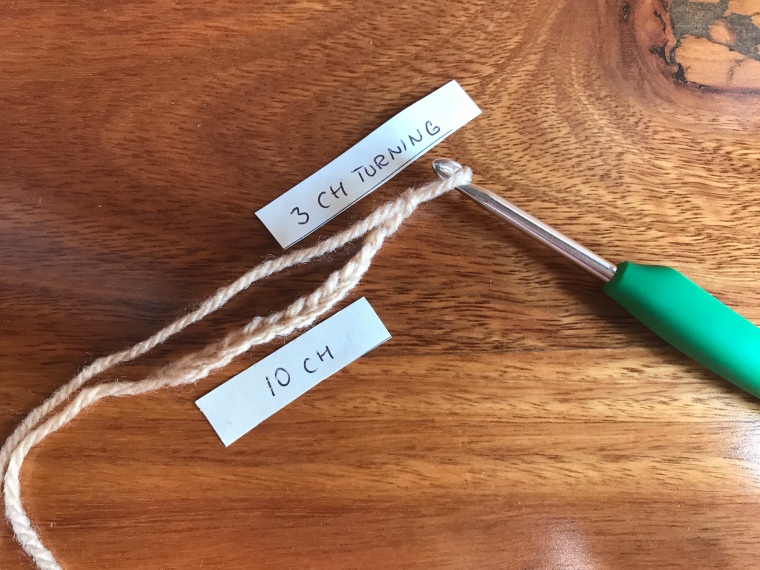
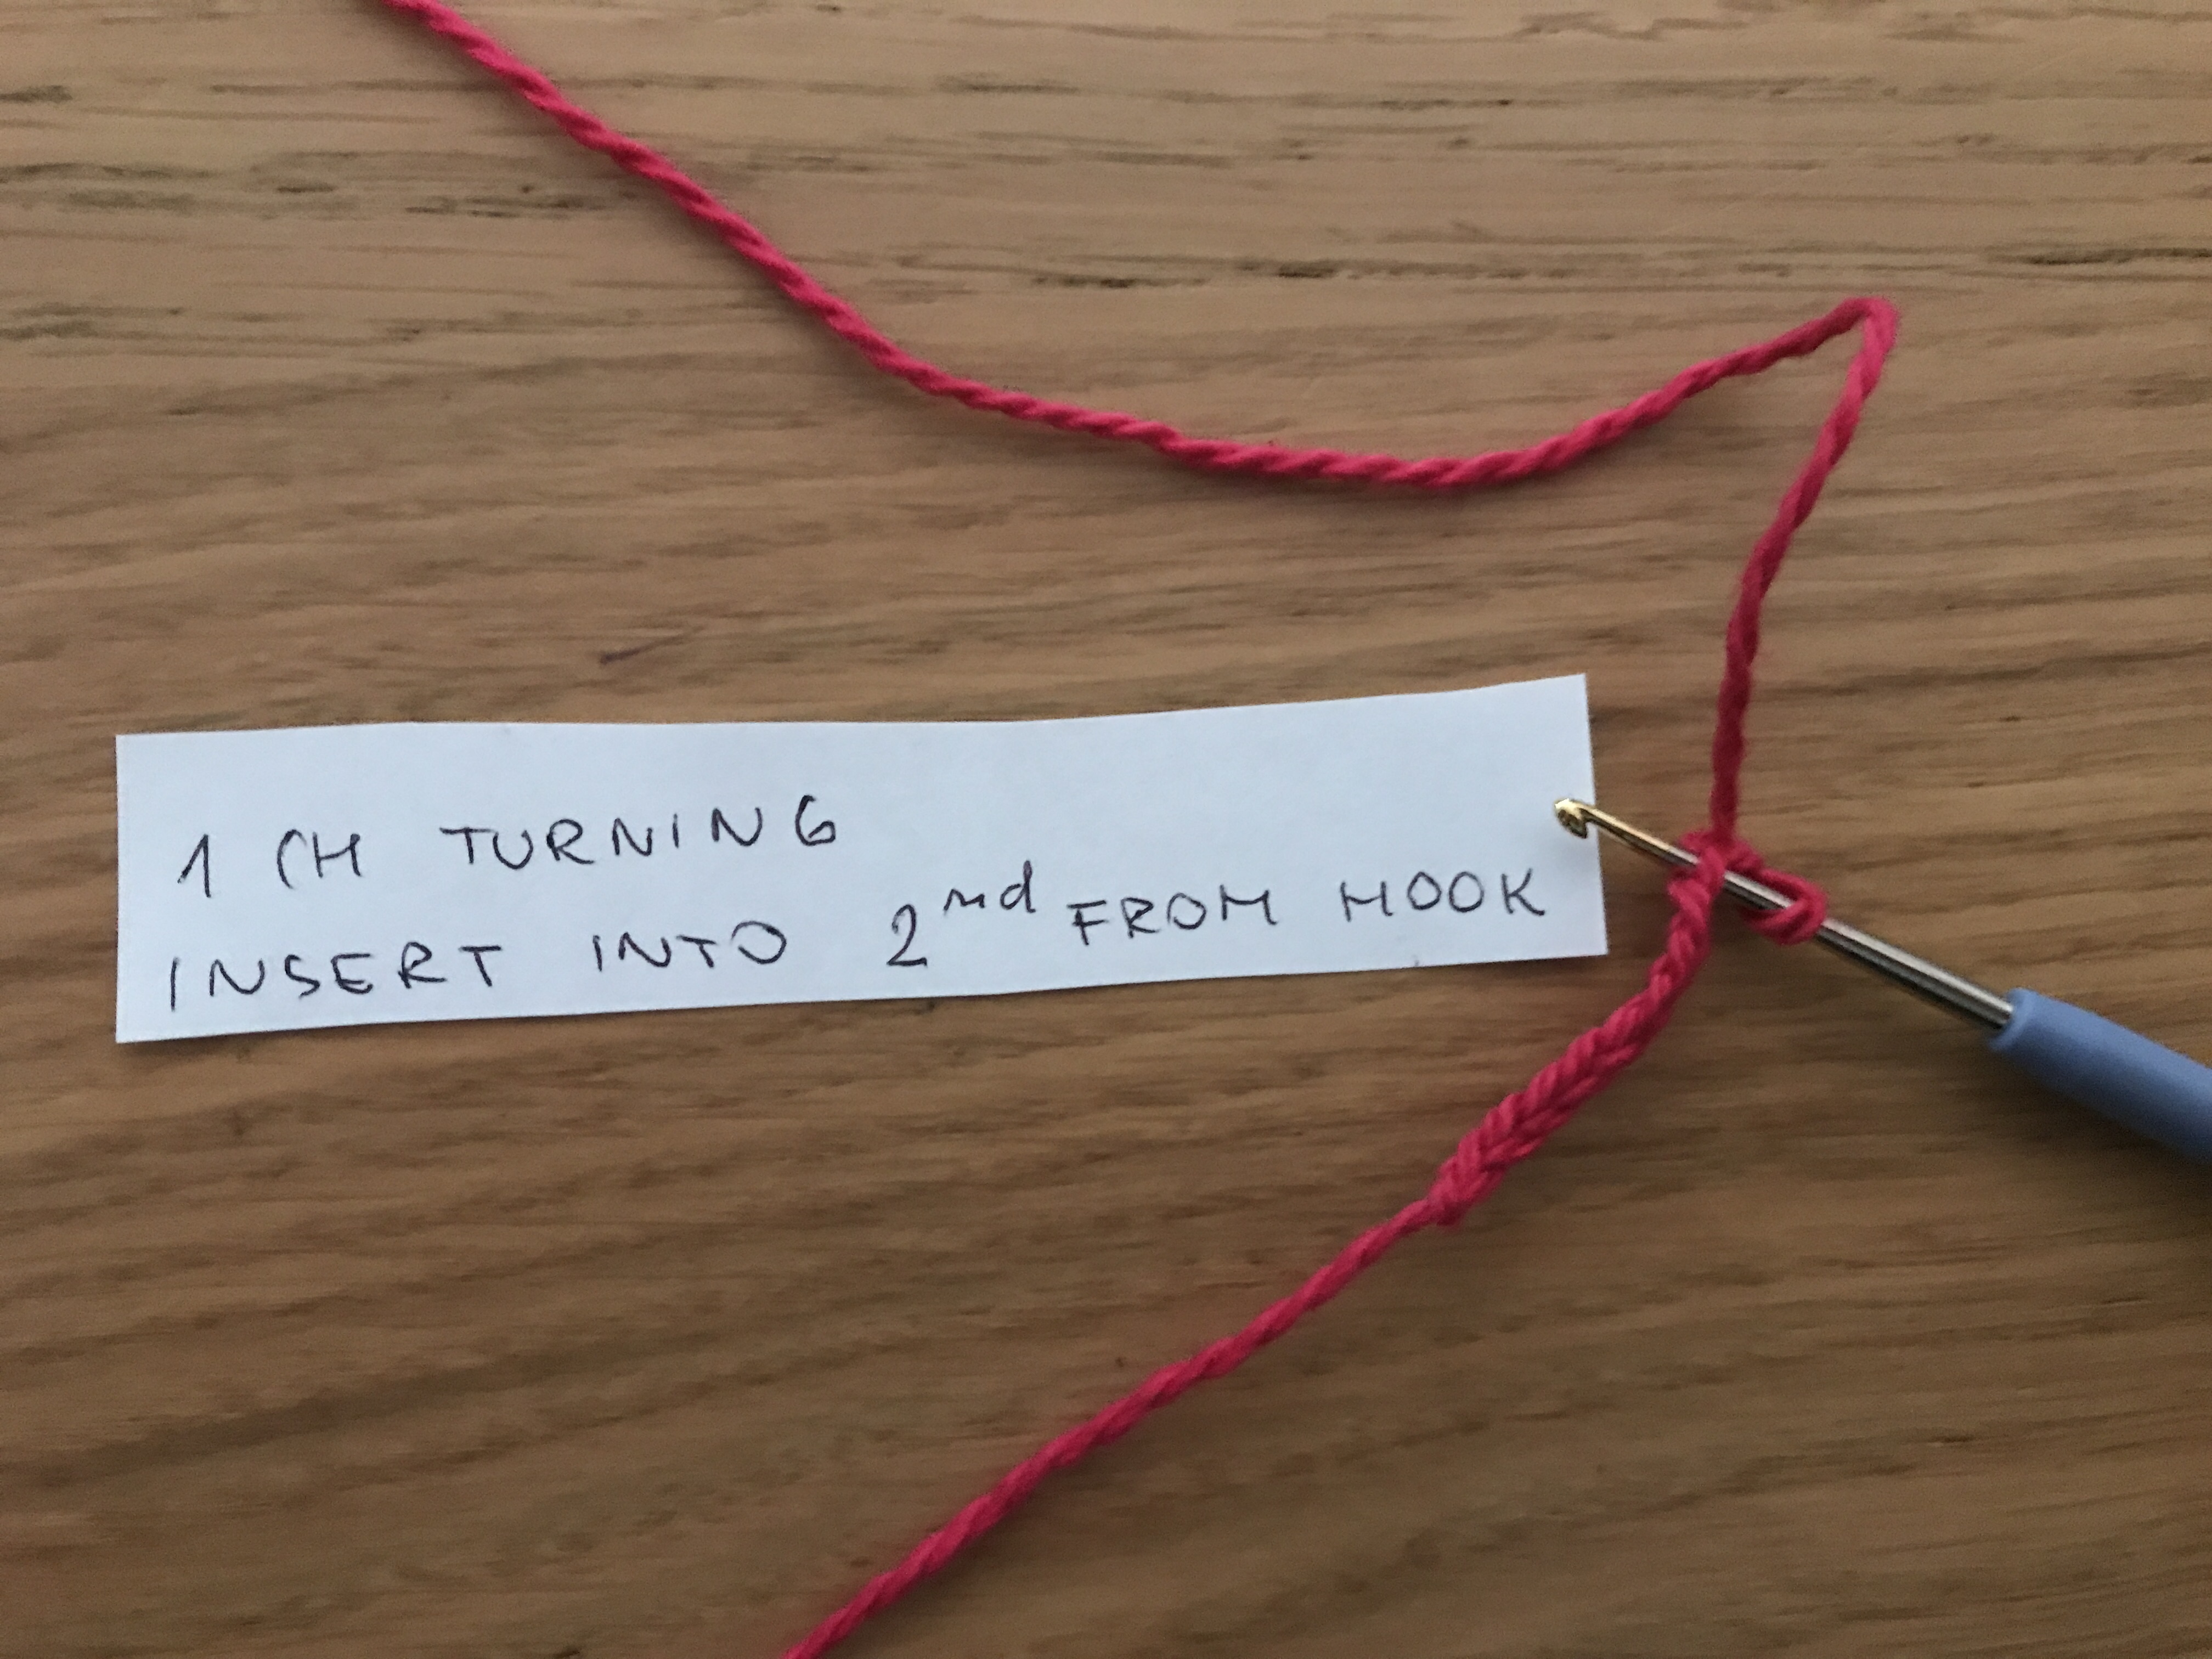
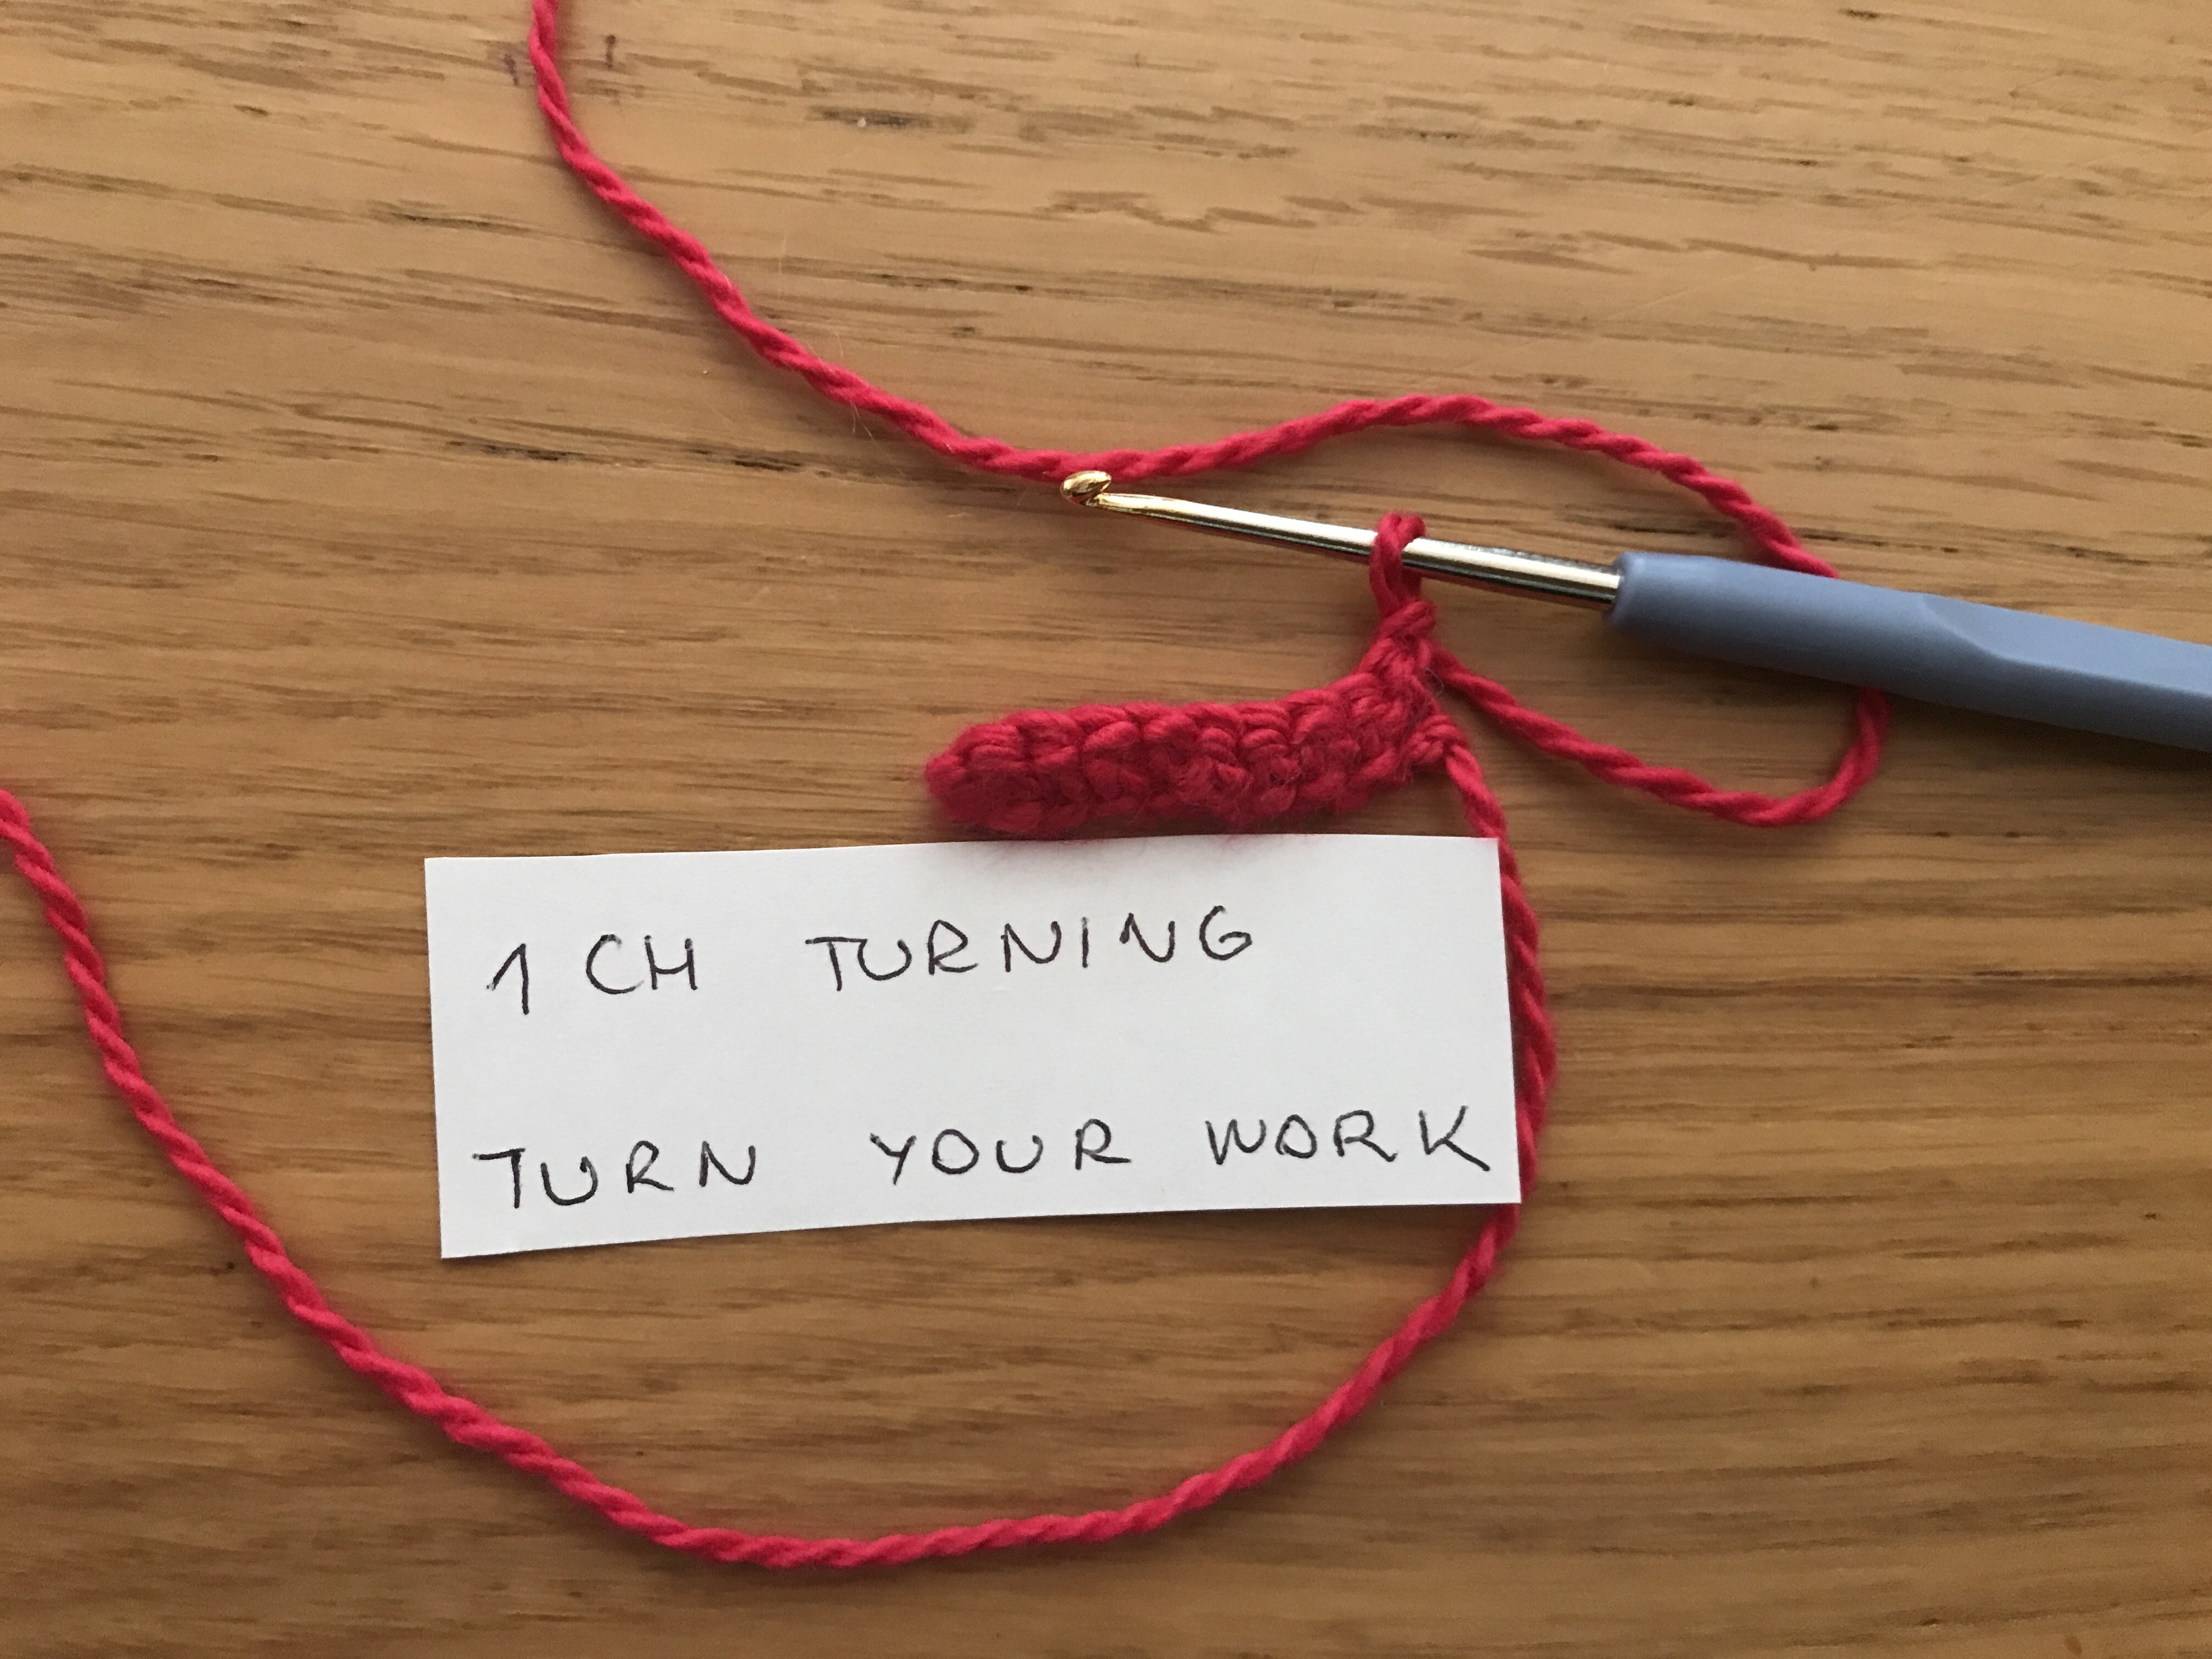
  1. For demonstration I have chained 10CH including 1 CH for turning. Crochet 9 x SC till the end. 1 CH for turning. This creates your base. I used 1.75mm hook, 4 ply silk yarn in raspberry colour. For help with chain stitch and or single crochet stitch you can read my previous article here https://yarnonhook.com/2018/10/05/chain-stitch-single-crochet-stitch

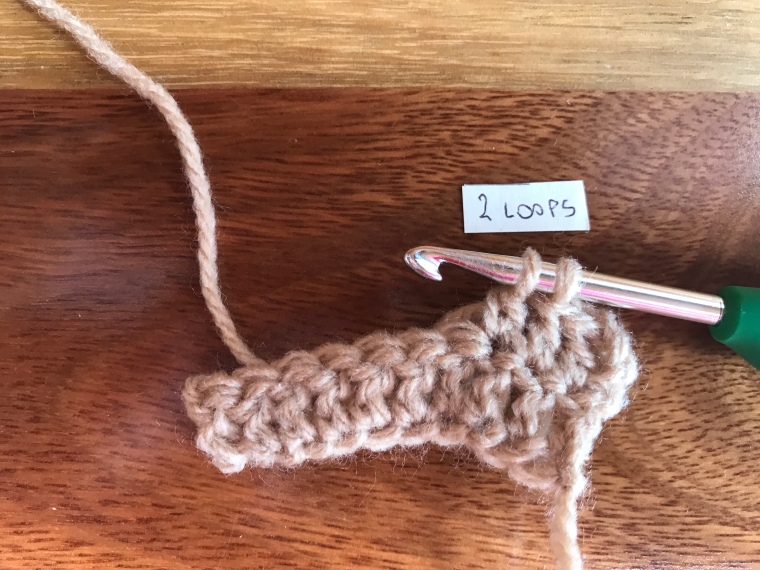
2. Wrap the yarn, from back to front, over the hook 7x times (8 loops on the hook). Make sure it is loosely but not loose completely.

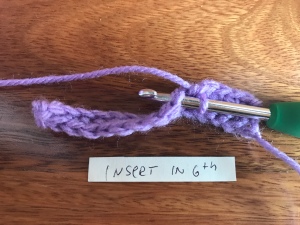
3. Take the hook, from the front to back, through the top of the next stitch of the previous row.

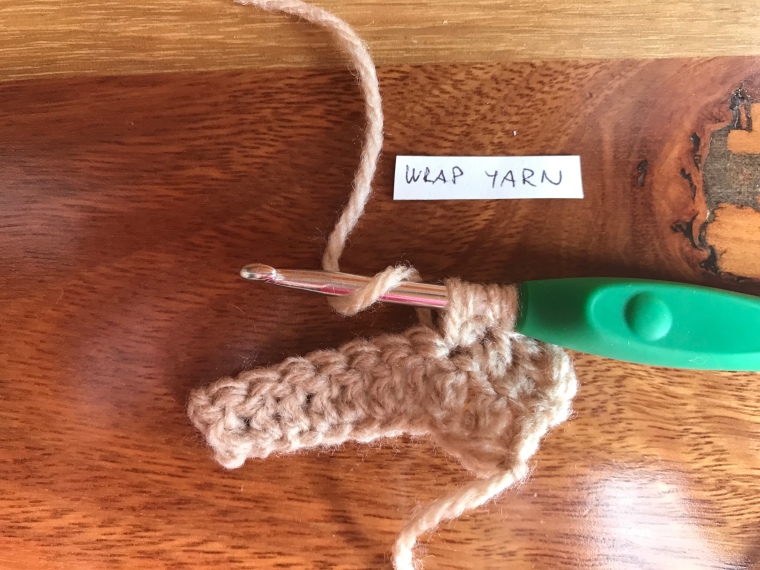
4. Again, wrap the yarn, from back to front, over the hook (only once !)

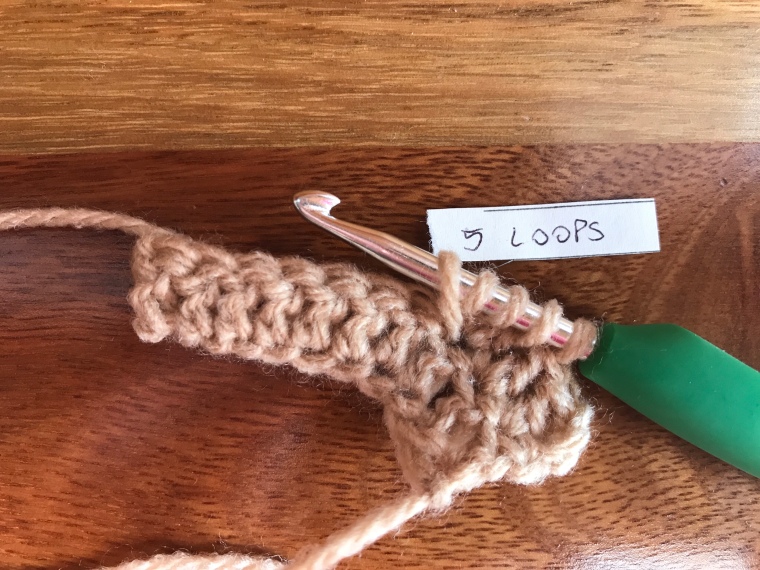
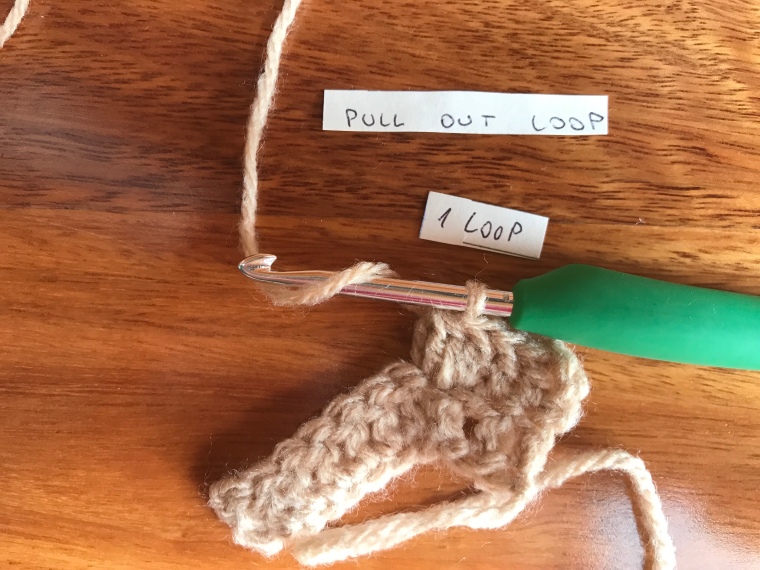
5. Pull the hook backwards to draw the loop through the stitch (9 loops on the hook).

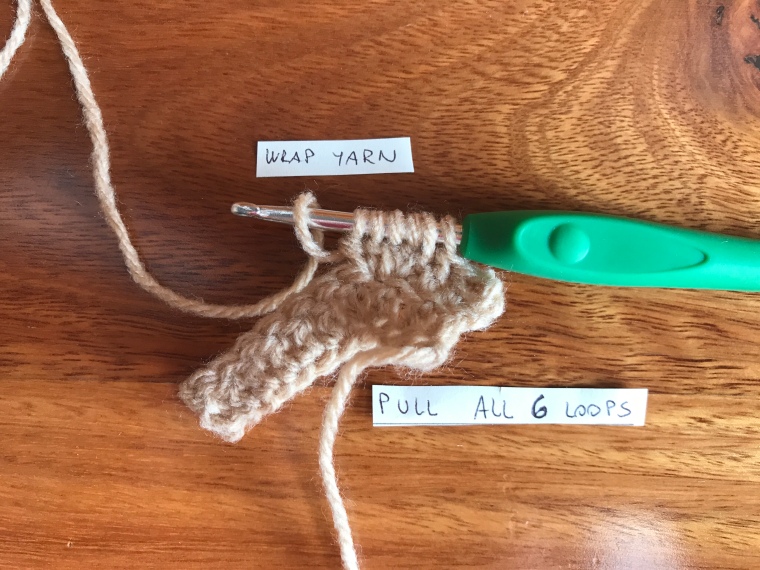
6. Wrap the yarn, from back to front, over the hook (10 loops on the hook).

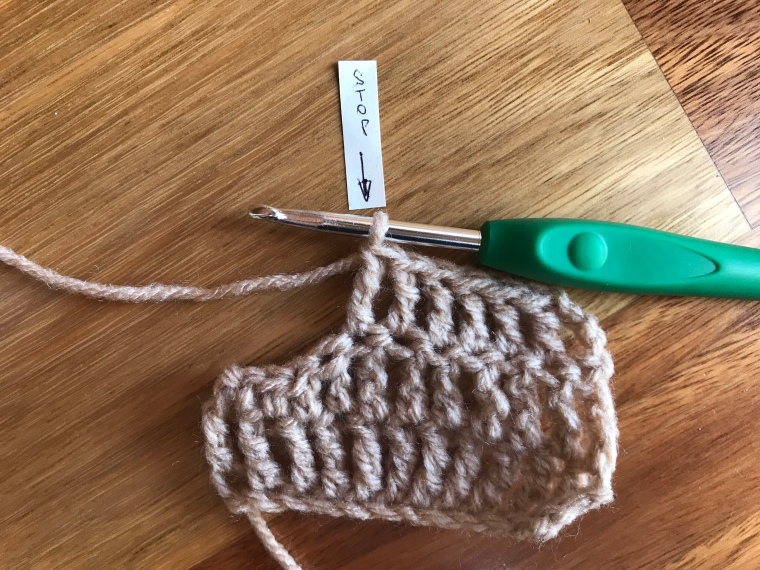
7. Draw the hook backwards to pull the wrapped yarn through all 9 loops at once!

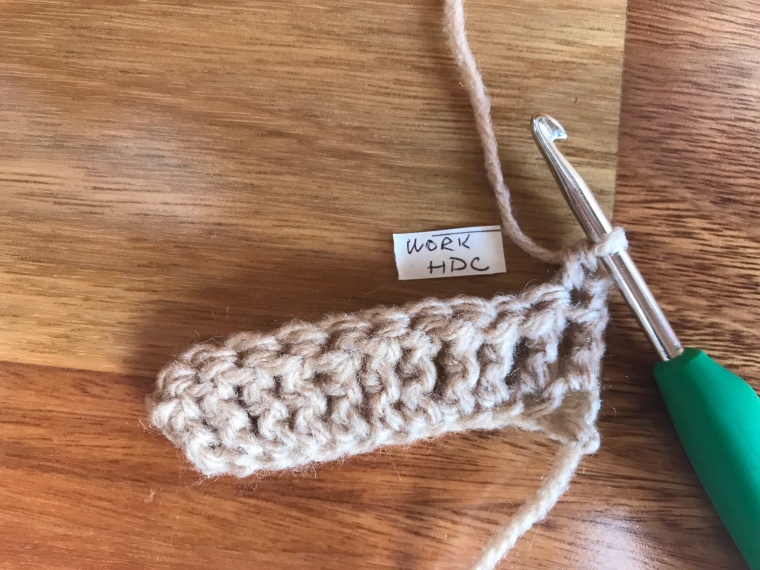
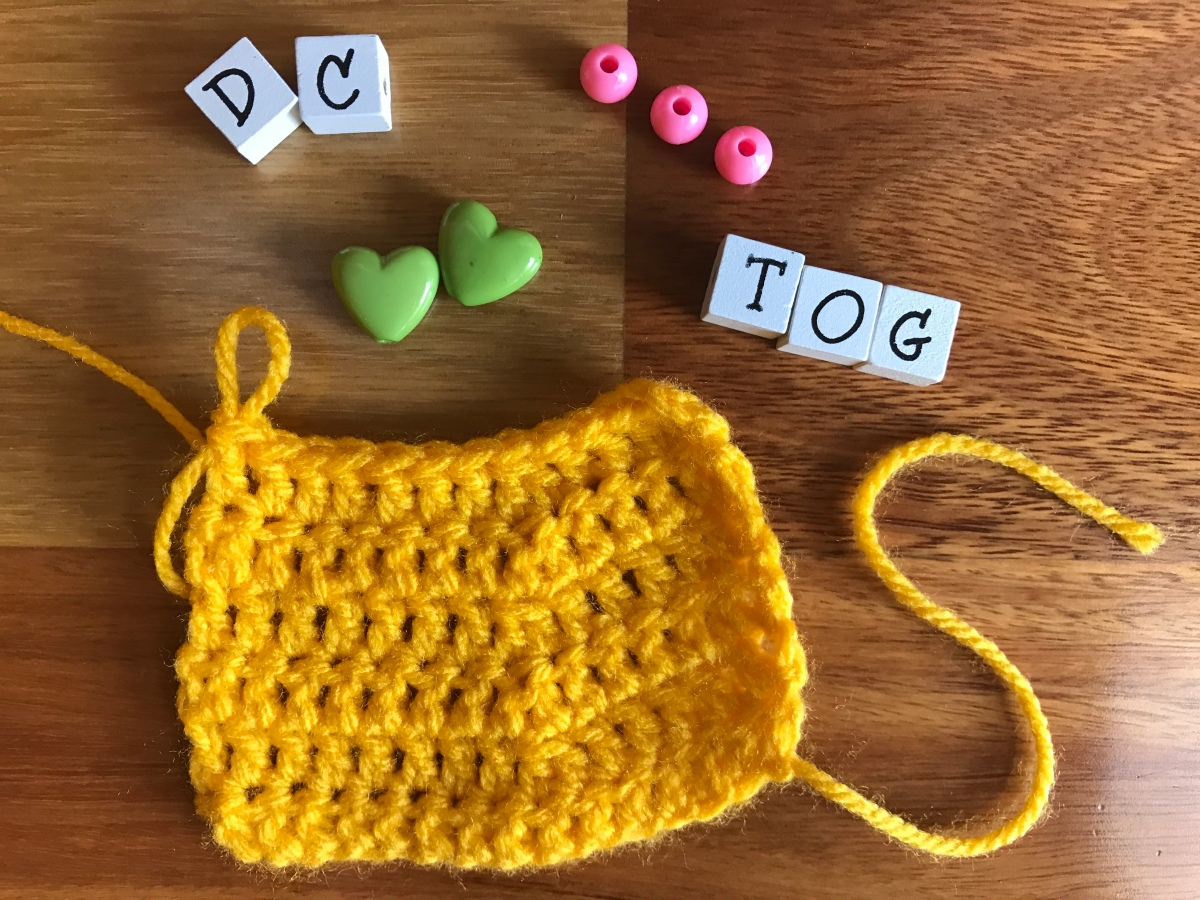
8. Crochet DC in to the next stitch. How to crochet DC – https://yarnonhook.com/2018/11/16/how-to-make-double-crochet-dc-treble-crochet-tr-stitch/ 

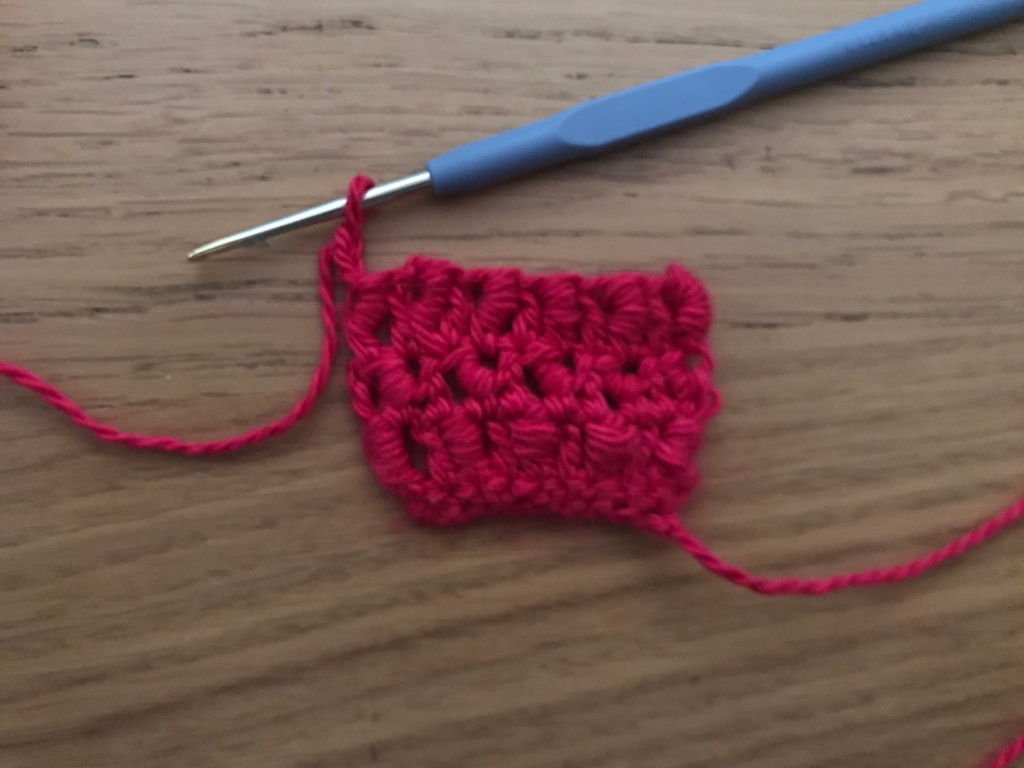
9. Continue with the steps 2. – 8. till the end of the row.

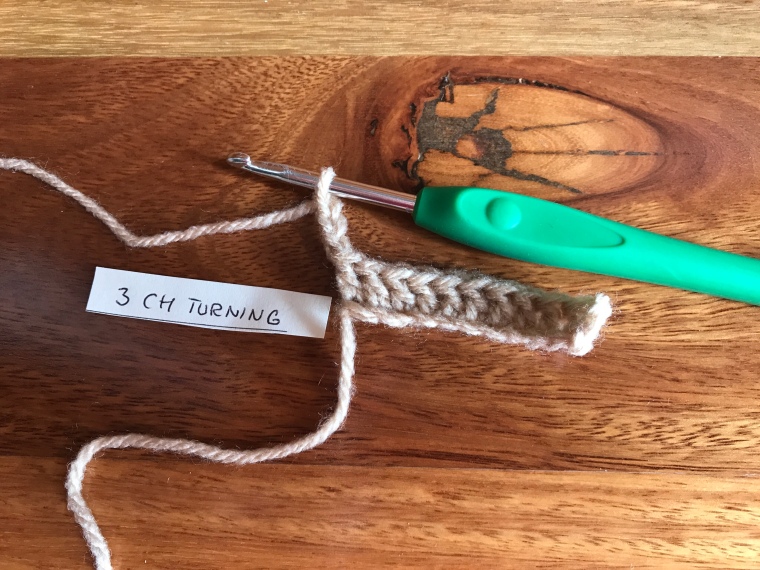
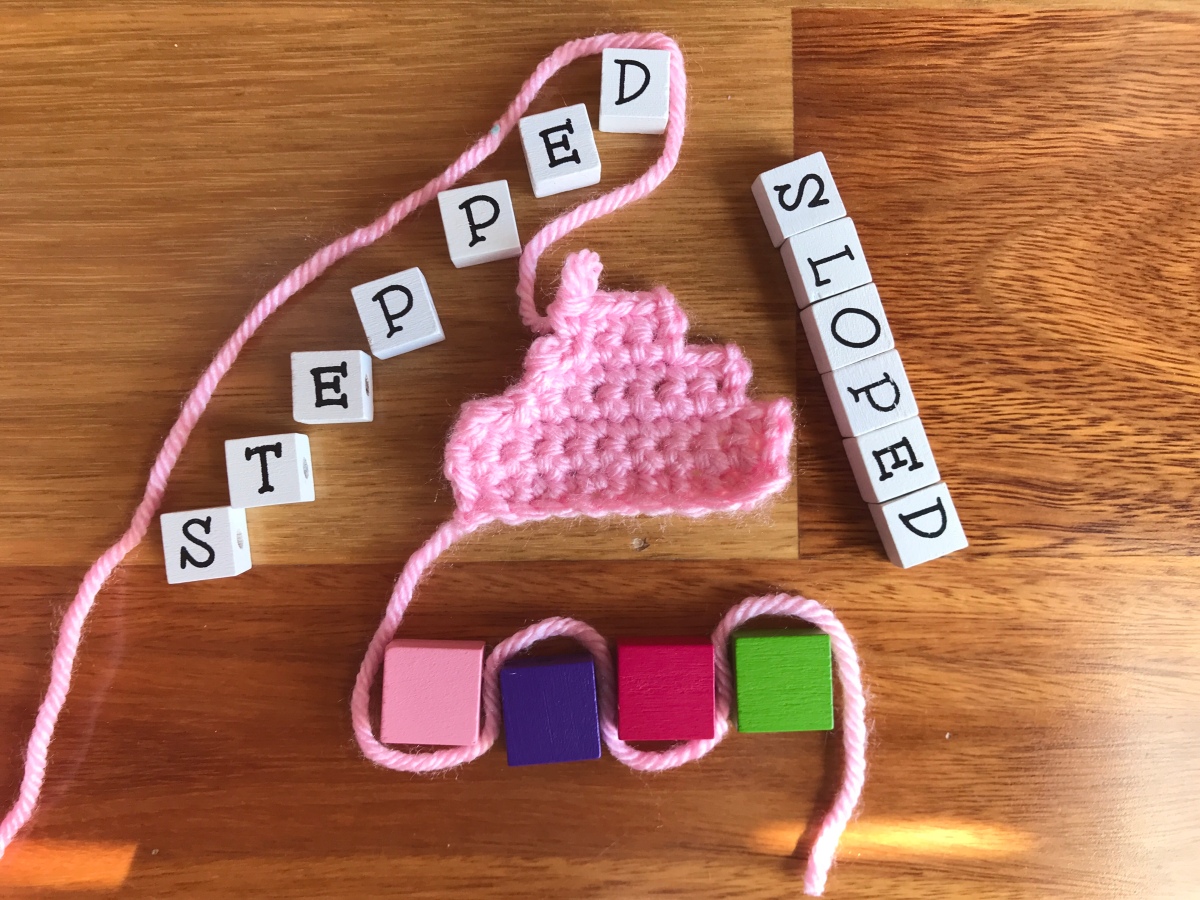
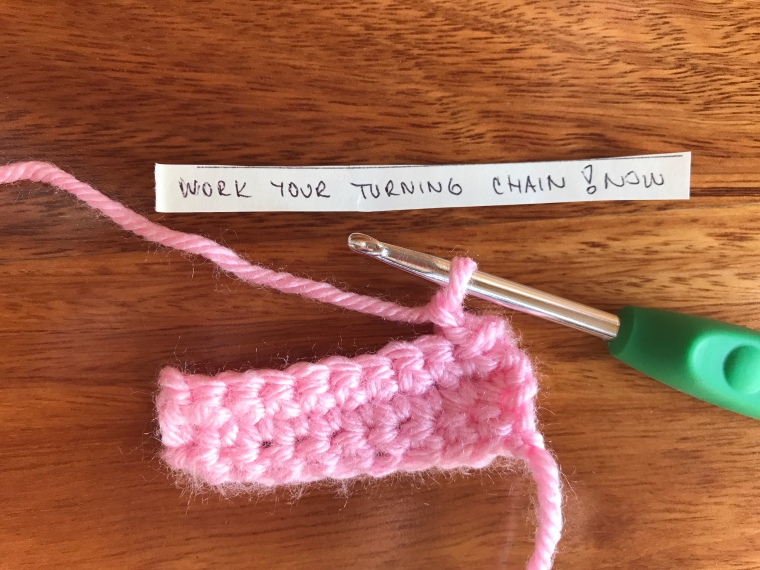
10. Make 3 CH for turning and repeat the steps 2.- 8. until you reach desired length of your project. Make sure that Bullion stitch is completed into the previous row of Bullion stitch, otherwise they will show in offset pattern (which you may also like and do it on purpose 🙂 as it looks cool too).

1x row of Bullion stitch on the right side and 1 x row on the wrong side
Bullion stitch on every second row (right side) with intermittent DCs

Iva’s Tips & Hints

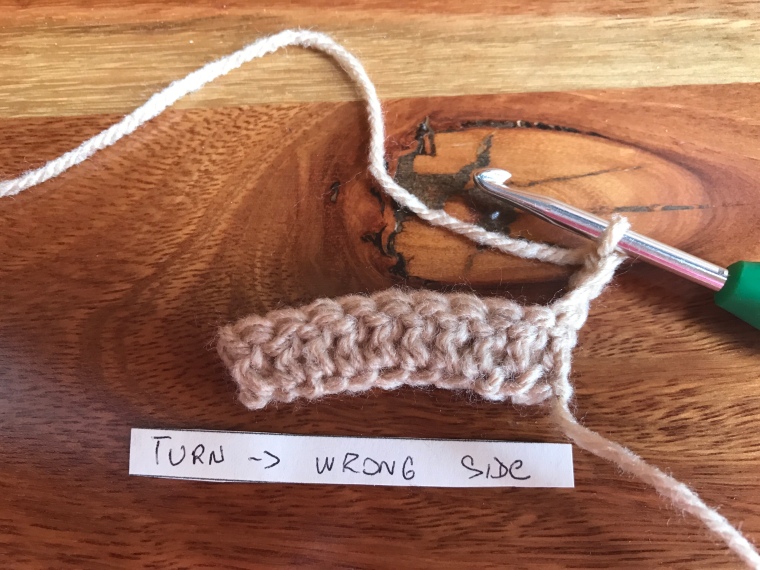
If you want to show Bullion stitch only on one side (right side), make row of DC in between (wrong side). In my case I did Bullion stitch on both sides without the offset – DC into DC and Bullion into Bullion stitch. Therefore Bullion stitch is showing on every second row (right side only). You also do not need the DC in between Bullion stitches. In my opinion the Bullion stitch shows off the texture nicer when there are DC stitches in between.

I usually hold the hook as a pencil (https://yarnonhook.com/2018/09/01/how-to-hold-a-hook-yarn/), however working Bullion stitch it may be easier to hold the hook and twisting the position while pulling through the loops. I have found that the “pencil” hold will more likely get stuck while pulling through the 9 loops. Use your thumb to help the yarn through. I pull 1 loop at the time until all done.

I would recommend a yarn which is fine (sock yarn, lace yarn or a yarn which is thin), not shaggy or fluffy like e.g. mohair. I got the best outcome with sock yarn containing % of nylon or yarn with silk as they are more slippery.

Red yarn with silk or sock white yarn with 40% nylon
Shaggy yarns – not so much suitable for Bullion stitch

Make sure you have enough yarn as Bullion stitch use a lot.

Also usage of a smaller hook makes the Bullion stitch a little bit easier. I would probably use stainless steel hooks rather then wooden (bamboo) or aluminium as they are less slippery and the stainless steel ones are easier to pull through 9 loops at once. I broke one aluminium hook (1.5mm) in barb section on this stitch in the past 😦 :(.

My new Tulip set of small hooks – stainless steel with ergo handles, also two back up stainless steel hooks just in case 🙂

Keep an eye on the tension – too tight, you will really struggle to pull trough the 9 loops. I wrap the yarn quite loosely using my thumb to have a looser tension.

Happy crocheting !

I.

Bobbles, bobbles, bobbles …

I know it is a festive season, but why not to make something special like a little toy sheep as an addition to your Nativity Set?

Ok, it might be a bit late for this year Xmas I know 🙂 but never late for next year Christmas or an upcoming Easter ! 😀

A beautiful free pattern for sheep toy worked in Bobble Stitch, developed by Kristi, and it can be found on her website here http://engsidrun.spire.ee/blogs/blog1.php/bobble-sheep

The sheep skin is curly and bobbly so that is why this article will explain how to make a Bobble Stitch also known as a Cluster stitch.

Usage

You do not need to crochet only sheep using a bobble stitches. Bobble stitch has a many uses among creating an amigurumi sheep toy. It is also a very pretty as an edging too!

Winter garments like mittens, scarfs, hats, bulky jumpers, hand bags or home decorative items e.g. blankets, coasters, face washers, scrubbers, rugs or cushion covers a beautiful in Bobble stitch and I bet after this special tutorial you will have a go on some of these projects soon!

It has plenty of texture on its own so you can crochet in monochrome (one colour only), but also it can be used on multicoloured projects and it still looks good.

Bobble stitch is versatile, just remember it has a texture so it is better used on a projects when thickness & warmth is needed. Not so much good for summer tops…

Iva’s Tips

  • Yarn Usage – So you like the bobbles, ok then. Make sure that you do have plenty of yarn on hand as bobble stitch uses a lot more yarn than any other stitch out there.
  • The Wrong Side is the good side. Yes, Bobble stitch is usually worked on the wrong side rows.
  • You want to show off you Bobbles? – Split the bobbles with some smaller stitch – single crochet stitch will work just fine. Make 1 x  bobble, 2 x SC, 1 x bobble and repeat. The bobbles will stand out more. Experiment as you like :).

How To Make Bobble Stitch

  1. I worked chain of 13 CH (10 x CH base with 3 CH turing ). First row starts in the 4th stitch form the hook and the entire row is worked in double crochet DC till the end. Read my previsous article about how to make DC stitch https://yarnonhook.com/2018/11/16/how-to-make-double-crochet-dc-treble-crochet-tr-stitch/

2. 3 CH for turning and turn the work – the wrong side (the good side to make the bobbles :))

3. On a wrong side row, stitch to the position for the planned bobble. I did 2               x DC in order not to have the bobbles straight away on the edge of the project.

4. Wrap the yarn.

5. Take the hook, from front to back, through the top of the next stitch of the previous row.

6. Again, wrap the yarn, from the back to front, over the hook.

7. Draw the hook backwards to pull the loop through the top of the stitch. There are loops on the hook.

8. Wrap the yarn.

9. Draw the hook backwards to pull the loop through the first two loops on the hook.  2 loops remain on the hook.

10. Wrap the yarn. 

11. Take the hook, from front to back through the top of the same stitch as before.

12. Wrap the yarn.

13. Draw the hook backwards to pull the yarn through the top of the stitch of the previous row. You have 4 loops on the hook.

14. Repeat steps 8 – 9. You will have 3 loops on the hook.

15. Follow steps 10 – 14, work 3 more stitches in the same manner. You will have 6 loops on the hook. Make sure that you always inserting the hook back to the same stitch !!

16. Wrap the yarn.

17. Draw the hook backwards to pull the yarn trhough ALL the loops on the hook.

18. Wrap the yarn.

19. Draw the hook backwards to pull the yarn the remaining 1 loop on the hook – completing and securing the bobble.

20. Continue with the next stitch either bobbling or make some spaces with SC or DC in between if you want to spread the bobbles a little bit.

For demonstration, I split them 2 x DC apart. I am turning with 3CH at the end, but inserting into the same stitch, when I turn.

Also I worked bobbles only on the WRONG SIDE of my project. That means that the right side has DC row only.

Here is my little bobble project:

2 x Unusual Decrease techniques – Stepped and Sloped

As the festive season is approaching and a lot of people has busy hands… including myself I have decided to slow down on the posting activity. I hope that all my loyal crochet learners and followers will not mind fortnightly posting instead of weekly. I believe there is so much to do during a holiday and Christmas season so there is only a little time left for learning new crochet stitches… 🙂

At this article I will explain crochet decrease techniques, which are used for shaping the edges (end of the rows) of the crochet projects.

Stepped technique is usually used, when you working on a project with edging – e.g. blanket, table cloth or any other decorative items and you want to have the edging to be stepped (e.g. staircase look). It is good for making a Christmas Tree appliqués too :).

Or also you can use this technique, when you are making pullover sleeve, which is going to be looking like smocking/ shirring stitch was used on the shoulder attachment. When such sleeve is fitted into the rest of the front and back piece it creates the creases around the armhole and shoulder making them looking like puff sleeve (90’s look is back in trend… I know 🙂 ).

Sloped technique is usually used, when you need a mild transition on the edges. E.g. shaping a sleeve of a jumper, while using a taller stitch (double crochet, treble or anything taller than that).

1. Stepped decrease at the end of the row

  • Stitch the required number of rows without decrease (in my case 11 SC).
  • Turn your work without working any turning chains!
  • Insert the hook, from front to back, through the first stitch of the row and wrap the yarn in the barb of the hook. 
  • Pull the yarn through both stitches and loops on the hook. 
  • 1 loop remains on the hook. 
  • Continue working slip stitches across the row until you have decreased the required number of stitches ( in my case 5 stitches). 
  • Work required number of turning chains (in my case 1 CH), but DO NOT TURN THE WORK ! 
  • Work stitches across the row as required. 
  • You may also wish to decrease in the same way on the opposite end of the work. Stop stitching before the end of the row, leaving the required number of stitches unworked (in my case 5 stitches).
  • Work your turning chains (in my case 1 CH), turn your project and begin the next row.
  • A little project with STEPPED decrease on the picture below: 

2. Sloped decrease at the end of a row

Note: this is best used for double crochet and longer stitches rather shorter stitches like single or slip stitch. This example is using a  treble stitch as the main stitch for demonstration.

  • Turn your project. Work 1 CH for turning.  
  • Work SC (single crochet stitch) into the first stitch of the previous row. 
  • If you want to have the same sloped decrease at the other end of the row as well, you need to start the shorten the stitches in reverse order.  
  • 4 stitches prior to the end of the row – work 1 x TR, 1 x DC, 1 x HDC and 1 x SC to the last stitch. 

  • Work one turning chain (in my case 3 CH) and turn your project. You may decrease again or work in TR across – depends what pattern tells you and what are you shaping.
  • A little project with SLOPED decrease on the picture below: 

Iva’s crocheting tips

  • MARKERS – if you need to increase / decrease at the same position in all your rows (subsequent rows) of your project, place a marker (what is a marker or what else can be used instead of a marker is explained here in my previous article What you need to start – Basic Crochet Supplies
  • EDGES – to keep neat and straight edges, while you are decreasing or increasing try to avoid using the very last stitch at the end of the row (if your pattern allows you to do that). Instead decrease or increase at the second (adjacent) stitch to the very last one. But as mentioned, not always possible to be done, sometimes you need to use the very last one stitch.
  • SLOPE/ STEEPNESS OF THE SHAPE – the slope of the shape is determined by what type stitch you are working and also how steep you want the slope. E.g. row with half double crochet (Half Double Crochet – half short & half long) will require 1 x single crochet (Chain stitch & Single Crochet Stitch) to create the slope. A row of double crochet stitches (How to make Double Crochet (dc) – Treble Crochet (tr) stitch) will require 1 x half double crochet & 1 x single crochet stitch to create a slope and etc. I would not use slope decrease for anything shorter than half double crochet.

Happy Crochet Shaping!

I.

How To Do Decrease in Double Crochet – too many loops?

This article explains crochet decrease techniques used in a double crochet stitch.

The basics of single crochet stitch were explained in my previous article https://yarnonhook.com/2018/12/07/3-usual-ways-of-shaping-by-decrease/ 

1. Single decreasing in double crochet within a row (dc2tog)

  • Stitch to the position of the decrease. In my case I worked 15 DC with 2CH turning. My decrease position is 6th and 7th DC stitch. 
  • Yarn over (aka 1 loop on the hook), take the hook, from front to back, through the next stitch (stitch 6th in my case – you have 2 loops). 
  • Wrap the yarn and pull it through, from back to front over the hook and pull a loop through the picked stitch. You have 3 loops on the hook. (nearly completed DC stitch, but DO NOT COMPLETE). 
  • Yarn over in the barb of the hook and pull it through the first 2 loops only! Leaving 2 loops on the hook. 
  • Yarn over (aka 1 loop) and take the hook, from front to back, through the next stitch (7th stitch – you have 3 loops). 
  • Wrap the yarn and pull it through, from back to front over the hook and pull a loop through the picked stitch ( 7th stitch). DO NOT COMPLETE THE STITCH! You have 4 loops on the hook. 
  • Wrap the yarn in the barb of the hook and pull it through the first 2 loops only! Leaving 3 loops on the hook. 
  • Wrap the yarn in the barb of the hook and pull it through all 3 loops on the hook, completing the decrease stitch (1 loops remains on the hook). 
  • Make sure that the tension is tight otherwise with decreases the usual problem is “holes”… and you do not want to have unnecessary holes in your pattern. Extremely important especially when you are crocheting together more than 2 loops. 
  • A little project with dc2tog decrease on the picture below: 

2. Double decrease in double crochet within a row (dc3tog)

  • Stitch to the position of the decrease. In my case I worked 15 DC with 2CH turning. My decrease position is 6th, 7th & 8th DC stitch. 
  • Yarn over (aka 1 loop), take the hook, from front to back, through the next stitch (6th stitch – you have 2 loops). 
  • Pull the yarn, from back to front over the hook and pull a loop through the picked stitch (6th stitch – have 3 loops on the hook). 
  • Yarn over in the barb of the hook and pull it through the first 2 loops only! Leaving 2 loops on the hook. 
  • Yarn over (aka 1 loop) and take the hook, from front to back, through the next stitch (7th stitch – you have 3 loops). 
  • Yarn over and insert the hook through the next stitch (7th stitch) wrapping the yarn in the barb of the hook and pulling it through the picked stitch (you have 4 loops on the hook). 
  • Wrap the yarn in the barb of the hook and pull it through the first 2 loops only! Leaving 3 loops on the hook. 
  • Yarn over (it appears like 4 loops on the hook
  • Insert the hook through the next stitch (8th stitch) wrapping the yarn in the barb of the hook and pulling it through the picked stitch (you have 5 loops on the hook). 
  • Wrap the yarn in the barb of the hook and pull it through the first 2 loops only! Leaving 4 loops on the hook. 
  • Wrap the yarn in the barb of the hook and pull it through all 4 loops on the hook, completing the decrease stitch (1 loops remains on the hook). 
  • Make sure that the tension is tight otherwise with decreases the usual problem is “holes”… and you do not want to have unnecessary holes in your pattern. Extremely important especially when you are crocheting together more than 2 loops. 
  • A little project with dc3tog decrease on the picture below: 

Happy Crocheting!

I.

3 Usual Ways Of Shaping By Decrease

The next most important thing that you will learn in crochet is increase and crochet decrease techniques. The basics of crochet increase were explained in my previous article 4 Most Common Ways of Shaping by Increase.

Shaping by crochet decreasing, it simply means shortening the rows by skipping or invisibly removing the “present crochet stitches”.

Increases and decreases are used to change the shape and drape of all of your crochet projects.

Usage of crochet shaping in general

How crochet flat circles become hats? or amigurumi characters? and how flat crochet projects become fitted instead of just lumpy and chunky and square or rectangle only?

By the way, if you like the hat on the picture above, here is a free pattern link: Boy Hat – Free Pattern and if you like the purple bear ear, which belongs to a car organiser, the free pattern can be found here: Bear Girl Car Crochet Organiser – Free Pattern.

This article is all about decreasing, which is in my opinion, the harder of the two techniques (well, not as hard you may think 🙂 as you will see shortly).

To increase stitches as per the instructions here 4 Most Common Ways of Shaping by Increase is easy peasy work.

To shape by crochet decrease, you need to work a little bit more with the tension as you do not want to leave an “extra holes” behind in your project especially with decreasing more than 2 loops together.

Acronyms

Crochet decrease of any kind is usually abbreviated as “dec”, but a pattern may also say to “crochet the next 2 stitches together”, aka “2 tog”.

Note, that there might be more stitches together, therefore the instructions might be written as “3 tog or X tog“, where the X is representing any number of stitches crocheted together.

1. Decreasing by skipping a stitch – the easiest 🙂

Note: In a looser stitches like DC or TR it may leave a “holes” behind. So this one is good for tighter stitches e.g. slip stitch, single crochet or half double crochet stitch. 

  1. Stitch to the position of the decrease (in my case I used 15 x SC stitches with 1 CH turning at the end of the row).
  2. Miss one stitch and take the hook, form front to back, through the next stitch as per the picture below. In my case I worked 5 x SC and missed 6th SC, inserting the hook into 7th SC.
  3. Work the stitch in the same manner as your previous stitches. 
  4. If you want the decrease to happen always at the same spot – mark the stitch.
  5. A little project with skipping stitch decrease on the picture below: 

2. Single decrease in single crochet within a row (sc2tog)

  1. Stitch to the position of the decrease. In my case I worked 15x SC in total with 1 CH turning at the end of the row. My position of decrease was 6th & 7th SC from the hook. 
  2. Work 5 x SC and take the hook, from front to back, through the next stitch (6th one).
  3. Wrap the yarn and pull it trough, from back to front over the hook and pull a loop through the picked stitch. DO NOT COMPLETE THE STITCH! You have 2 loops on the hook.
  4. Take the hook, from front to back, through the next stitch (7th).
  5. Wrap the yarn and pull it through, from back to front over the hook and pull a loop through the picked stitch. You have 3 loops on the hook.
  6. Complete the stitch – wrap yarn in the barb of the hook and pull the yarn through all 3 loops at once.
  7. Make sure that the tension is tight otherwise with decreases the usual problem is “holes”… and you do not want to have unnecessary holes in your pattern.
  8. A little project with sc2tog decrease on the picture below: 

3. Double decrease in single crochet within a row (sc3tog)

  1. Stitch to the position of the decrease. Take the hook, from front to back, through the next stitch. In my case I worked 15 x SC with 1 CH turning. My position of decrease is 6th, 7th and 8th stitch from the hook. 
  2. Wrap the yarn and pull it through, from back to front over the hook and pull a loop through the picked stitch (stitch 6th). DO NOT COMPLETE THE STITCH! You have 2 loops on the hook.
  3. Take the hook, from front to back, through the next stitch (7th stitch).
  4. Wrap the yarn and pull it through, from back to front over the hook and pull a loop through the picked stitch (stitch 7th).  DO NOT COMPLETE THE STITCH! You have 3 loops on the hook. 
  5. Take the hook, from front to back, through the next stitch (8th stitch).
  6. Wrap the yarn and pull it through, from back to front over the hook and pull a loop through the picked stitch (stitch 8th). DO NOT COMPLETE THE STITCH! You have 4 loops on the hook. 
  7. Complete the stitch – wrap the yarn in the barb of the hook and pull the yarn through all 4 loops at once. 
  8. Make sure that the tension is tight otherwise with decreases the usual problem is “holes”… and you do not want to have unnecessary holes in your pattern. Extremely important especially when you are crocheting together more than 2 loops.
  9. A little project with sc3tog decrease on the picture below: 

Happy Crocheting !

I.

Design a site like this with WordPress.com
Get started