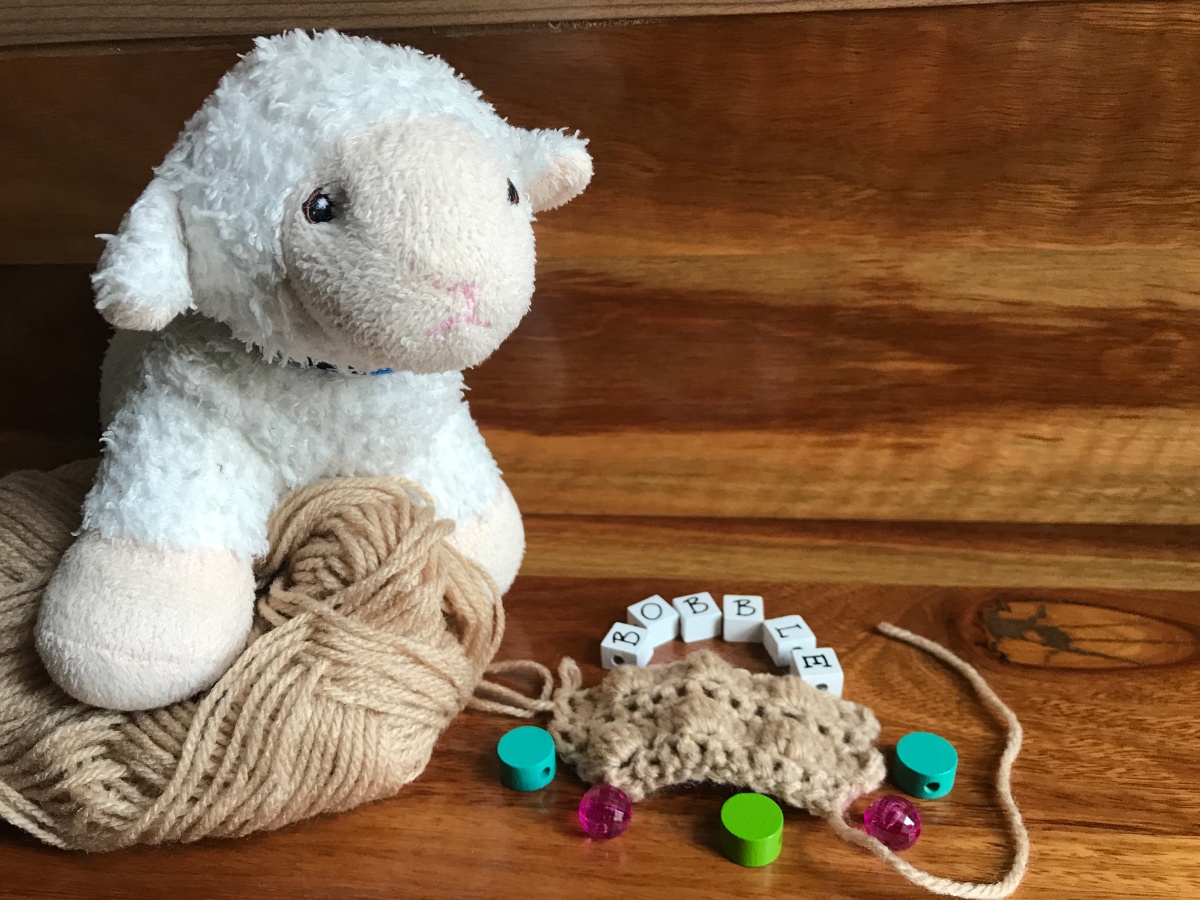
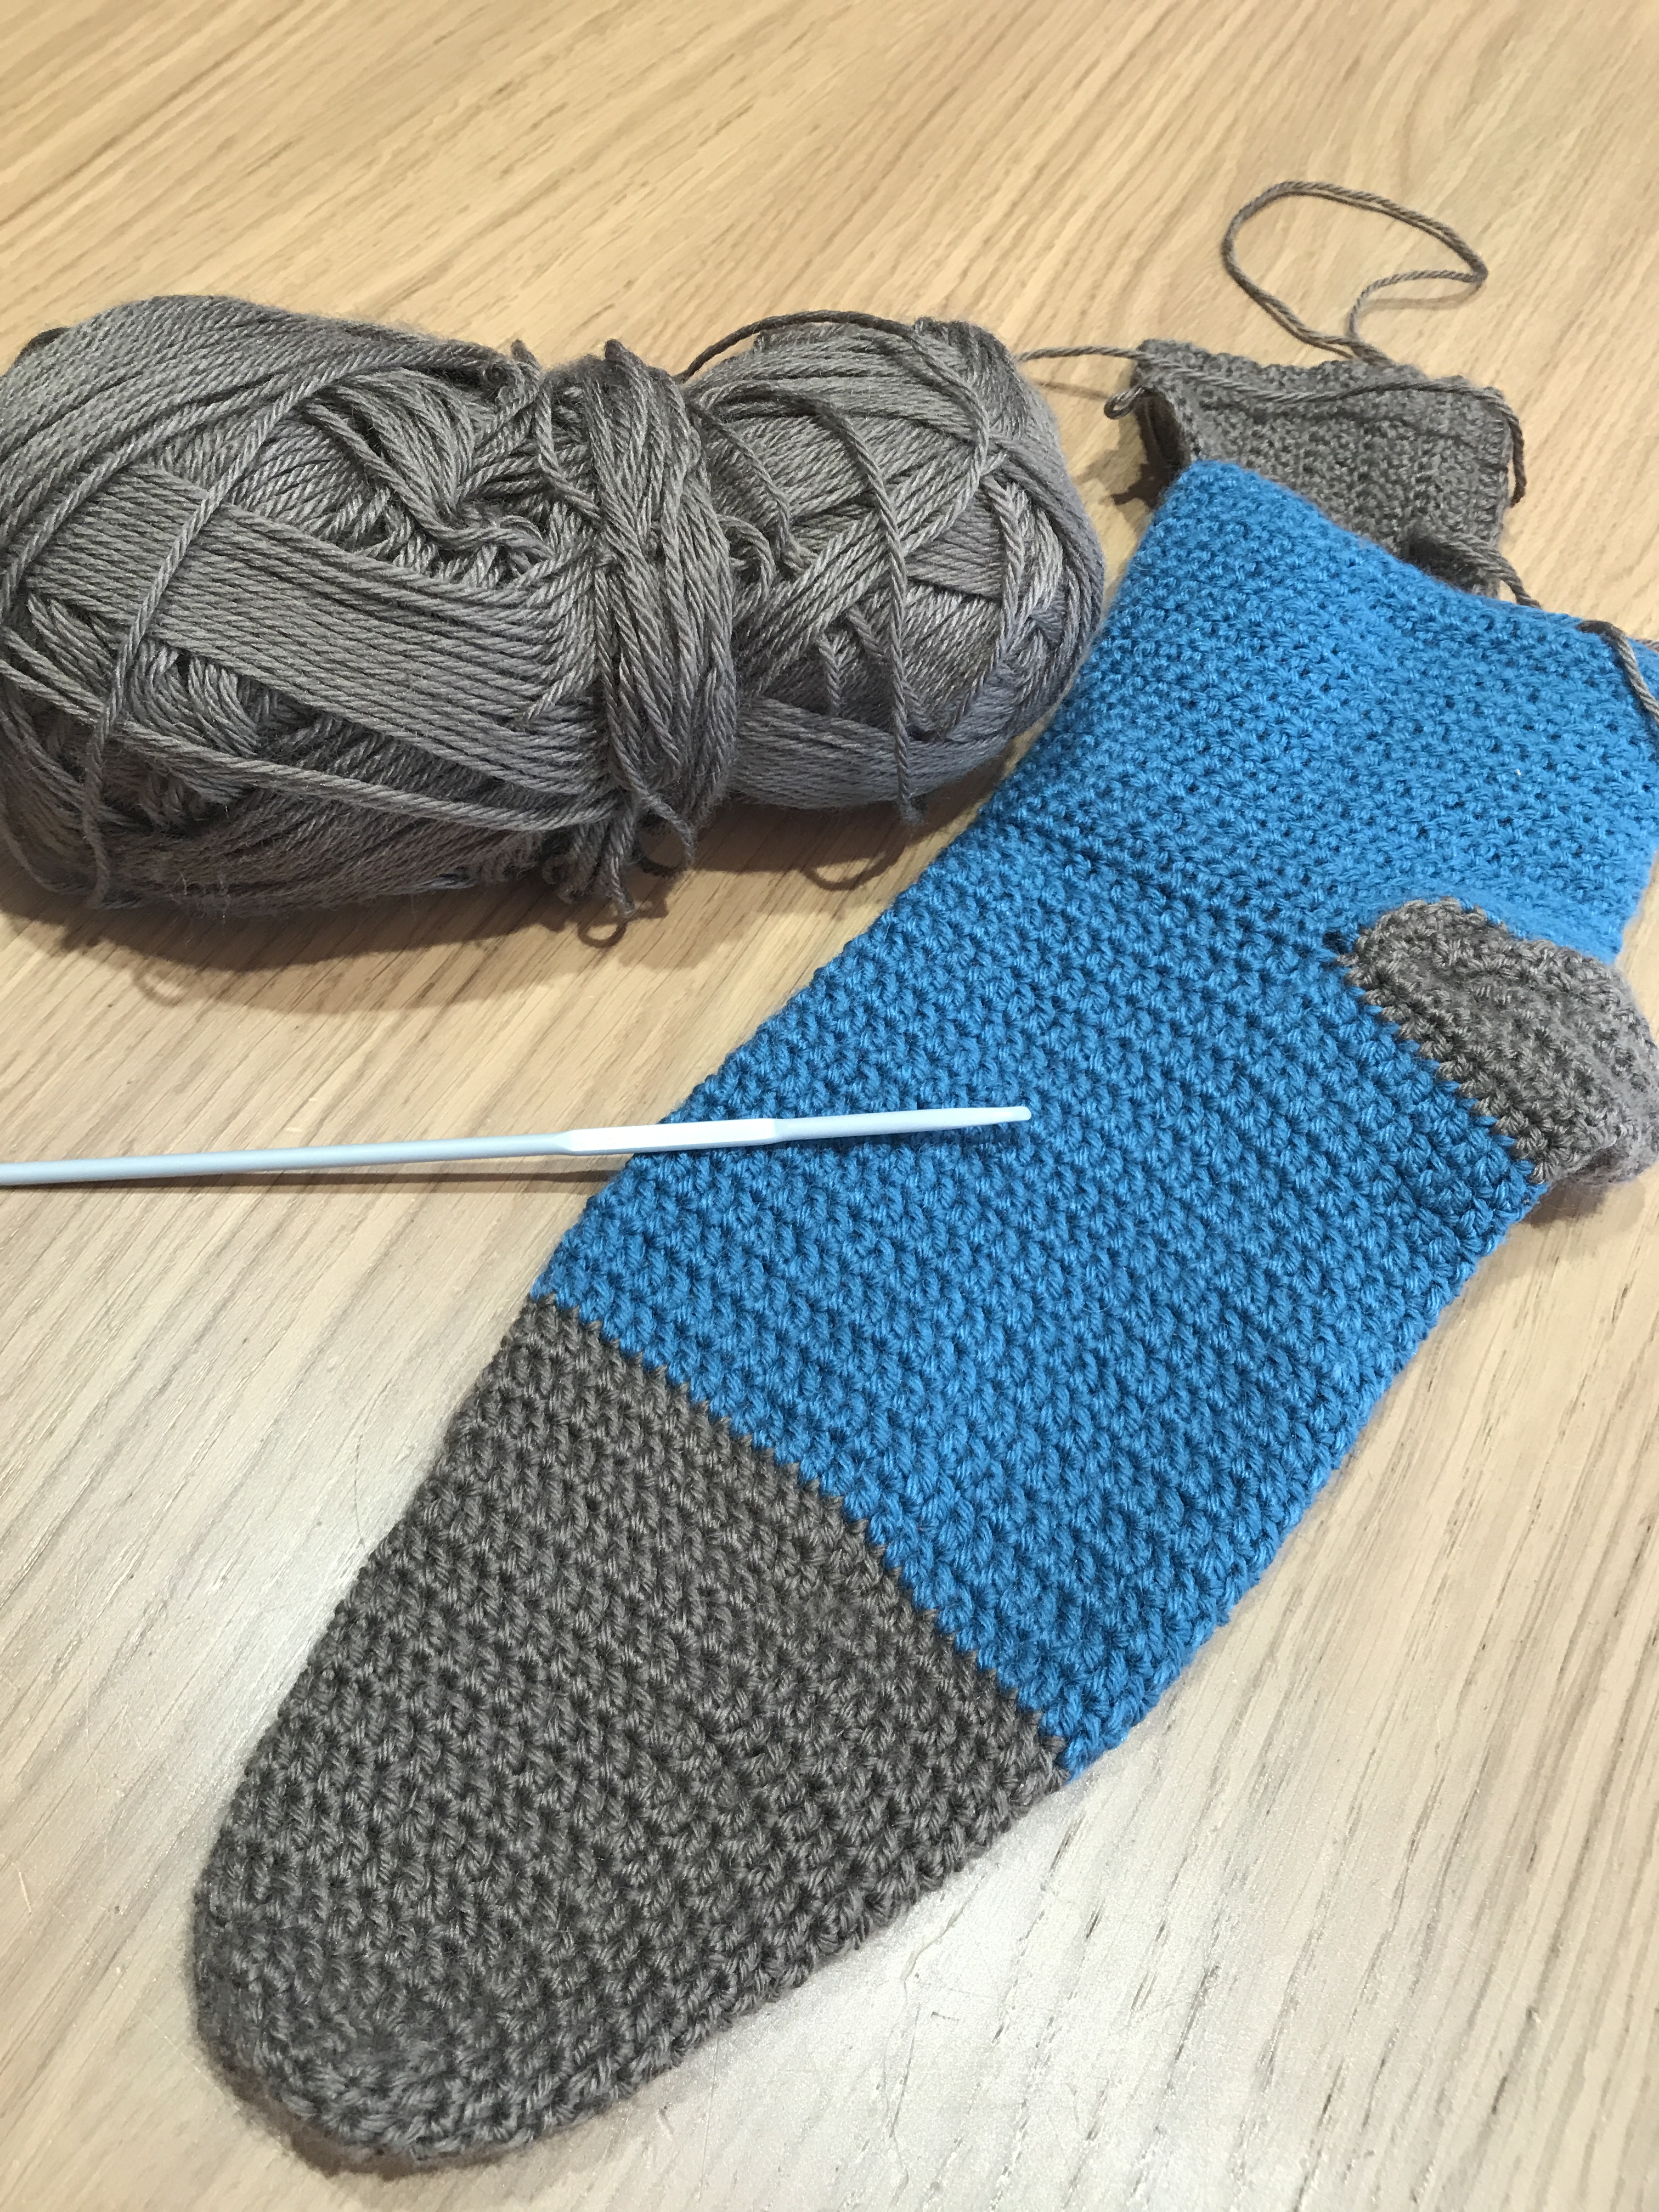
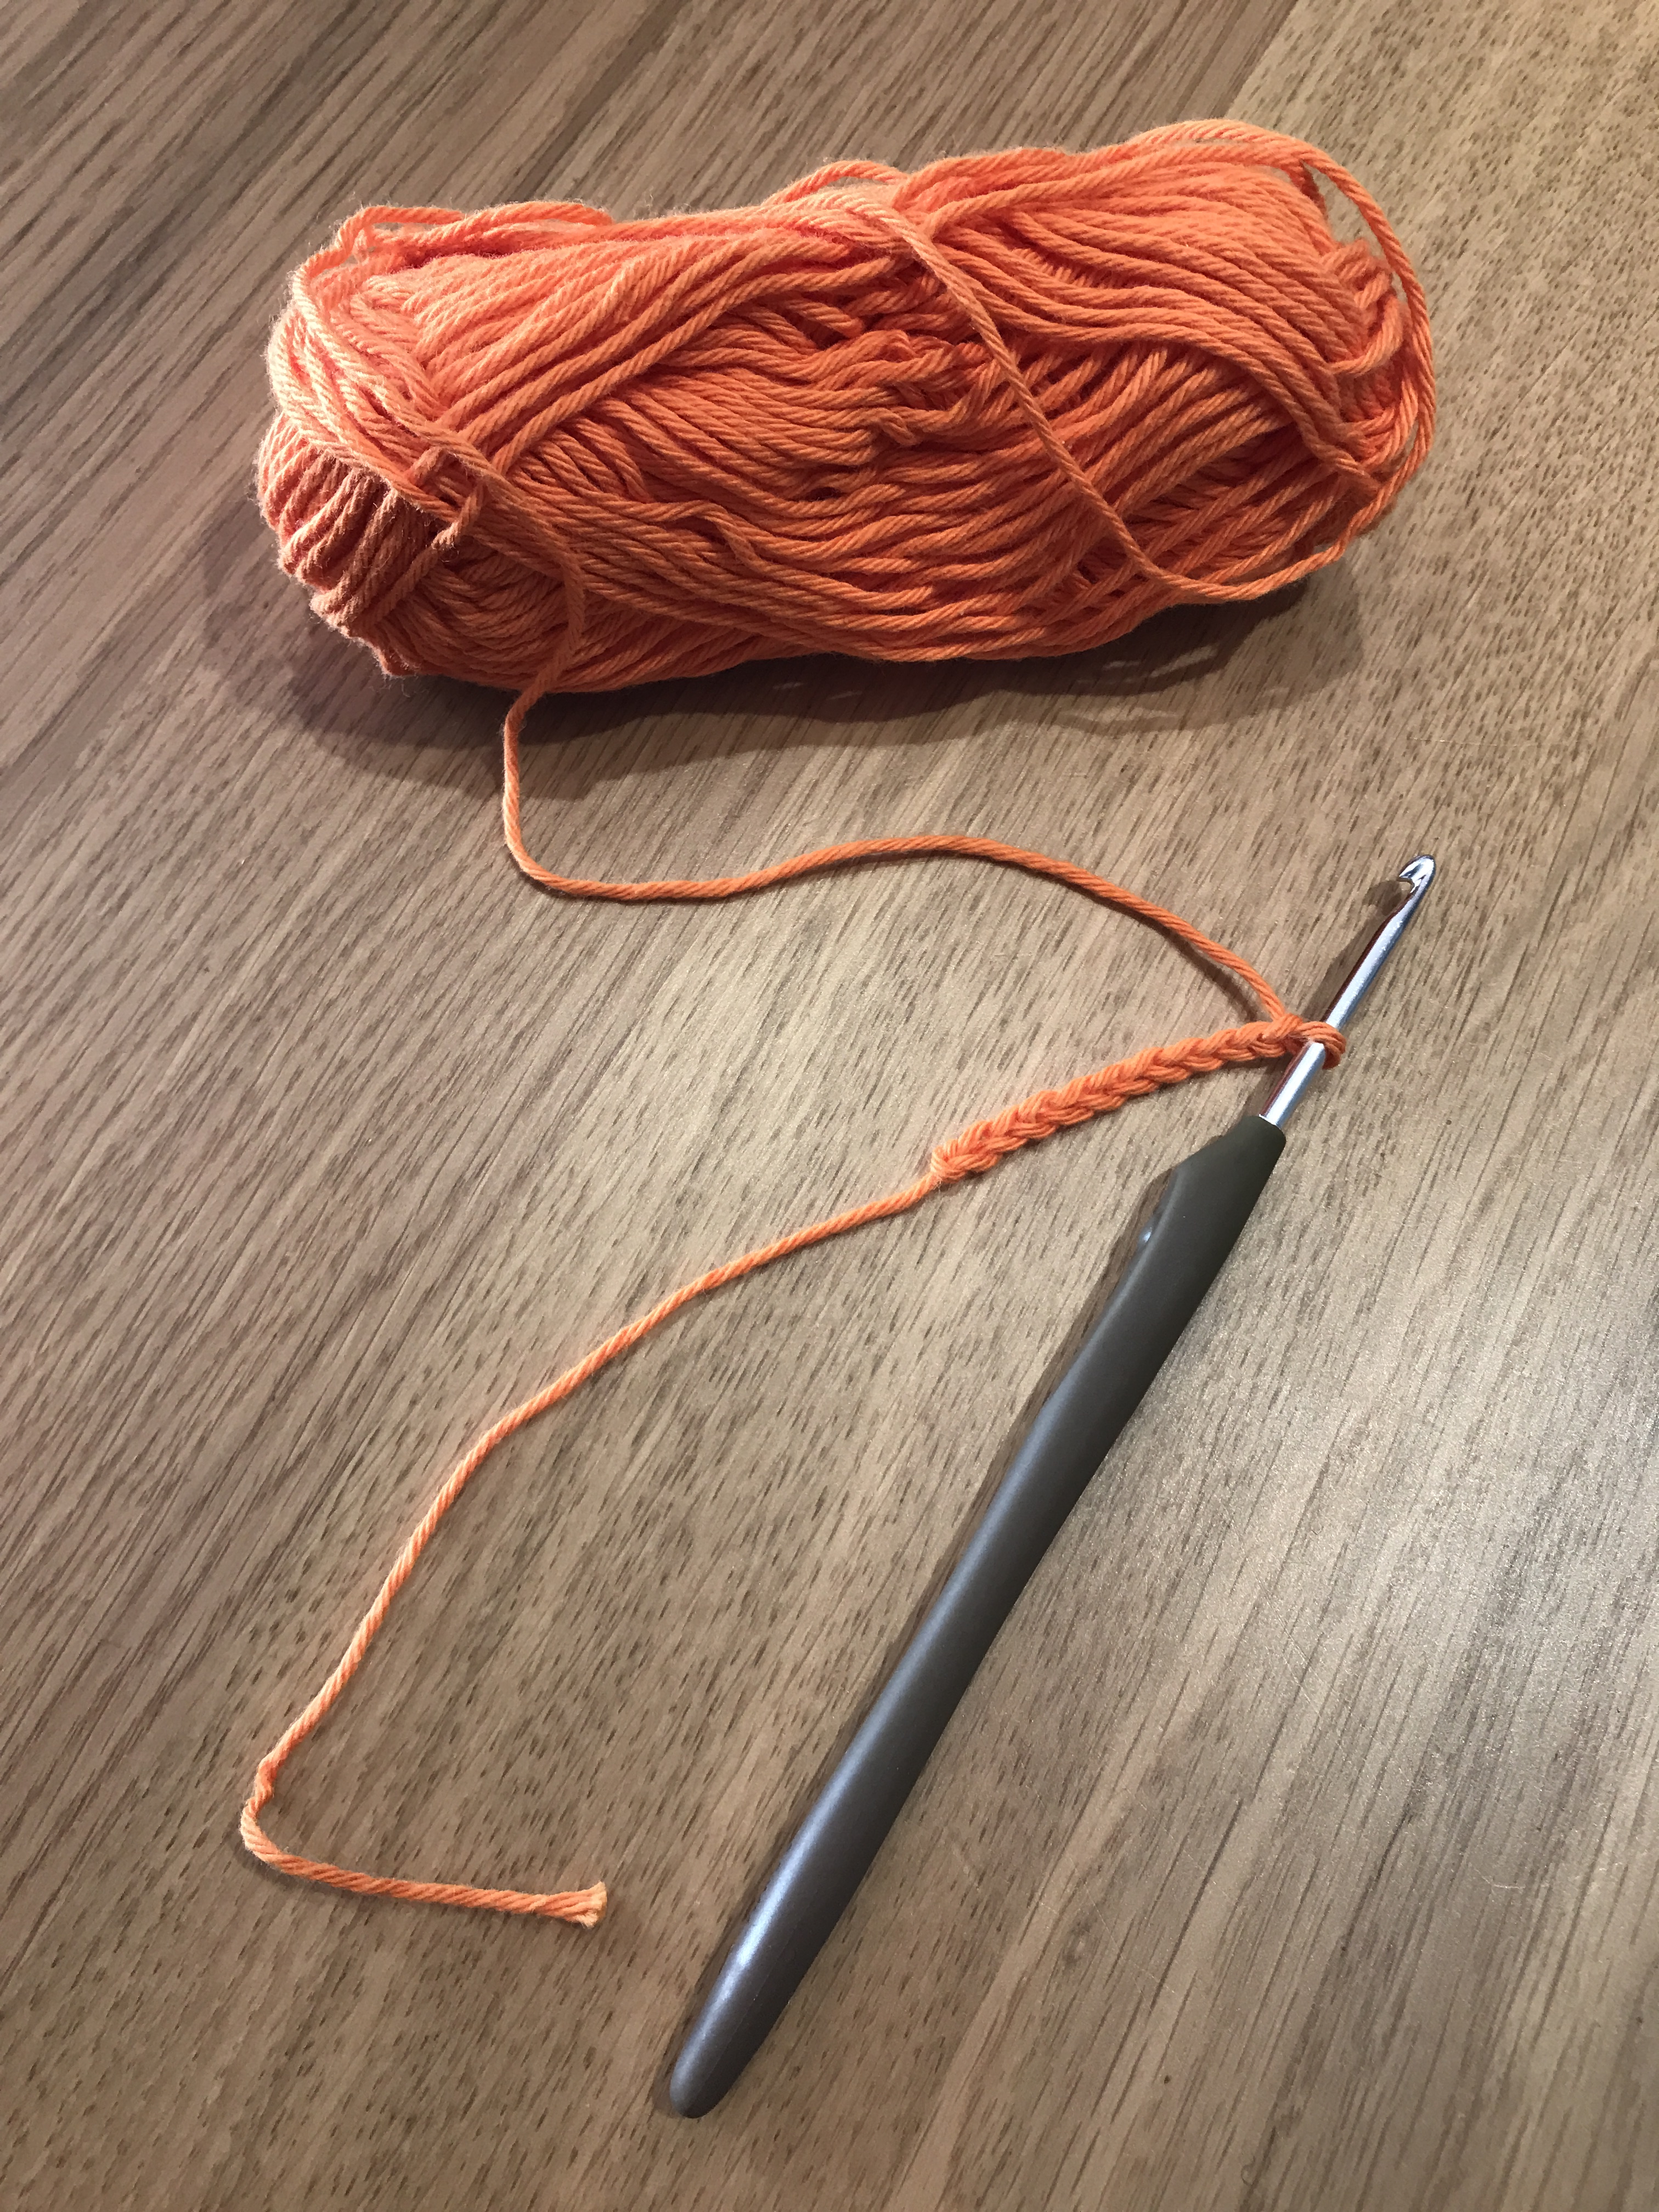
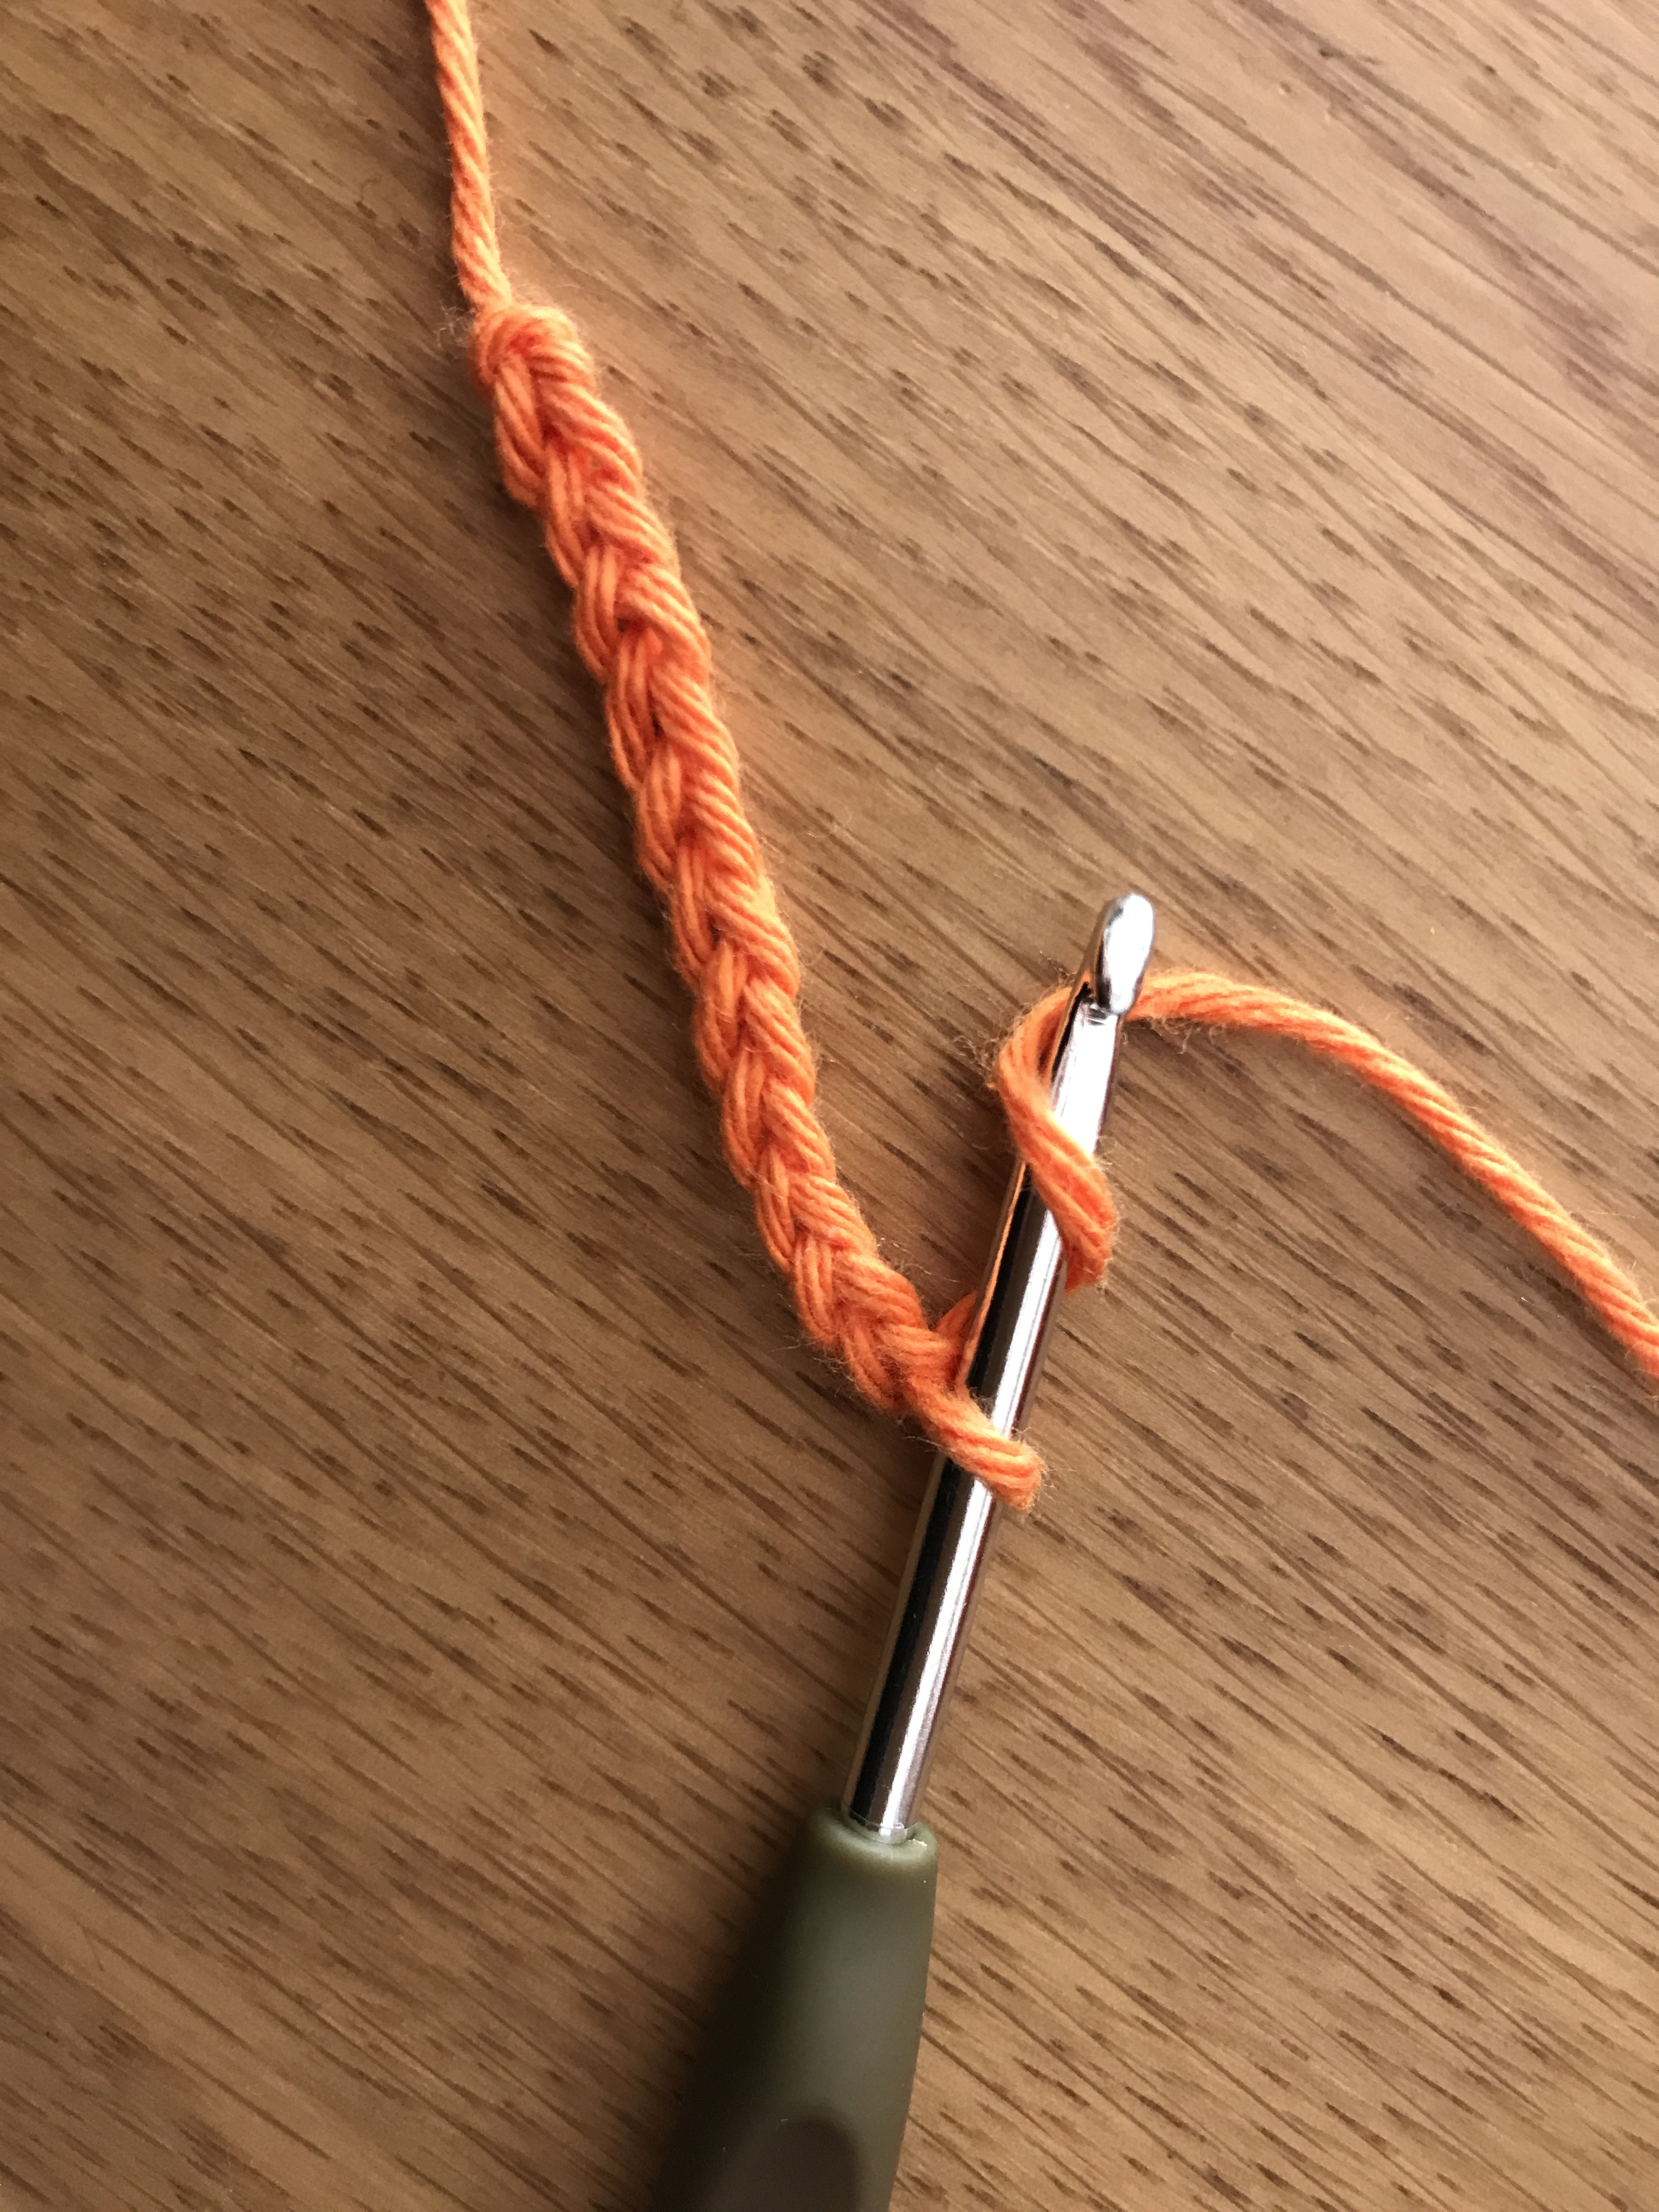
Bobbles, bobbles, bobbles …

I know it is a festive season, but why not to make something special like a little toy sheep as an addition to your Nativity Set?

Ok, it might be a bit late for this year Xmas I know 🙂 but never late for next year Christmas or an upcoming Easter ! 😀

A beautiful free pattern for sheep toy worked in Bobble Stitch, developed by Kristi, and it can be found on her website here http://engsidrun.spire.ee/blogs/blog1.php/bobble-sheep

The sheep skin is curly and bobbly so that is why this article will explain how to make a Bobble Stitch also known as a Cluster stitch.

Usage

You do not need to crochet only sheep using a bobble stitches. Bobble stitch has a many uses among creating an amigurumi sheep toy. It is also a very pretty as an edging too!

Winter garments like mittens, scarfs, hats, bulky jumpers, hand bags or home decorative items e.g. blankets, coasters, face washers, scrubbers, rugs or cushion covers a beautiful in Bobble stitch and I bet after this special tutorial you will have a go on some of these projects soon!

It has plenty of texture on its own so you can crochet in monochrome (one colour only), but also it can be used on multicoloured projects and it still looks good.

Bobble stitch is versatile, just remember it has a texture so it is better used on a projects when thickness & warmth is needed. Not so much good for summer tops…

Iva’s Tips

  • Yarn Usage – So you like the bobbles, ok then. Make sure that you do have plenty of yarn on hand as bobble stitch uses a lot more yarn than any other stitch out there.
  • The Wrong Side is the good side. Yes, Bobble stitch is usually worked on the wrong side rows.
  • You want to show off you Bobbles? – Split the bobbles with some smaller stitch – single crochet stitch will work just fine. Make 1 x  bobble, 2 x SC, 1 x bobble and repeat. The bobbles will stand out more. Experiment as you like :).

How To Make Bobble Stitch

  1. I worked chain of 13 CH (10 x CH base with 3 CH turing ). First row starts in the 4th stitch form the hook and the entire row is worked in double crochet DC till the end. Read my previsous article about how to make DC stitch https://yarnonhook.com/2018/11/16/how-to-make-double-crochet-dc-treble-crochet-tr-stitch/
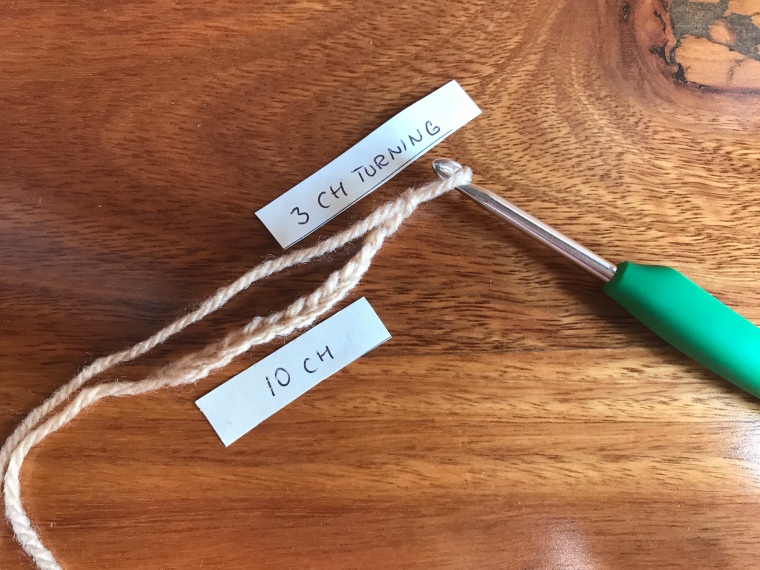
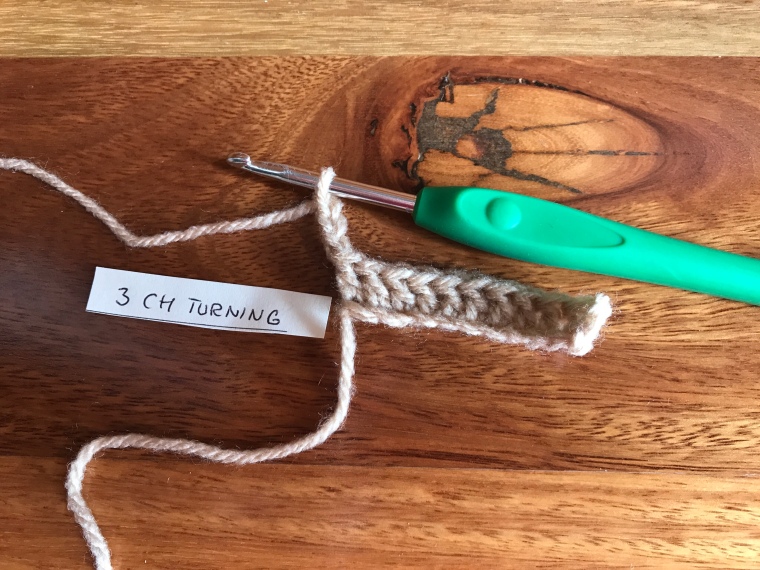
2. 3 CH for turning and turn the work – the wrong side (the good side to make the bobbles :))
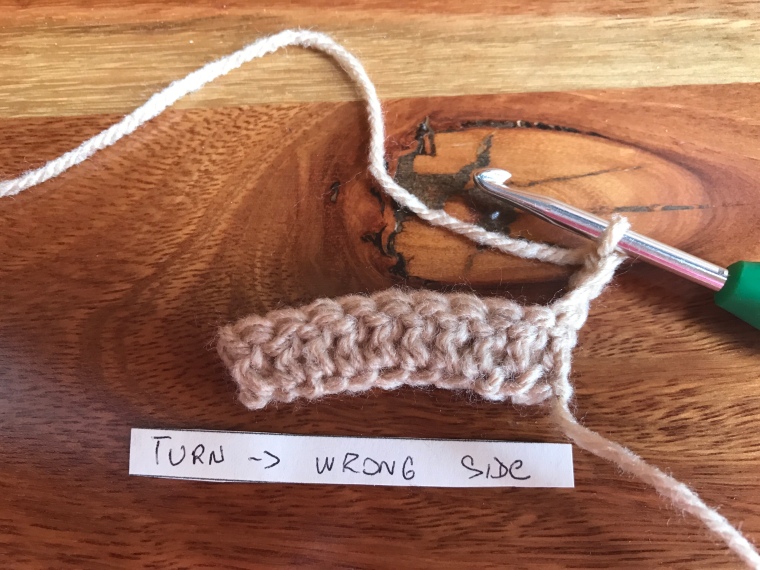
3. On a wrong side row, stitch to the position for the planned bobble. I did 2               x DC in order not to have the bobbles straight away on the edge of the project.

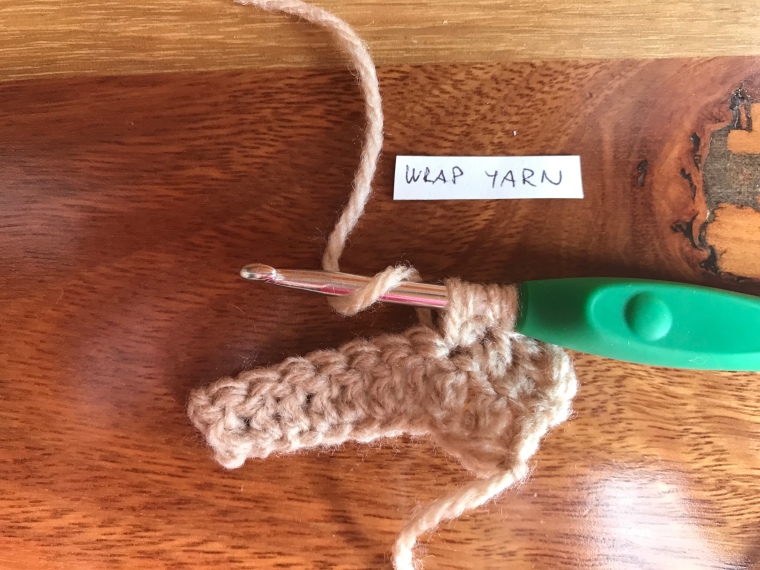
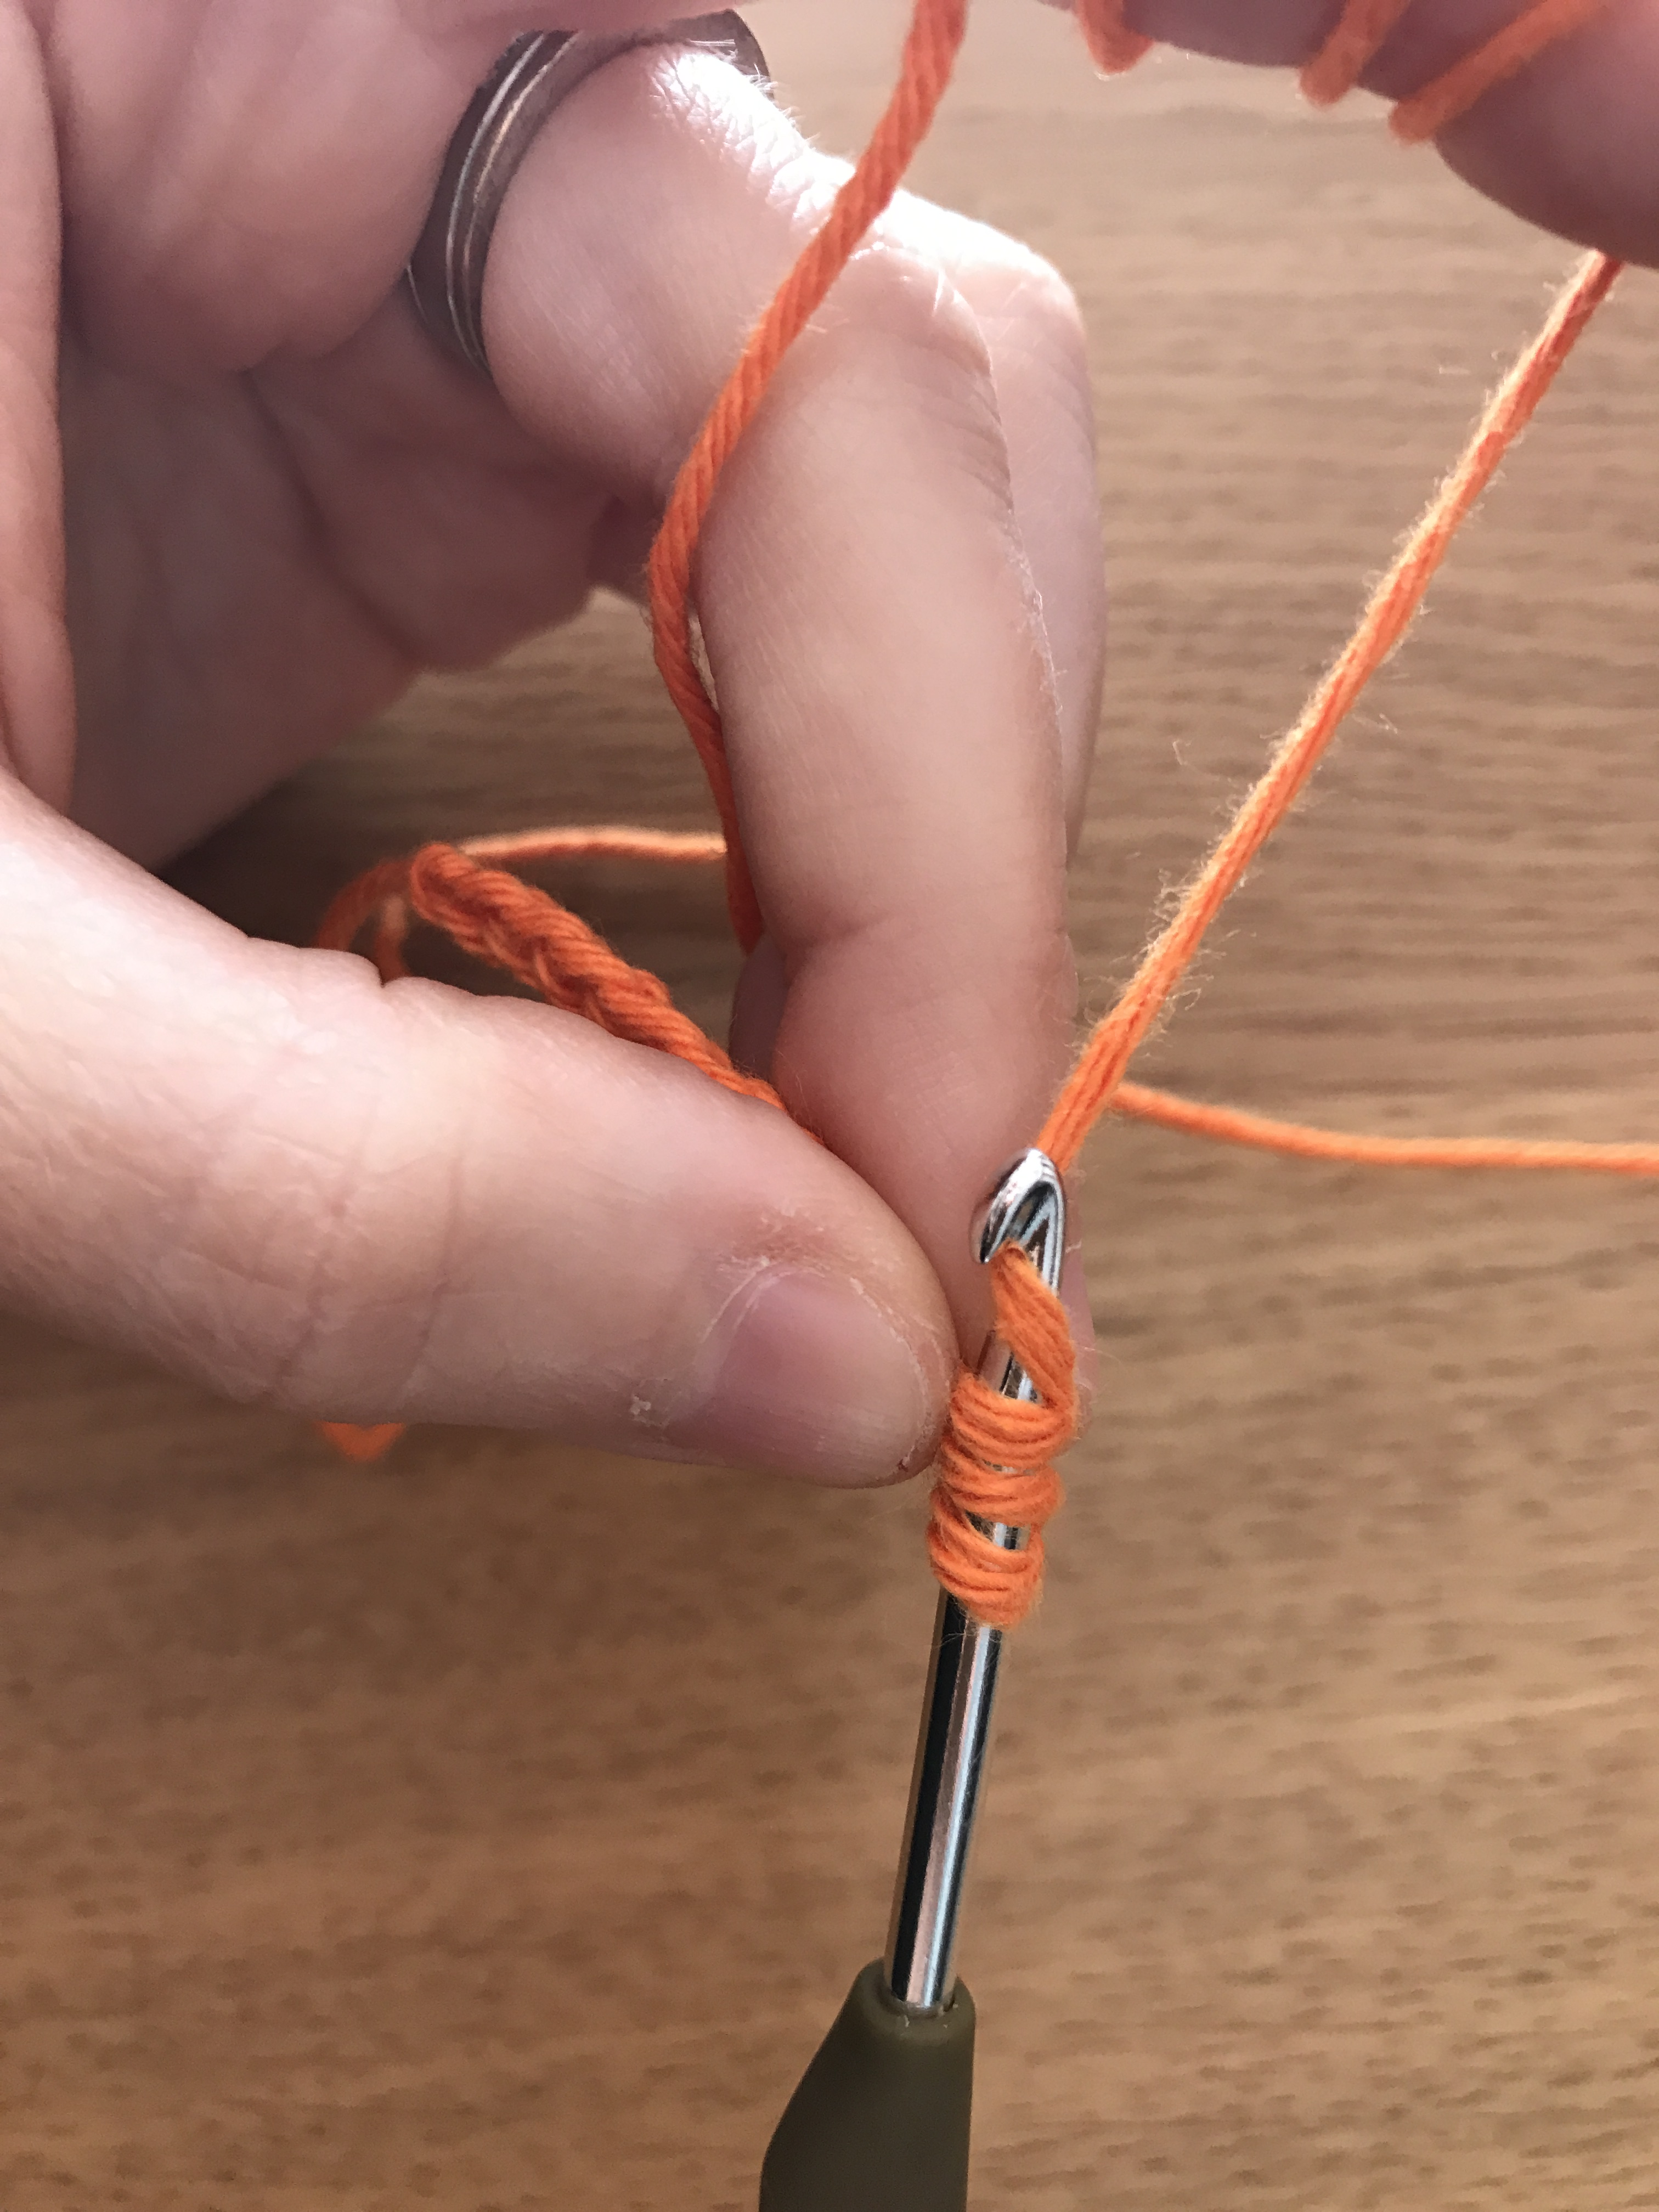
4. Wrap the yarn.

5. Take the hook, from front to back, through the top of the next stitch of the previous row.

6. Again, wrap the yarn, from the back to front, over the hook.

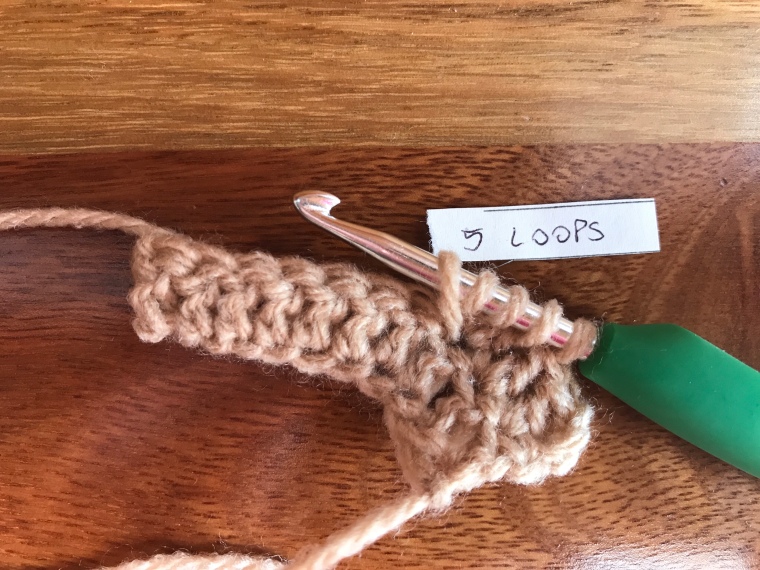
7. Draw the hook backwards to pull the loop through the top of the stitch. There are loops on the hook.

8. Wrap the yarn.

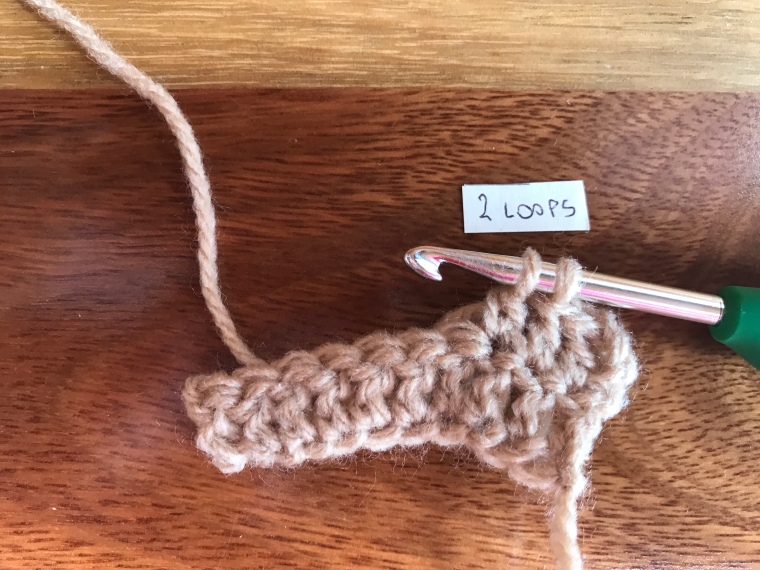
9. Draw the hook backwards to pull the loop through the first two loops on the hook.  2 loops remain on the hook.

10. Wrap the yarn. 

11. Take the hook, from front to back through the top of the same stitch as before.

12. Wrap the yarn.

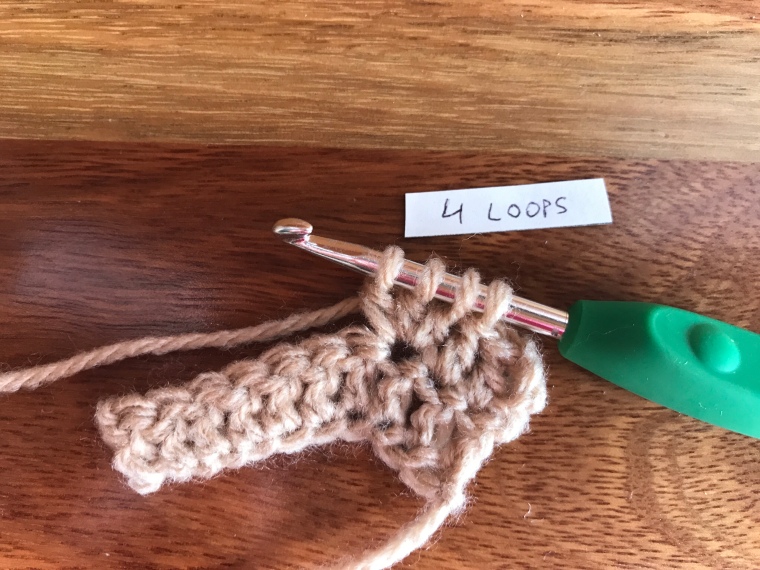
13. Draw the hook backwards to pull the yarn through the top of the stitch of the previous row. You have 4 loops on the hook.

14. Repeat steps 8 – 9. You will have 3 loops on the hook.

15. Follow steps 10 – 14, work 3 more stitches in the same manner. You will have 6 loops on the hook. Make sure that you always inserting the hook back to the same stitch !!

16. Wrap the yarn.
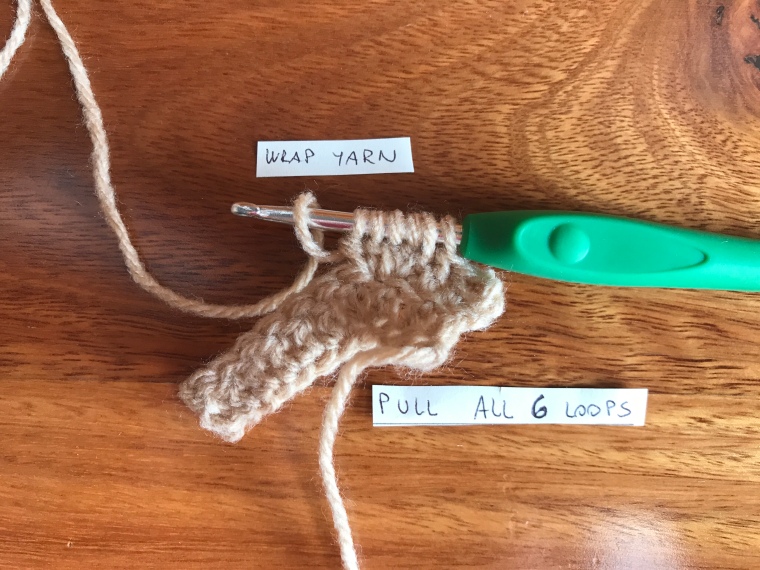
17. Draw the hook backwards to pull the yarn trhough ALL the loops on the hook.

18. Wrap the yarn.

19. Draw the hook backwards to pull the yarn the remaining 1 loop on the hook – completing and securing the bobble.
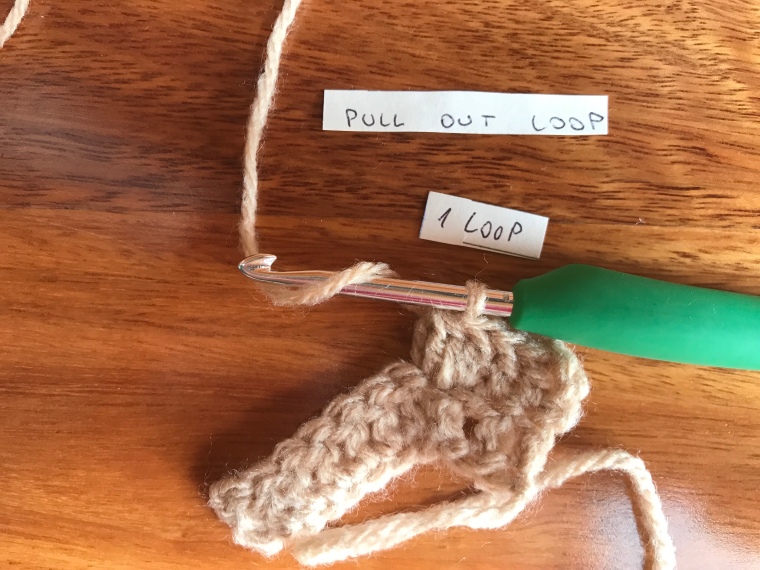
20. Continue with the next stitch either bobbling or make some spaces with SC or DC in between if you want to spread the bobbles a little bit.

For demonstration, I split them 2 x DC apart. I am turning with 3CH at the end, but inserting into the same stitch, when I turn.

Also I worked bobbles only on the WRONG SIDE of my project. That means that the right side has DC row only.

Here is my little bobble project:

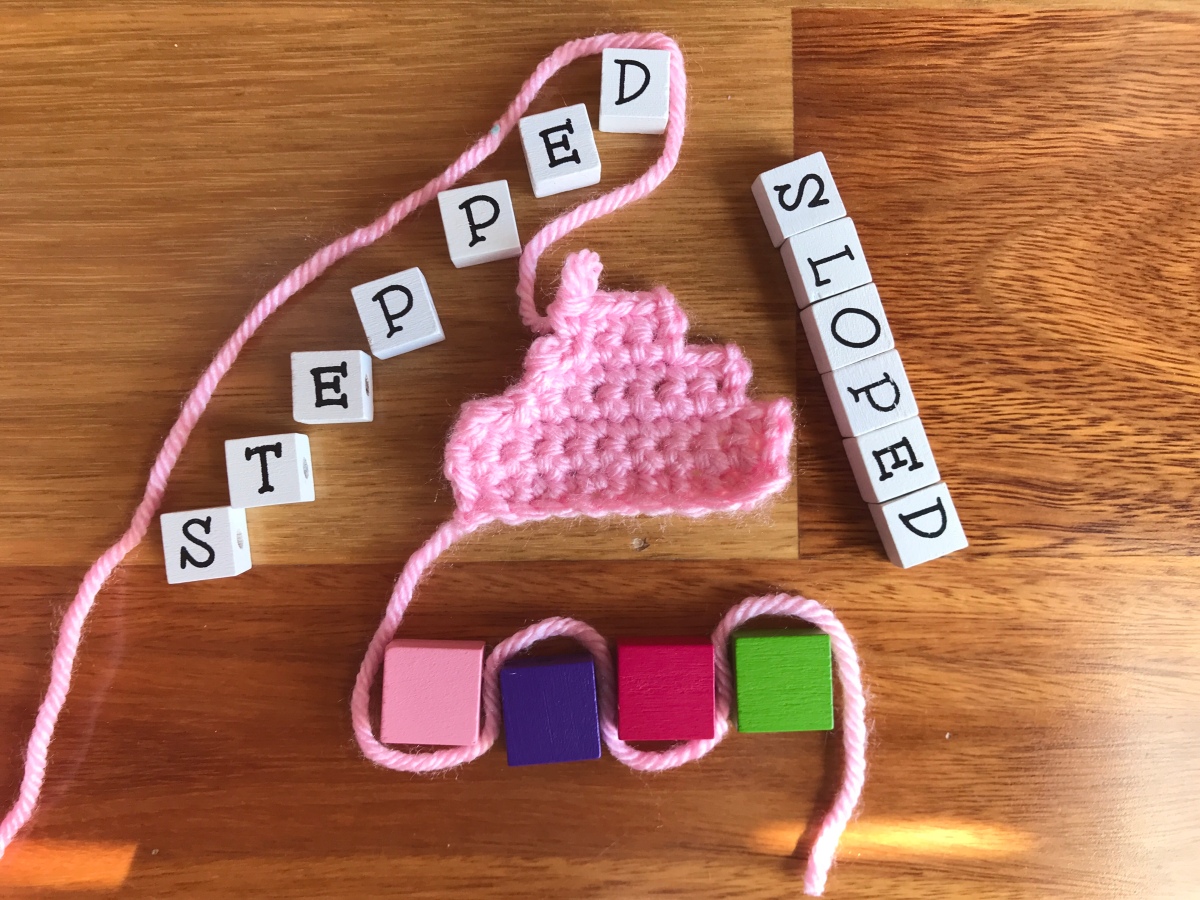
2 x Unusual Decrease techniques – Stepped and Sloped

As the festive season is approaching and a lot of people has busy hands… including myself I have decided to slow down on the posting activity. I hope that all my loyal crochet learners and followers will not mind fortnightly posting instead of weekly. I believe there is so much to do during a holiday and Christmas season so there is only a little time left for learning new crochet stitches… 🙂

At this article I will explain crochet decrease techniques, which are used for shaping the edges (end of the rows) of the crochet projects.

Stepped technique is usually used, when you working on a project with edging – e.g. blanket, table cloth or any other decorative items and you want to have the edging to be stepped (e.g. staircase look). It is good for making a Christmas Tree appliqués too :).

Or also you can use this technique, when you are making pullover sleeve, which is going to be looking like smocking/ shirring stitch was used on the shoulder attachment. When such sleeve is fitted into the rest of the front and back piece it creates the creases around the armhole and shoulder making them looking like puff sleeve (90’s look is back in trend… I know 🙂 ).

Sloped technique is usually used, when you need a mild transition on the edges. E.g. shaping a sleeve of a jumper, while using a taller stitch (double crochet, treble or anything taller than that).

1. Stepped decrease at the end of the row

  • Stitch the required number of rows without decrease (in my case 11 SC).
  • Turn your work without working any turning chains!
  • Insert the hook, from front to back, through the first stitch of the row and wrap the yarn in the barb of the hook. 
  • Pull the yarn through both stitches and loops on the hook. 
  • 1 loop remains on the hook. 
  • Continue working slip stitches across the row until you have decreased the required number of stitches ( in my case 5 stitches). 
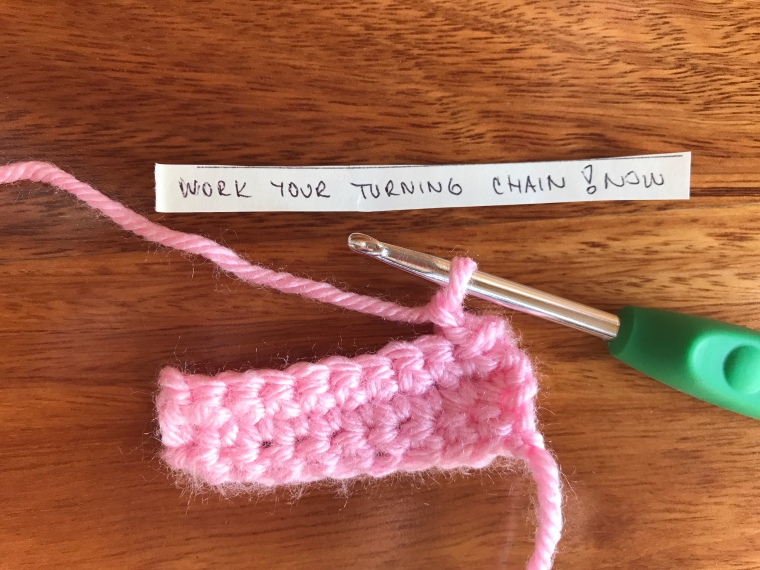
  • Work required number of turning chains (in my case 1 CH), but DO NOT TURN THE WORK ! 
  • Work stitches across the row as required. 
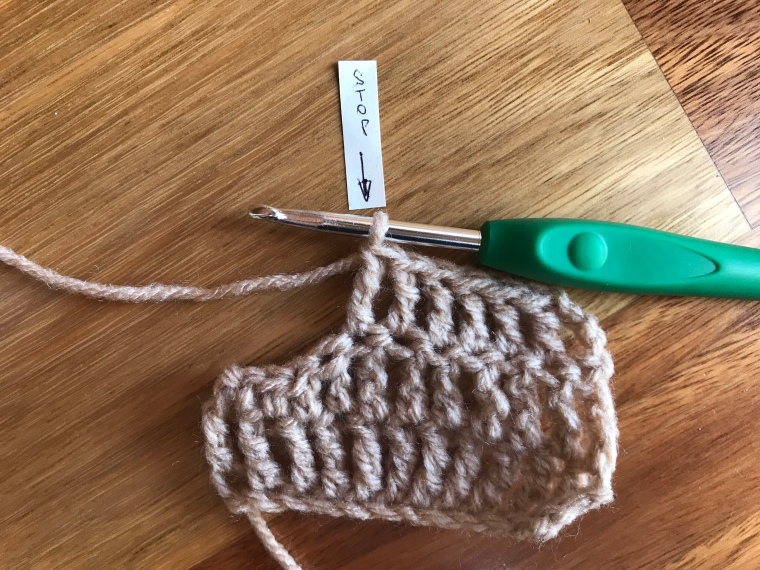
  • You may also wish to decrease in the same way on the opposite end of the work. Stop stitching before the end of the row, leaving the required number of stitches unworked (in my case 5 stitches).
  • Work your turning chains (in my case 1 CH), turn your project and begin the next row.
  • A little project with STEPPED decrease on the picture below: 

2. Sloped decrease at the end of a row

Note: this is best used for double crochet and longer stitches rather shorter stitches like single or slip stitch. This example is using a  treble stitch as the main stitch for demonstration.

  • Turn your project. Work 1 CH for turning.  
  • Work SC (single crochet stitch) into the first stitch of the previous row. 
  • If you want to have the same sloped decrease at the other end of the row as well, you need to start the shorten the stitches in reverse order.  
  • 4 stitches prior to the end of the row – work 1 x TR, 1 x DC, 1 x HDC and 1 x SC to the last stitch. 

  • Work one turning chain (in my case 3 CH) and turn your project. You may decrease again or work in TR across – depends what pattern tells you and what are you shaping.
  • A little project with SLOPED decrease on the picture below: 

Iva’s crocheting tips

  • MARKERS – if you need to increase / decrease at the same position in all your rows (subsequent rows) of your project, place a marker (what is a marker or what else can be used instead of a marker is explained here in my previous article What you need to start – Basic Crochet Supplies
  • EDGES – to keep neat and straight edges, while you are decreasing or increasing try to avoid using the very last stitch at the end of the row (if your pattern allows you to do that). Instead decrease or increase at the second (adjacent) stitch to the very last one. But as mentioned, not always possible to be done, sometimes you need to use the very last one stitch.
  • SLOPE/ STEEPNESS OF THE SHAPE – the slope of the shape is determined by what type stitch you are working and also how steep you want the slope. E.g. row with half double crochet (Half Double Crochet – half short & half long) will require 1 x single crochet (Chain stitch & Single Crochet Stitch) to create the slope. A row of double crochet stitches (How to make Double Crochet (dc) – Treble Crochet (tr) stitch) will require 1 x half double crochet & 1 x single crochet stitch to create a slope and etc. I would not use slope decrease for anything shorter than half double crochet.

Happy Crochet Shaping!

I.

How To Do Decrease in Double Crochet – too many loops?

This article explains crochet decrease techniques used in a double crochet stitch.

The basics of single crochet stitch were explained in my previous article https://yarnonhook.com/2018/12/07/3-usual-ways-of-shaping-by-decrease/ 

1. Single decreasing in double crochet within a row (dc2tog)

  • Stitch to the position of the decrease. In my case I worked 15 DC with 2CH turning. My decrease position is 6th and 7th DC stitch. 
  • Yarn over (aka 1 loop on the hook), take the hook, from front to back, through the next stitch (stitch 6th in my case – you have 2 loops). 
  • Wrap the yarn and pull it through, from back to front over the hook and pull a loop through the picked stitch. You have 3 loops on the hook. (nearly completed DC stitch, but DO NOT COMPLETE). 
  • Yarn over in the barb of the hook and pull it through the first 2 loops only! Leaving 2 loops on the hook. 
  • Yarn over (aka 1 loop) and take the hook, from front to back, through the next stitch (7th stitch – you have 3 loops). 
  • Wrap the yarn and pull it through, from back to front over the hook and pull a loop through the picked stitch ( 7th stitch). DO NOT COMPLETE THE STITCH! You have 4 loops on the hook. 
  • Wrap the yarn in the barb of the hook and pull it through the first 2 loops only! Leaving 3 loops on the hook. 
  • Wrap the yarn in the barb of the hook and pull it through all 3 loops on the hook, completing the decrease stitch (1 loops remains on the hook). 
  • Make sure that the tension is tight otherwise with decreases the usual problem is “holes”… and you do not want to have unnecessary holes in your pattern. Extremely important especially when you are crocheting together more than 2 loops. 
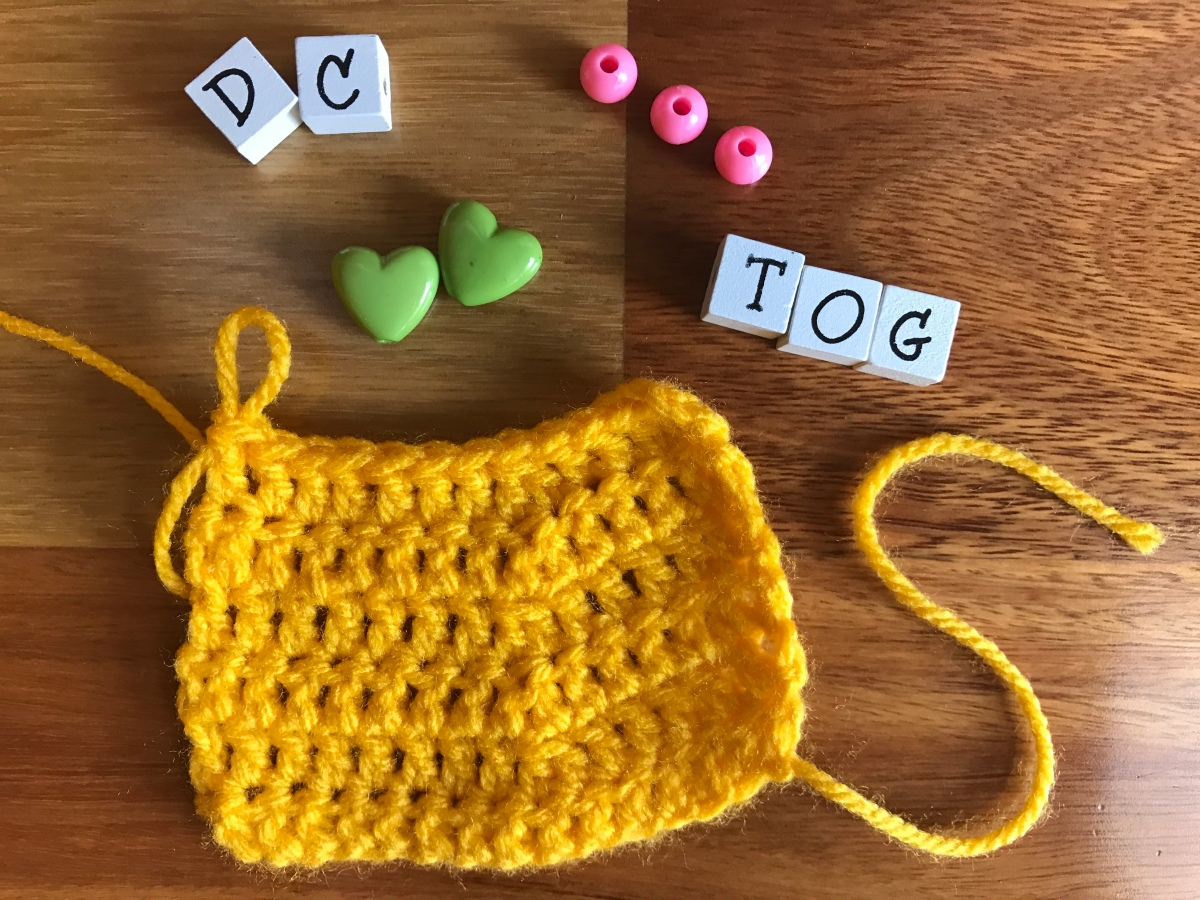
  • A little project with dc2tog decrease on the picture below: 

2. Double decrease in double crochet within a row (dc3tog)

  • Stitch to the position of the decrease. In my case I worked 15 DC with 2CH turning. My decrease position is 6th, 7th & 8th DC stitch. 
  • Yarn over (aka 1 loop), take the hook, from front to back, through the next stitch (6th stitch – you have 2 loops). 
  • Pull the yarn, from back to front over the hook and pull a loop through the picked stitch (6th stitch – have 3 loops on the hook). 
  • Yarn over in the barb of the hook and pull it through the first 2 loops only! Leaving 2 loops on the hook. 
  • Yarn over (aka 1 loop) and take the hook, from front to back, through the next stitch (7th stitch – you have 3 loops). 
  • Yarn over and insert the hook through the next stitch (7th stitch) wrapping the yarn in the barb of the hook and pulling it through the picked stitch (you have 4 loops on the hook). 
  • Wrap the yarn in the barb of the hook and pull it through the first 2 loops only! Leaving 3 loops on the hook. 
  • Yarn over (it appears like 4 loops on the hook
  • Insert the hook through the next stitch (8th stitch) wrapping the yarn in the barb of the hook and pulling it through the picked stitch (you have 5 loops on the hook). 
  • Wrap the yarn in the barb of the hook and pull it through the first 2 loops only! Leaving 4 loops on the hook. 
  • Wrap the yarn in the barb of the hook and pull it through all 4 loops on the hook, completing the decrease stitch (1 loops remains on the hook). 
  • Make sure that the tension is tight otherwise with decreases the usual problem is “holes”… and you do not want to have unnecessary holes in your pattern. Extremely important especially when you are crocheting together more than 2 loops. 
  • A little project with dc3tog decrease on the picture below: 

Happy Crocheting!

I.

How to make Double Crochet (dc) – Treble Crochet (tr) stitch

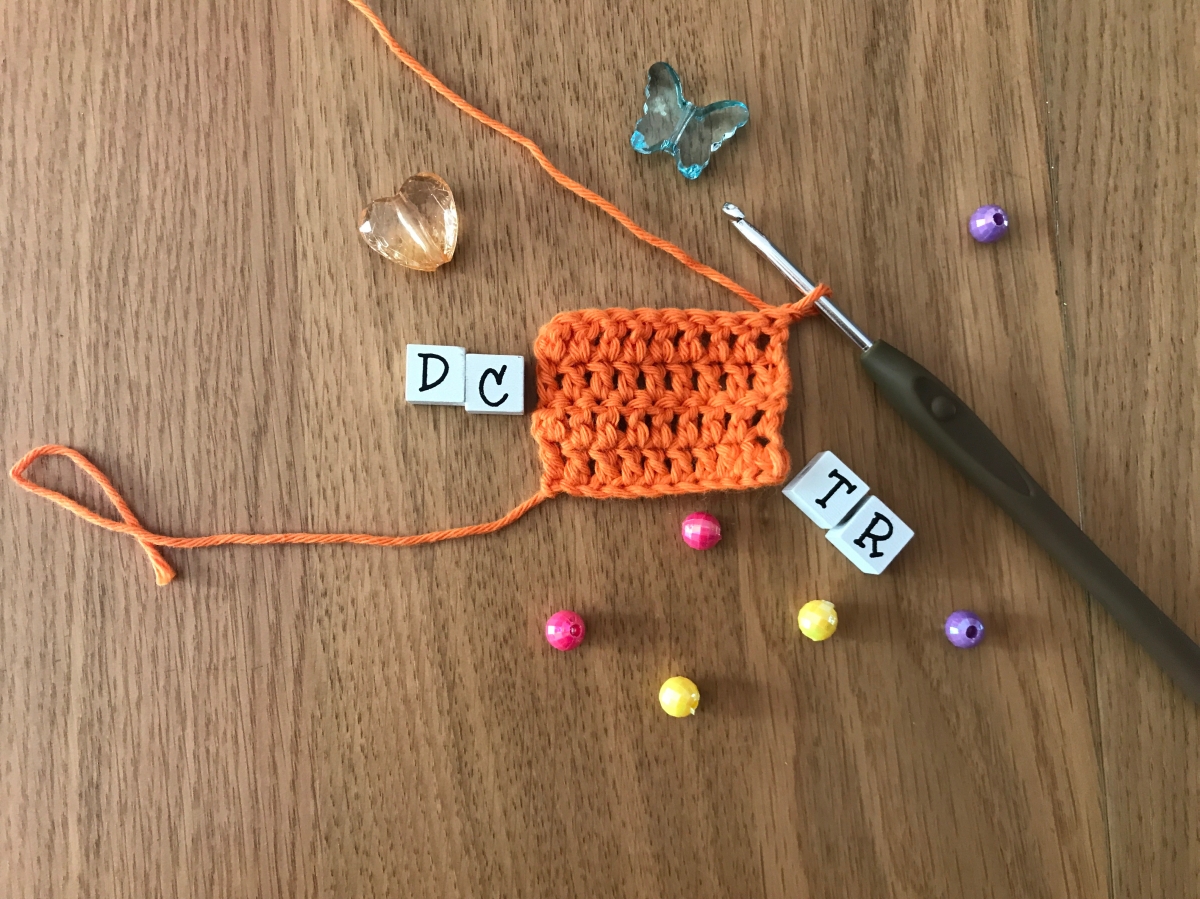
In this post I will explain how to make Double Crochet (dc) Stitch. In British terminology also known as Treble Crochet (tr) stitch.

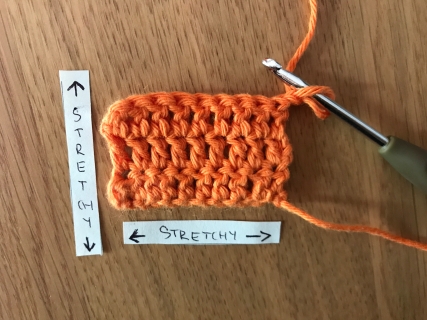
Personally I like this stitch a lot, it is easy to make, your piece is quickly done, stitch is stretchy and widely suitable for broad spectrum of projects.

However, if you are Amigurumi maker, you will not need this stitch as much as majority  Amigurumi projects are done in a single crochet stitch (Chain stitch & Single Crochet Stitch ).

Double Crochet stitch (dc) does not necessarily mean double trouble :). Double means that it is long stitch – longer than half double crochet (Half Double Crochet – half short & half long ) and longer than single or slip stitch (How to make a Slip Stitch (ss) the smallest stitch of all and Chain stitch & Single Crochet Stitch). Stretches well in height as well as width, which can be handy when working with 100% cotton yarn. img_3926.jpg

Double Crochet Stitch – Usage

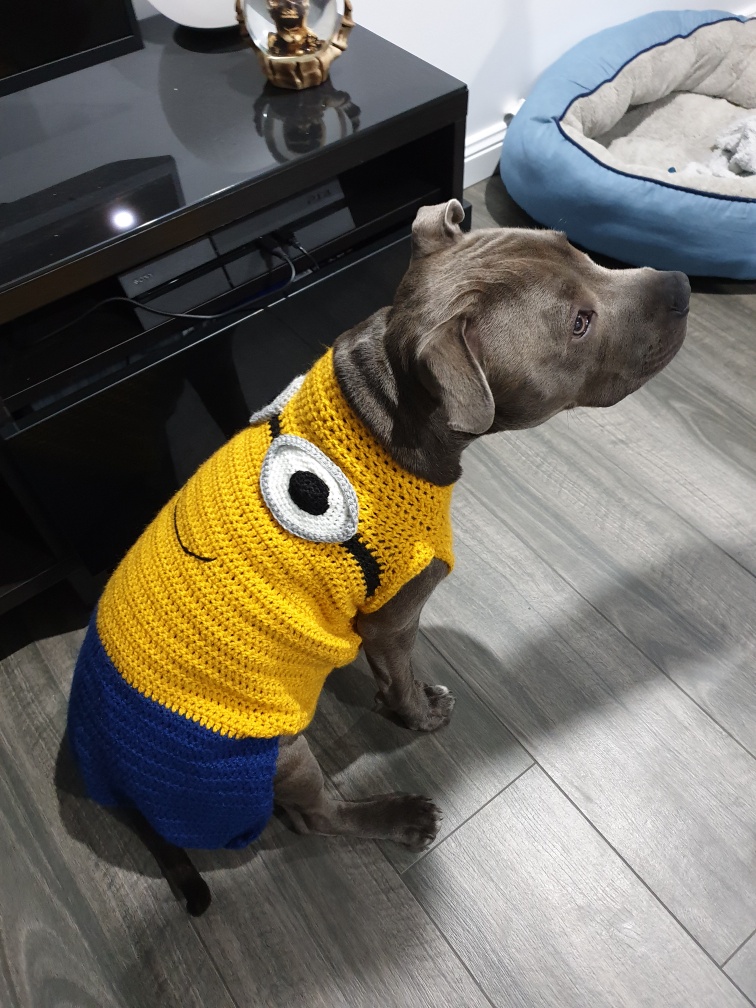
The Double Crochet Stitch is the very common crochet stitch, belonging to the absolute beginners crocheting foundation stitches. It is made of two single crochet stitches in height, but it is not as tight as the single crochet stitch. The double crochet is a beautiful stretchy stitch, suitable for blankets any other garments including socks. IMG_0851I used it even on a dog jumper :). You can read here all about the dog jumper project: Crochet Minion Dog Outfit – (L) Free Pattern.
Double Crochet Stitch Tutorial – How To

  1. Work the required number of your base chain stitches as per your pattern. Chain stitch explained here Chain stitch & Single Crochet Stitch In my case it is 10 CH (chain stitches). IMG_9178
  2. Some patterns tells you to make extra 3 chain stitches – turning at the end. I am not big fan of that as it always gives me a little hole between the first stitch and subsequent stitch on each side 😦 . I am turning Double Crochet Stitch with 1 chain stitch only, but you do what ever you works for you (3 or 1 chain stitch to turn).
  3. I worked 1 CH (chain stitch) as turning.
  4. Wrap the yarn from back to front (yarn over – yoIMG_4144
  5. Insert the hook from front to back through the 2nd chain stitch, in case you turning with 1 CH only!!!! (otherwise insert the hook into 4th chain stitch from the hook – turning with 3CH).
  6. You should have 3 loops of the yarn on your hook IMG_5646
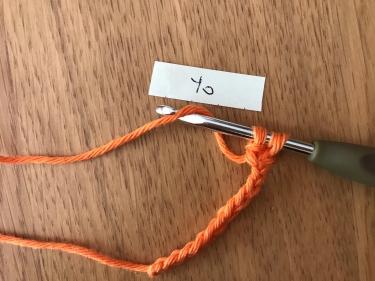
  7. Yarn over
  8. Pull the yarn through 2 loops only by drawing the hook backwards. You should ended up with 2 loops on your hook.
  9. Yarn over img_4123.jpg
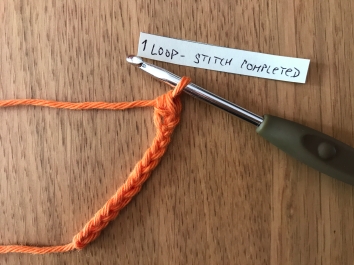
  10. Pull the yarn through the 2 remaining loops by drawing the hook backwards
  11. One loop remains on the hook – Double Crochet Stitch is completed! 🙂 img_1831.jpg
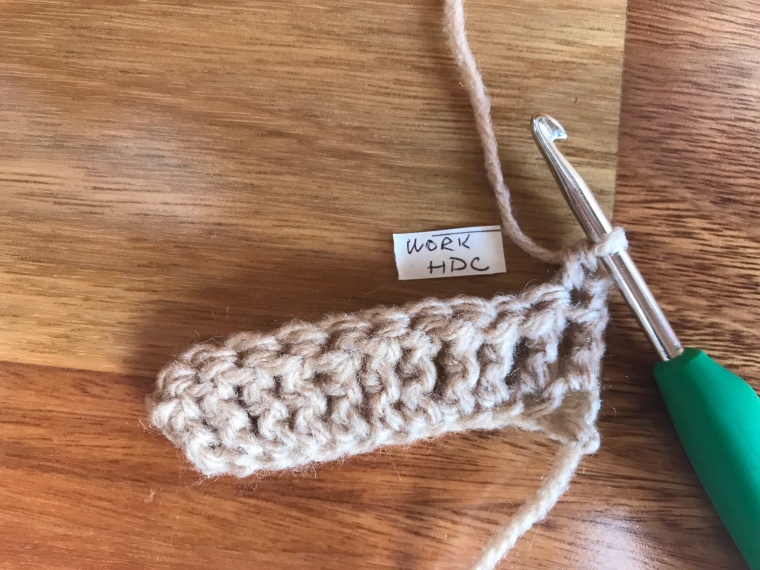
  12. Work till the end by repeating steps 4 and 6 to 11 
  13. At the end work 1CH (or 3CH) for turning, turn your work and continue with the same manner as step 12.  You insert the hook under the two strings of the dc stitch from previous row.
  14. Continue step 13 until your piece measures the desired length or your pattern instructs you otherwise.

Also if you prefer to watch a video tutorial how to make Double Crochet Stitch (dc) click on the following link here : How to make Double Crochet Stitch (dc)

Well done !

I.

Crochet Minion Dog Outfit – (L) Free Pattern

Hello everybody, my nephew asked me if I am able to make a jumper for his still a puppy English Staffordshire Bull Terrier. His name is Pablo and you can follow his growing up journey here:

Pablo Blue Staffy

Well, there was no other specification, than that it should be a jumper to keep him warm during winter cold nights. I mean Australian winter cold nights in New South Wales, so just to explain that you understand – very mild winter, ~ minimum of 2 degrees Celsius in a very cold morning at the place where Pablo lives and definitely no snow 🙂 In case you would like to make this jumper for a dog living in a different geographical place, it is worth considering that you will need a different type of yarn, thickness and something washable as snow makes it wet, muddy and dirty.

Make a jumper for a dog ! Easier said than made 🙂 This was a challenge!

If you wanna make a dog outfit and you do not have any clues, you could follow the steps below, which I have put together for any clueless crocheters out there wanting to make a dog jumper:

1. Measure the dog

This step is super important! I took Pablo’s measurements all around him, not even knowing which ones I need. I follow basic arithmetic principles – measuring of length, circumference and width. I took advantage of having him here for a short visit and measured the following:

  • length of the top of the back (neck to tail)
  • circumference of his all legs – one by one, just in case they different 🙂 – everyone is unique
  • circumference of his neck (Staffy is muscly and his neck is a stroooong one)
  • diameter of his head (again, he has quite big head compare to his body)
  • distance between front legs
  • distance from the bottom part – neck to the most important part (it is used for wee wee 🙂 )

2. Choose a yarn, hook & colours

I did choose a 10 ply acrylic yarn and 5.5mm hook, that the project will be quick and stretchy. 100% Acrylic yarn is sturdy (does not wear off easily) & machine washable just in case he gets dirty. I did not know what pattern or colours at the beginning to choose from, but found this super cute video on internet here : Minion Dog this one was obviously made for super teeny-tiny dog compare to Pablo).

I fell in love with the idea of making a minion jumper! I rushed to my local craft store and got:

  • 300 grams of a dark blue
  • 150 grams yellow
  • and found at home less than 50grams of white, less than 20 grams of grey and probably 50grams of black 100% acrylic yarn

A bit of arithmetic

All yarn is 10ply thickness, however you can use any other thickness if you wish. As you will read later in this article, I did not follow the written pattern, rather the layout of the pattern and Pablo’s dimensions.

That gives you a free choice of yarn thickness and hook size. You just need to chain so many stitches to obtain the size in [cm] what you have measured. E.g. for 1cm measurement it took 5 chain stitches with 10 ply yarn and 5.5mm hook. With thinner yarn you will use smaller hook (to have the same tension) and do more stitches within 1 cm.

3. Pattern

To make a dog jumper I followed this original pattern Large Dog Pattern as despite his height Pablo fits to LARGE size.

I did not follow the entire pattern only the sizing jumper layout at the back of the pattern. I used for the entire jumper double crochet stitches, just to make it simple and plain. The entertaining motif is the minion look so I did not want to overcomplicate the stitches.

Back 

Starting with blue colour and changing to yellow just when the back is passing the “wee wee point” at the bottom.

When the pattern is not square but is narrowing I did crochet together 2 DC & 2 DC on each side each row until the measurements were exact the same I needed for Pablo.

The rest of the jumper back body was made in yellow, up until start of the front legs. Switched to black and did 3 rows in black. Switched back to yellow and followed the shape of the pattern to the end. I left a bit wider neck opening as Staffies have very muscly neck compare to the written pattern layout mentioned above.

Front

The entire pice was made in yellow following the shape pattern and comparing to Pablo’s sizing. I used DC stitch and 2x DC & 2 x DC together (decrease) where needed based on the pattern shape and dog sizing.

Jumper Assembly

The jumper is sewn together using tapestry needle and yellow yarn. Just make sure that you put together only the sides and leave the opening for front legs ( I did this a bit wider as Pablo is muscly dog). The jumper is also sewn at the top leaving opening for neck (creating arms).

Minion Eyes:

2 x circles made from white (probably 7cm in diameter – larger) and 2 x circles made in black (3.5cm diameter – smaller).

Basic circle making logic:

I started with magic ring (MR)  and 6 DC in MR, connect with slip stitch to make a circle. To each DC crochet 2 DC in the next round (increase), connect with slip stitch. At the end of the round you should have 12 DC. Next round repeat 1 x DC in DC, 2DC in 1 x DC to the end of the row. Connect with slip stitch. Next round repeat 1 x DC in DC, 1 x DC in DC and 2 DC in 1 X DC to the end of the round and connect with slip stitch. You follow this logic (slow increase in each round) until you happy with the size of the circle.

Grey edge of the eye – goggles:

Chain enough stitches with grey yarn, enough to cover your white circle circumference. Connect with slip stitch to make a circle.

SC into each chain stitch around and connect with slip stitch. Next round SC BACK LOOPS ONLY in each SC around, slip stitch and finish off. Leave a longer end for sewing.

Eyes Assembly:

Starting with white circle, position black circle (pupil) into the centre of the white and place them onto the back of the jumper where was the 3 black rows. Black row should be in the middle of the eye – making a goggle strap. Pin it and position the other eye. Once you happy with how it looks sew them on the jumper. Sew on the white edge the grey circumference for goggles.

Embroider the face with black yarn for thicker effect or embroidery thread for more subtle look.

And voila, you have a minion jumper !

Pablo in his new jumper:


Design a site like this with WordPress.com
Get started