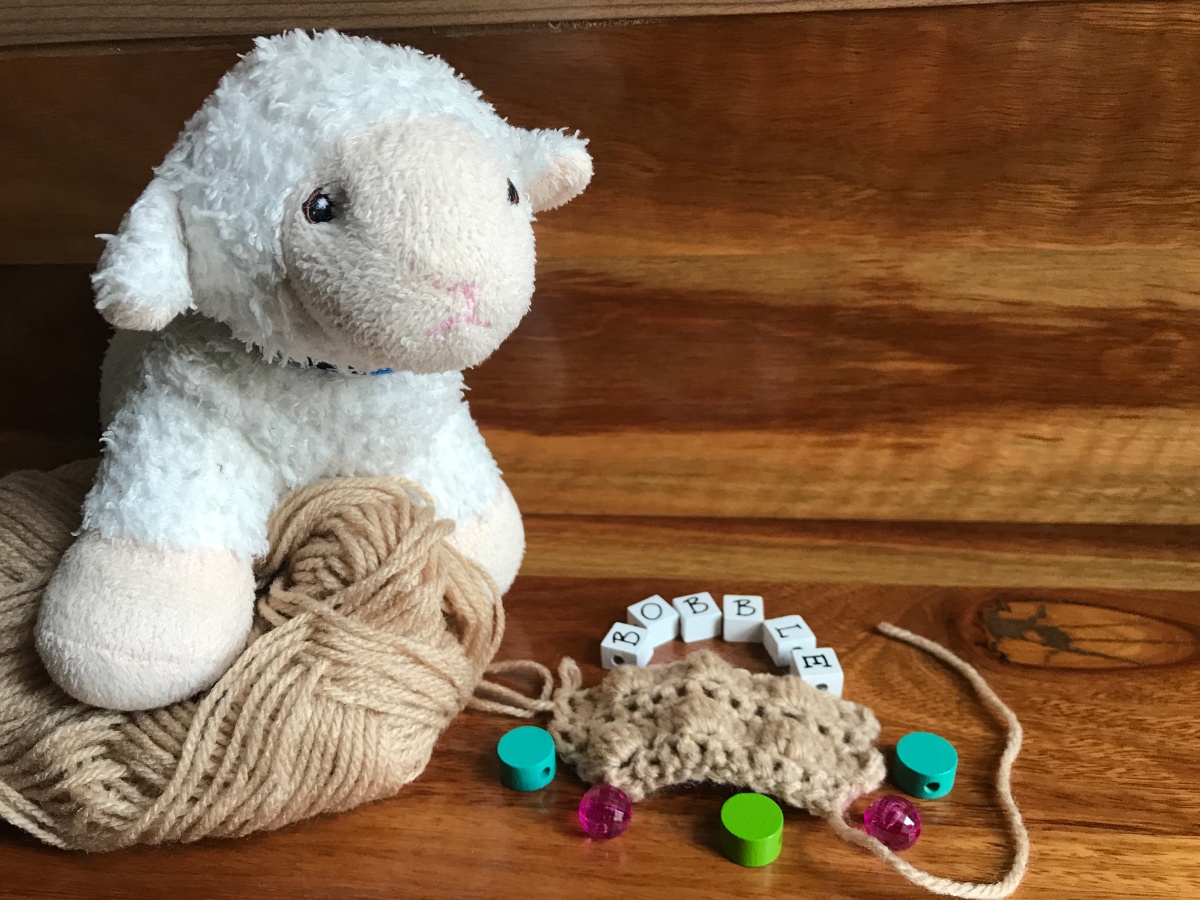
I know it is a festive season, but why not to make something special like a little toy sheep as an addition to your Nativity Set?

Ok, it might be a bit late for this year Xmas I know 🙂 but never late for next year Christmas or an upcoming Easter ! 😀
A beautiful free pattern for sheep toy worked in Bobble Stitch, developed by Kristi, and it can be found on her website here http://engsidrun.spire.ee/blogs/blog1.php/bobble-sheep
The sheep skin is curly and bobbly so that is why this article will explain how to make a Bobble Stitch also known as a Cluster stitch.
Usage
You do not need to crochet only sheep using a bobble stitches. Bobble stitch has a many uses among creating an amigurumi sheep toy. It is also a very pretty as an edging too!
Winter garments like mittens, scarfs, hats, bulky jumpers, hand bags or home decorative items e.g. blankets, coasters, face washers, scrubbers, rugs or cushion covers a beautiful in Bobble stitch and I bet after this special tutorial you will have a go on some of these projects soon!
It has plenty of texture on its own so you can crochet in monochrome (one colour only), but also it can be used on multicoloured projects and it still looks good.
Bobble stitch is versatile, just remember it has a texture so it is better used on a projects when thickness & warmth is needed. Not so much good for summer tops…
Iva’s Tips
- Yarn Usage – So you like the bobbles, ok then. Make sure that you do have plenty of yarn on hand as bobble stitch uses a lot more yarn than any other stitch out there.
- The Wrong Side is the good side. Yes, Bobble stitch is usually worked on the wrong side rows.
- You want to show off you Bobbles? – Split the bobbles with some smaller stitch – single crochet stitch will work just fine. Make 1 x bobble, 2 x SC, 1 x bobble and repeat. The bobbles will stand out more. Experiment as you like :).
How To Make Bobble Stitch
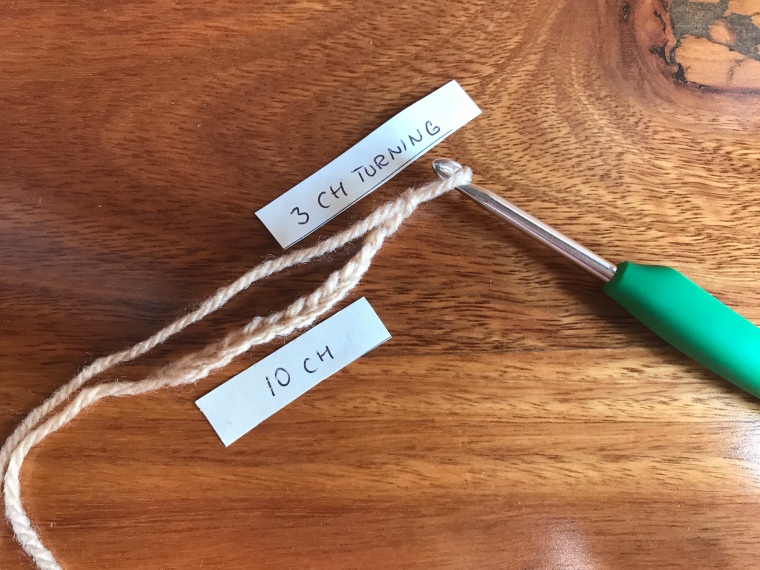
- I worked chain of 13 CH (10 x CH base with 3 CH turing ). First row starts in the 4th stitch form the hook and the entire row is worked in double crochet DC till the end. Read my previsous article about how to make DC stitch https://yarnonhook.com/2018/11/16/how-to-make-double-crochet-dc-treble-crochet-tr-stitch/

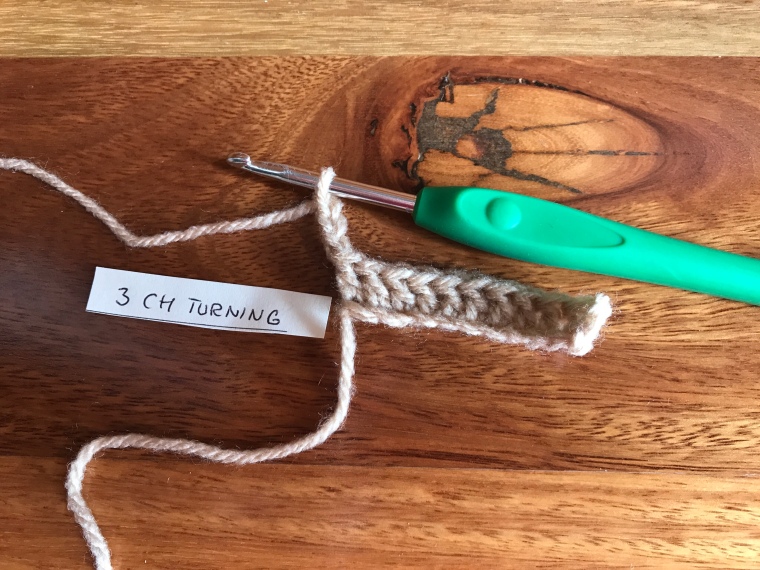
2. 3 CH for turning and turn the work – the wrong side (the good side to make the bobbles :))
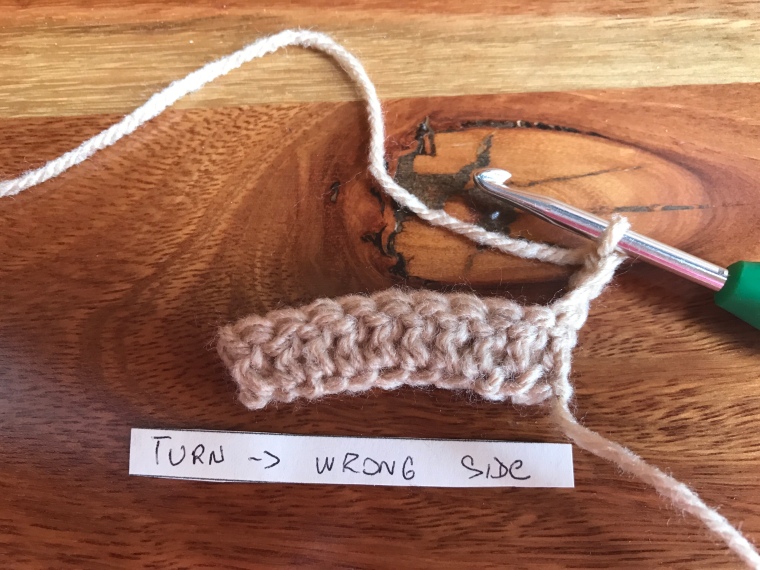
3. On a wrong side row, stitch to the position for the planned bobble. I did 2 x DC in order not to have the bobbles straight away on the edge of the project.


4. Wrap the yarn.

5. Take the hook, from front to back, through the top of the next stitch of the previous row.

6. Again, wrap the yarn, from the back to front, over the hook.

7. Draw the hook backwards to pull the loop through the top of the stitch. There are 3 loops on the hook.

8. Wrap the yarn.

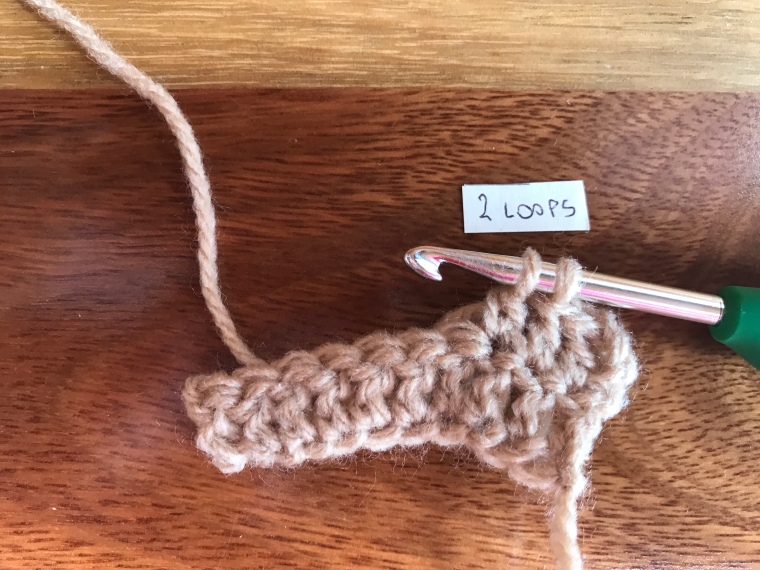
9. Draw the hook backwards to pull the loop through the first two loops on the hook. 2 loops remain on the hook.

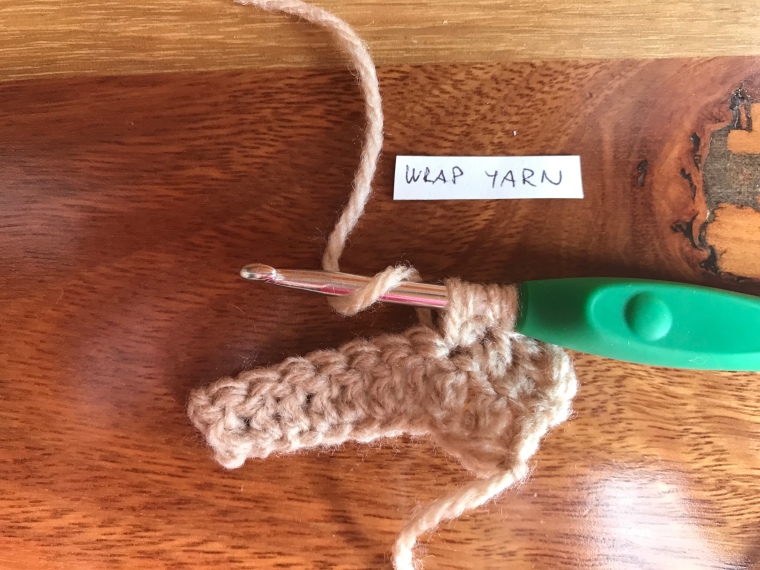
10. Wrap the yarn.

11. Take the hook, from front to back through the top of the same stitch as before.

12. Wrap the yarn.

13. Draw the hook backwards to pull the yarn through the top of the stitch of the previous row. You have 4 loops on the hook.


14. Repeat steps 8 – 9. You will have 3 loops on the hook.


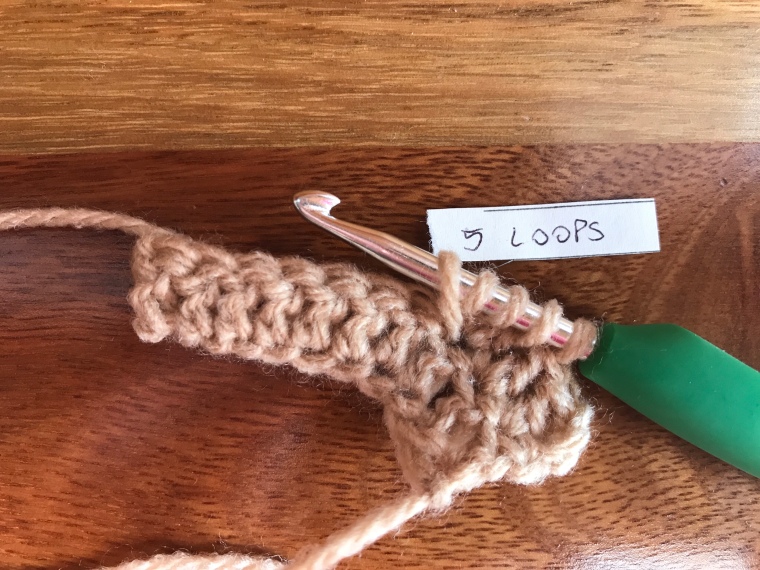
15. Follow steps 10 – 14, work 3 more stitches in the same manner. You will have 6 loops on the hook. Make sure that you always inserting the hook back to the same stitch !!


16. Wrap the yarn.
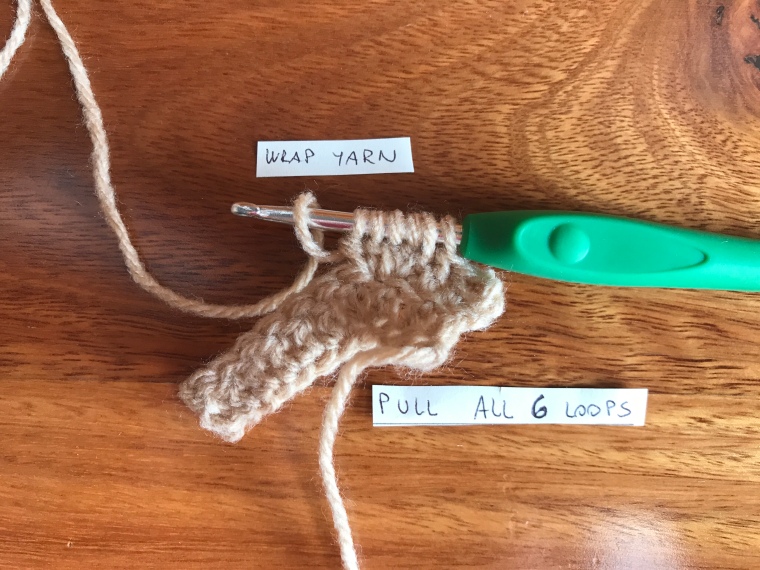
17. Draw the hook backwards to pull the yarn trhough ALL the loops on the hook.
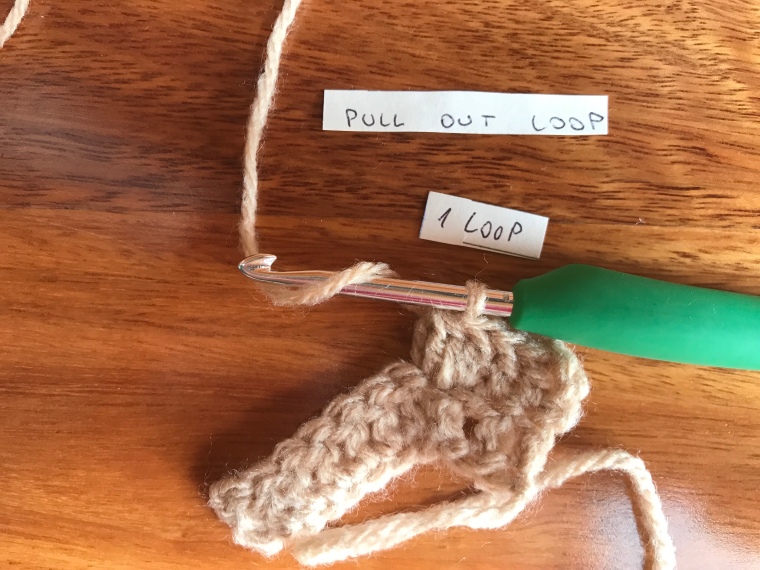
18. Wrap the yarn.

19. Draw the hook backwards to pull the yarn the remaining 1 loop on the hook – completing and securing the bobble.
20. Continue with the next stitch either bobbling or make some spaces with SC or DC in between if you want to spread the bobbles a little bit.
For demonstration, I split them 2 x DC apart. I am turning with 3CH at the end, but inserting into the same stitch, when I turn.
Also I worked bobbles only on the WRONG SIDE of my project. That means that the right side has DC row only.


Here is my little bobble project:

