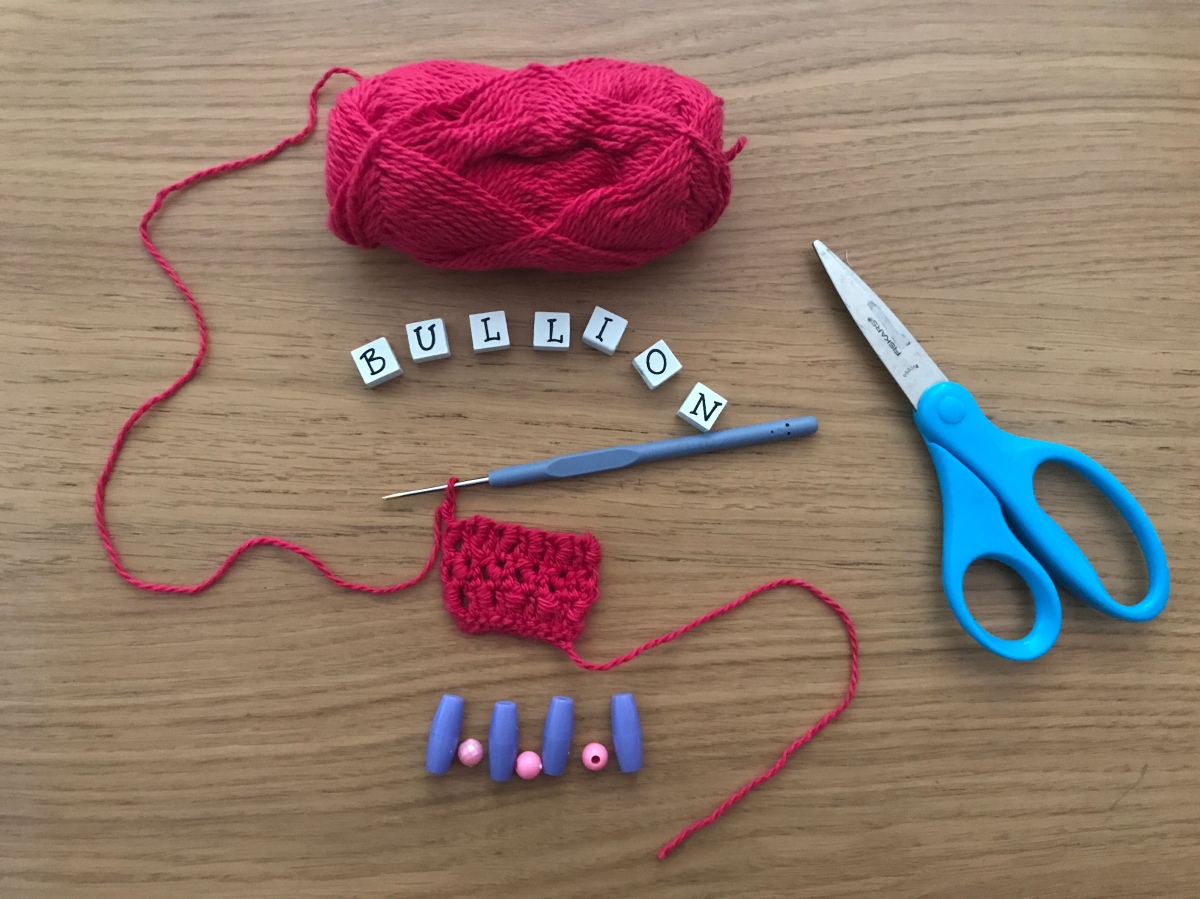
Bullion stitch is widely known among crafters, who are mainly focusing on embroidery.
In embroidery term Bullion stitch is a decorative technique that is worked by twisting a thread around a sewing needle several times before inserting the needle into the cloth.
Bullion stitch can also be used in crochet as a technique to create more textured stitch. This stitch can be used on blankets or throws but also on garments even summer tops. The best outcomes are with fine yarn and smaller hook, the stitch is see through so it gives it the perfect usage during warmer weather (vests, crop tops, tanks or tops in general).
How to do a Bullion Stitch
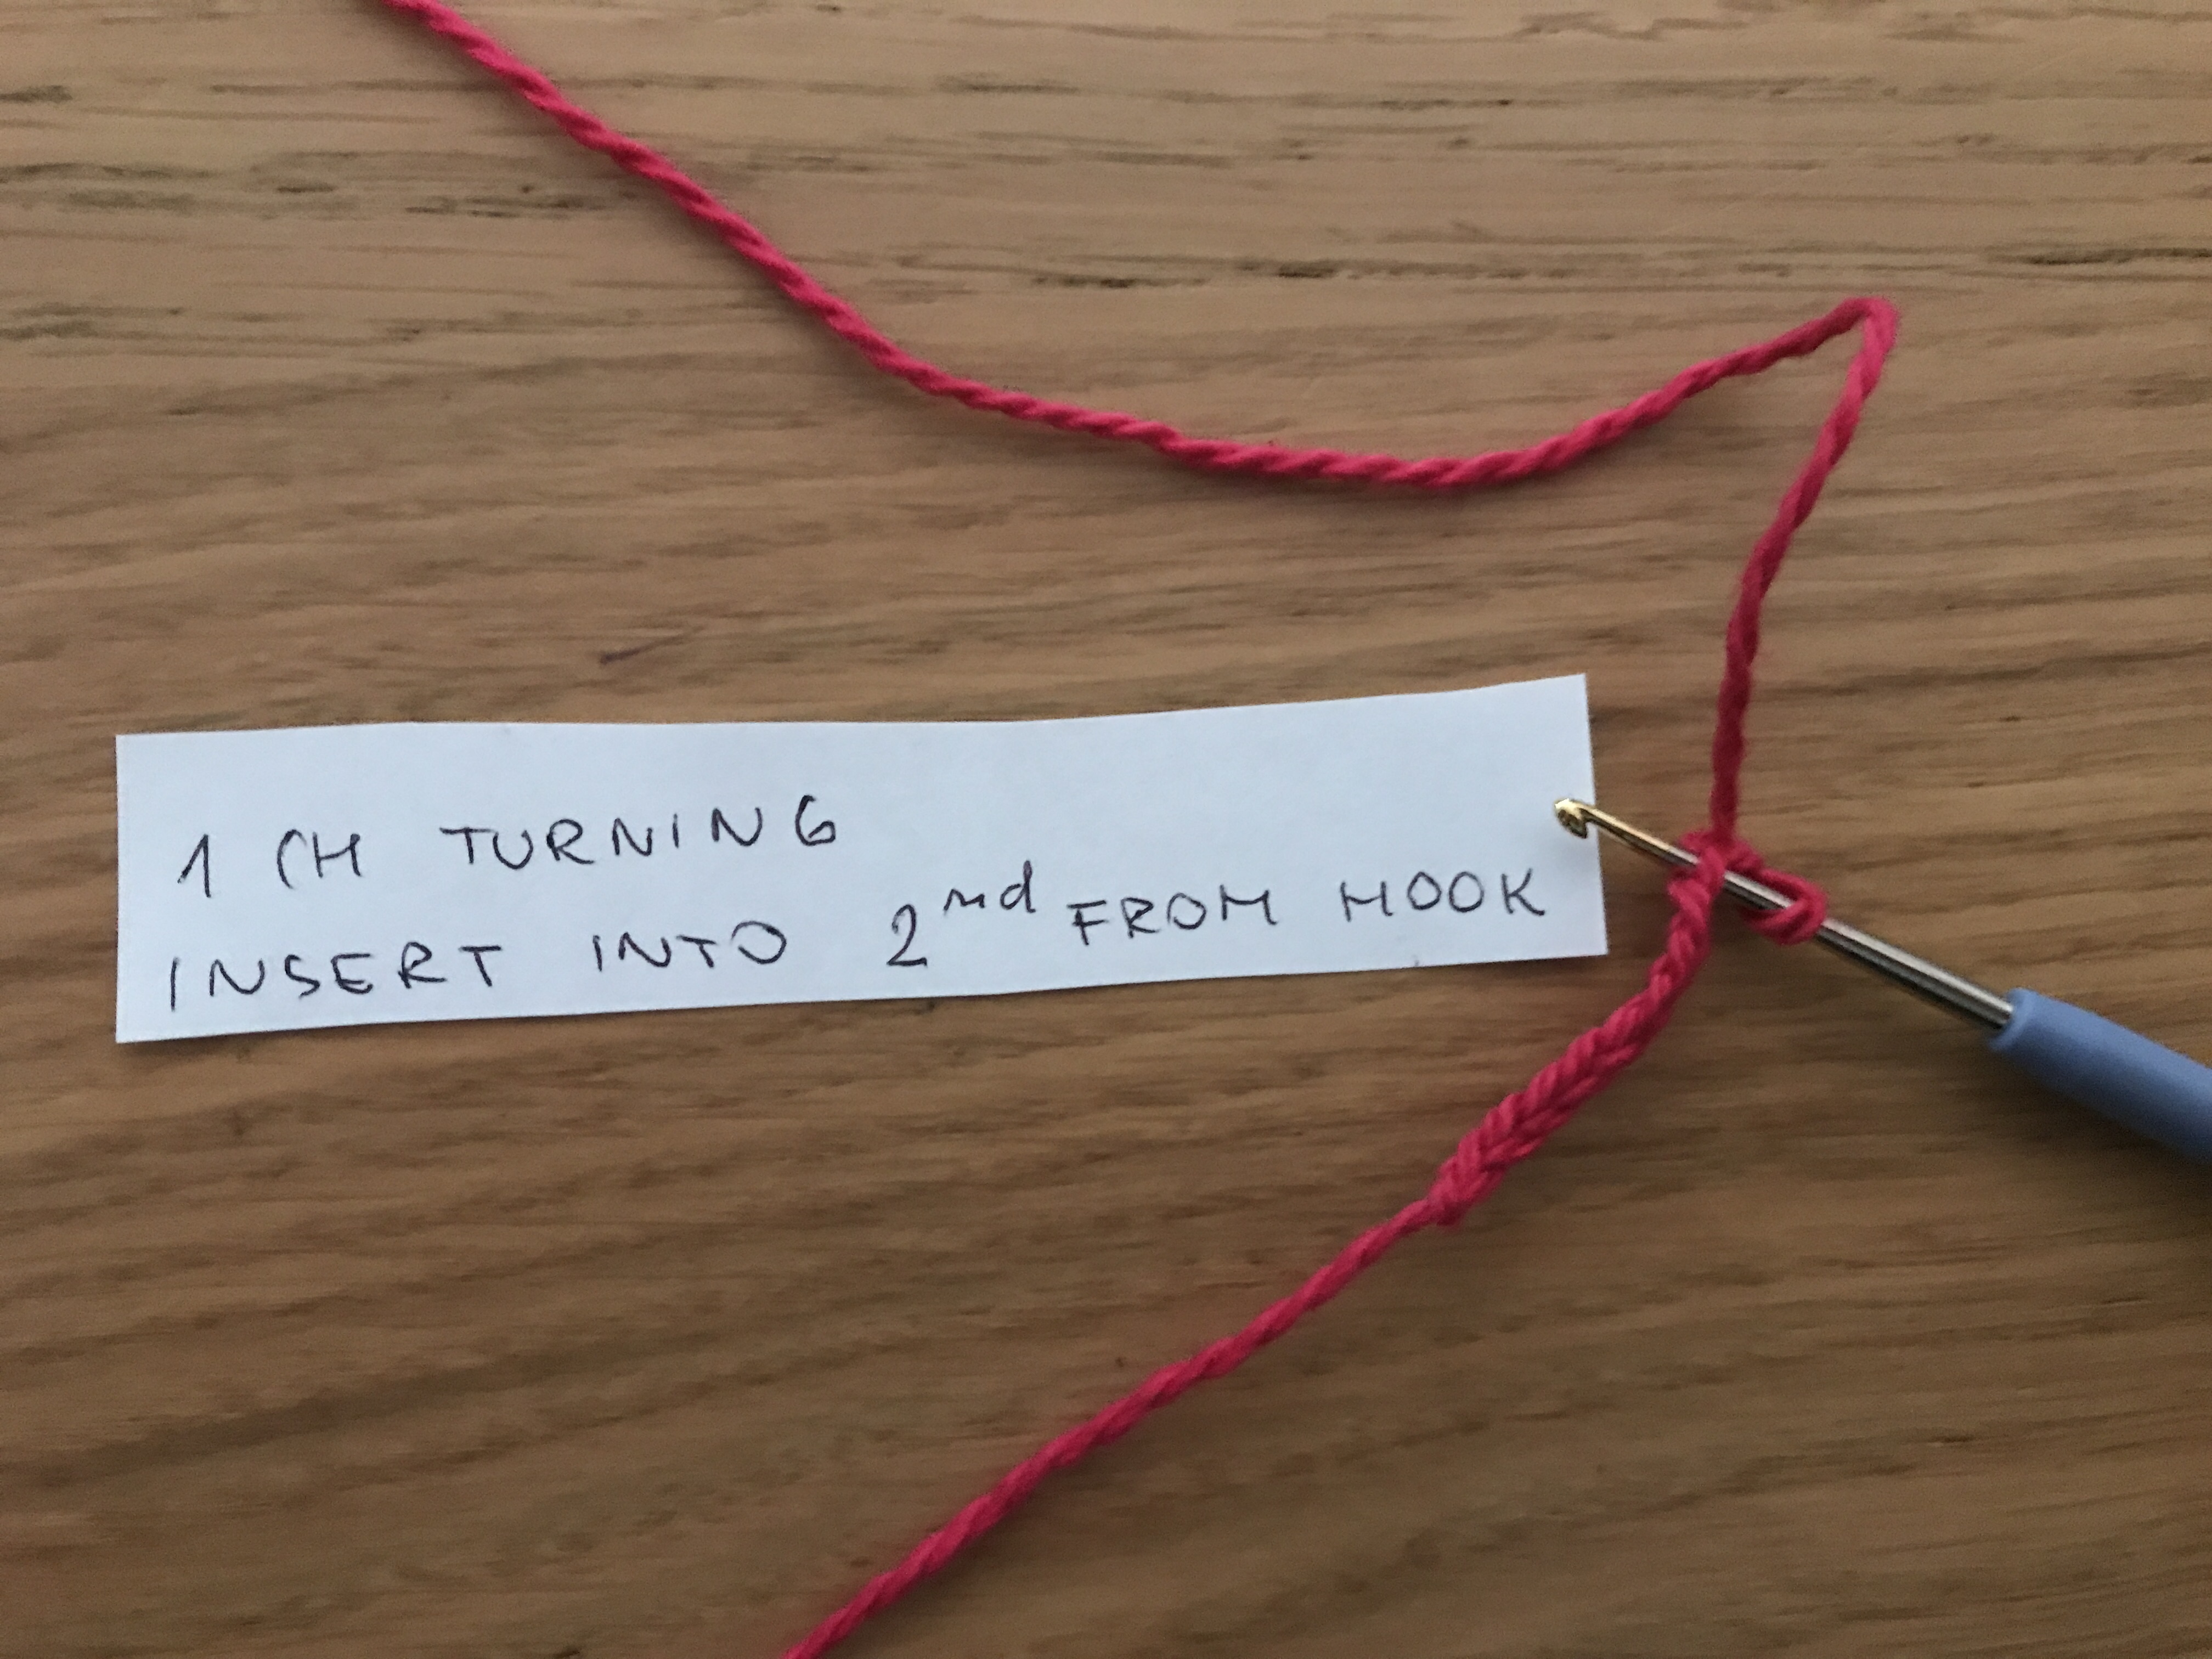
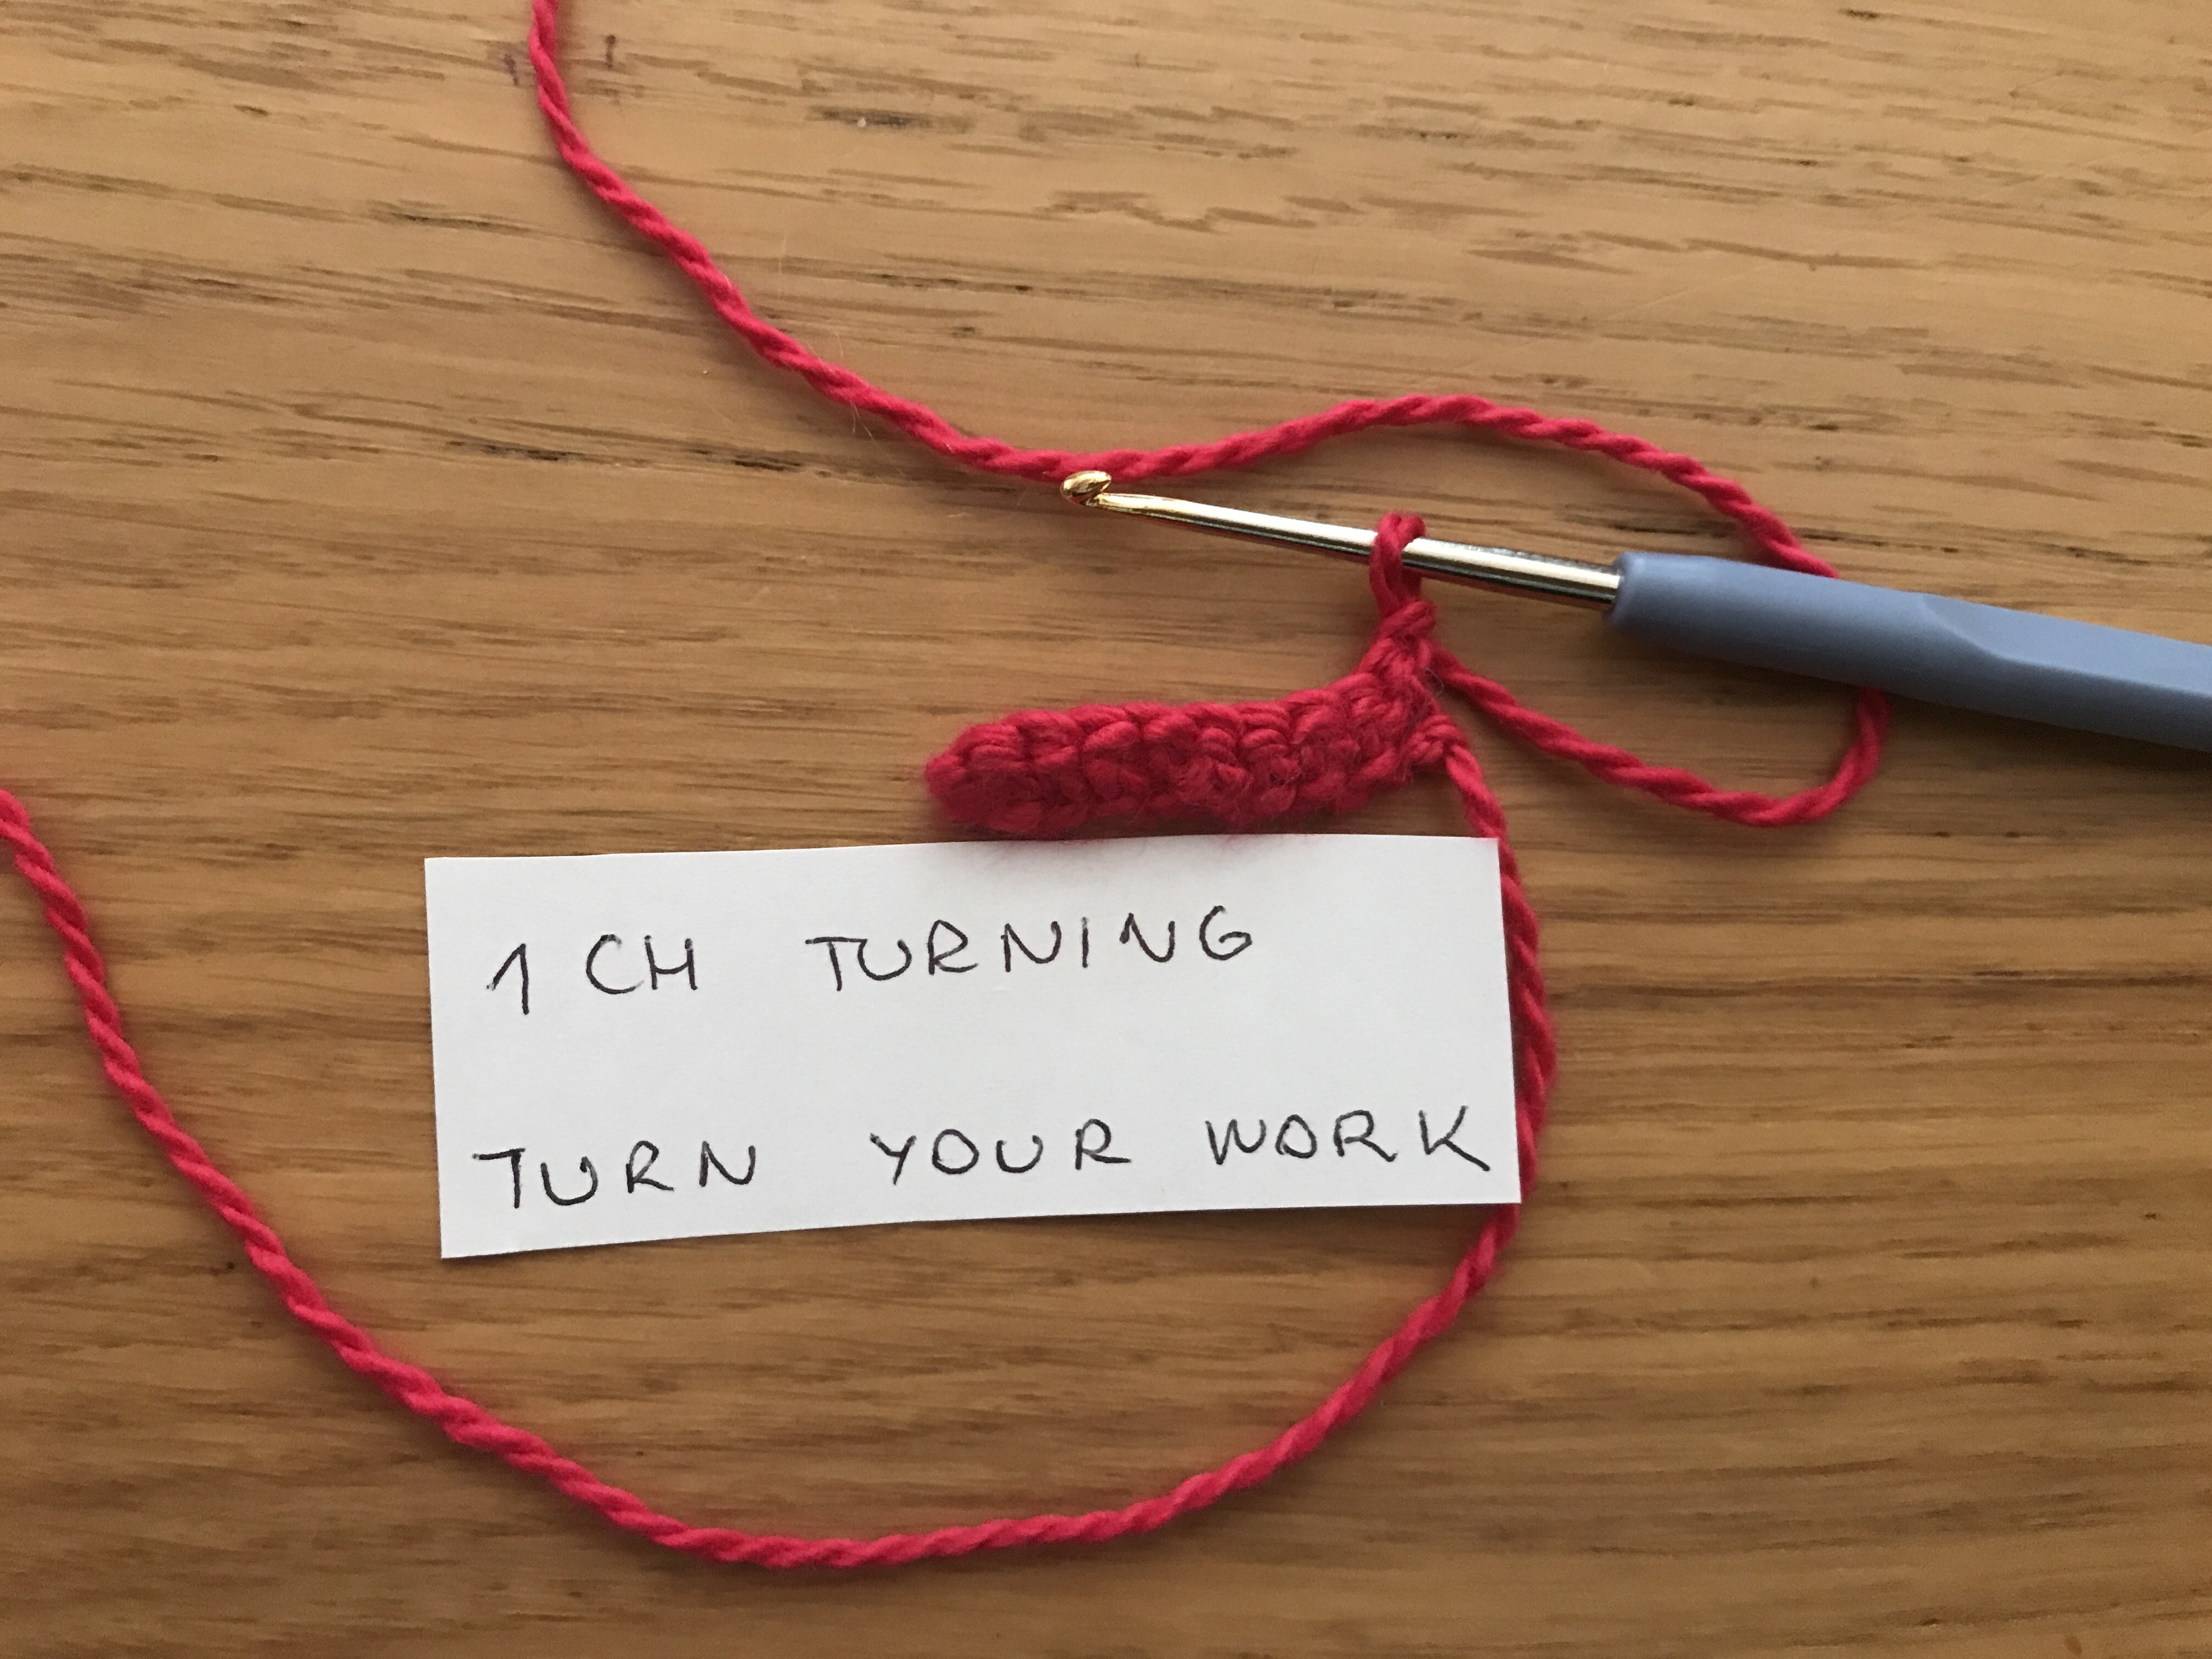
- For demonstration I have chained 10CH including 1 CH for turning. Crochet 9 x SC till the end. 1 CH for turning. This creates your base. I used 1.75mm hook, 4 ply silk yarn in raspberry colour. For help with chain stitch and or single crochet stitch you can read my previous article here https://yarnonhook.com/2018/10/05/chain-stitch-single-crochet-stitch
2. Wrap the yarn, from back to front, over the hook 7x times (8 loops on the hook). Make sure it is loosely but not loose completely.

3. Take the hook, from the front to back, through the top of the next stitch of the previous row.

4. Again, wrap the yarn, from back to front, over the hook (only once !)

5. Pull the hook backwards to draw the loop through the stitch (9 loops on the hook).

6. Wrap the yarn, from back to front, over the hook (10 loops on the hook).

7. Draw the hook backwards to pull the wrapped yarn through all 9 loops at once!


8. Crochet DC in to the next stitch. How to crochet DC – https://yarnonhook.com/2018/11/16/how-to-make-double-crochet-dc-treble-crochet-tr-stitch/

9. Continue with the steps 2. – 8. till the end of the row.
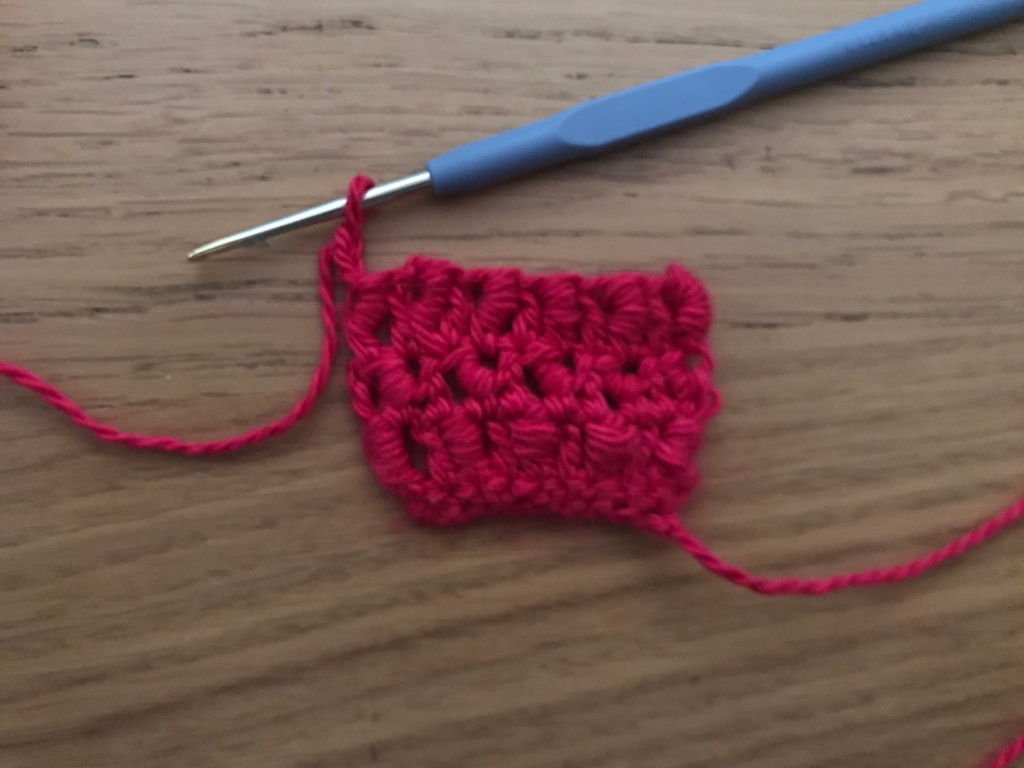
10. Make 3 CH for turning and repeat the steps 2.- 8. until you reach desired length of your project. Make sure that Bullion stitch is completed into the previous row of Bullion stitch, otherwise they will show in offset pattern (which you may also like and do it on purpose 🙂 as it looks cool too).


Iva’s Tips & Hints
If you want to show Bullion stitch only on one side (right side), make row of DC in between (wrong side). In my case I did Bullion stitch on both sides without the offset – DC into DC and Bullion into Bullion stitch. Therefore Bullion stitch is showing on every second row (right side only). You also do not need the DC in between Bullion stitches. In my opinion the Bullion stitch shows off the texture nicer when there are DC stitches in between.
I usually hold the hook as a pencil (https://yarnonhook.com/2018/09/01/how-to-hold-a-hook-yarn/), however working Bullion stitch it may be easier to hold the hook and twisting the position while pulling through the loops. I have found that the “pencil” hold will more likely get stuck while pulling through the 9 loops. Use your thumb to help the yarn through. I pull 1 loop at the time until all done.
I would recommend a yarn which is fine (sock yarn, lace yarn or a yarn which is thin), not shaggy or fluffy like e.g. mohair. I got the best outcome with sock yarn containing % of nylon or yarn with silk as they are more slippery.

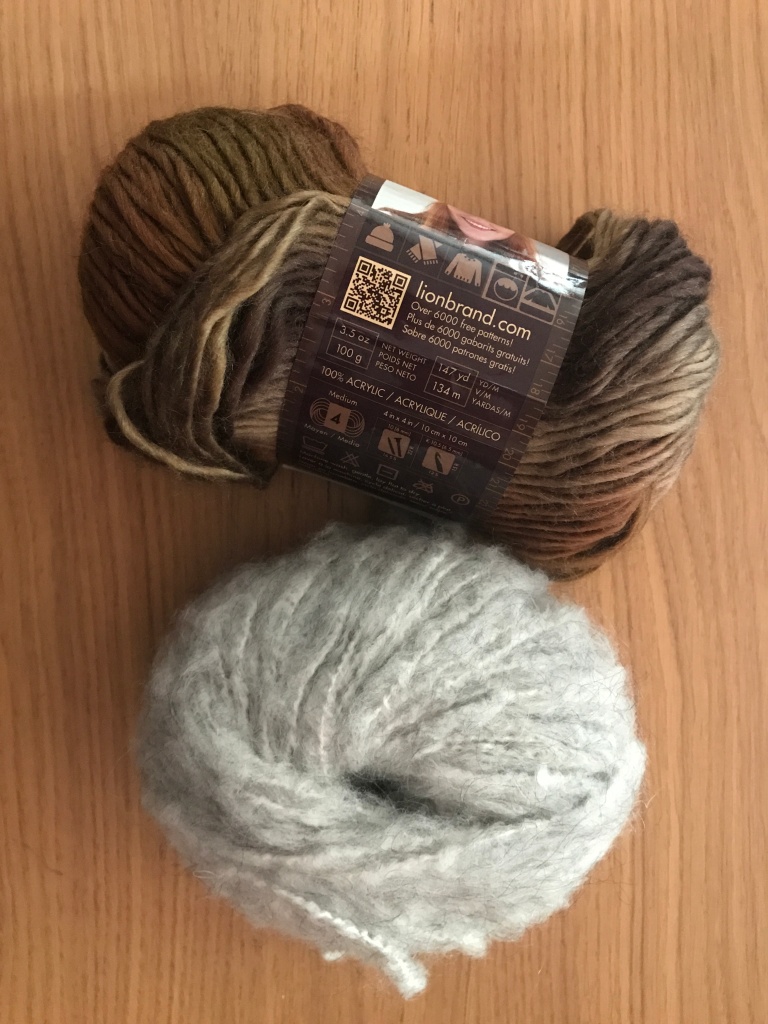
Make sure you have enough yarn as Bullion stitch use a lot.
Also usage of a smaller hook makes the Bullion stitch a little bit easier. I would probably use stainless steel hooks rather then wooden (bamboo) or aluminium as they are less slippery and the stainless steel ones are easier to pull through 9 loops at once. I broke one aluminium hook (1.5mm) in barb section on this stitch in the past 😦 :(.

Keep an eye on the tension – too tight, you will really struggle to pull trough the 9 loops. I wrap the yarn quite loosely using my thumb to have a looser tension.
Happy crocheting !
I.
