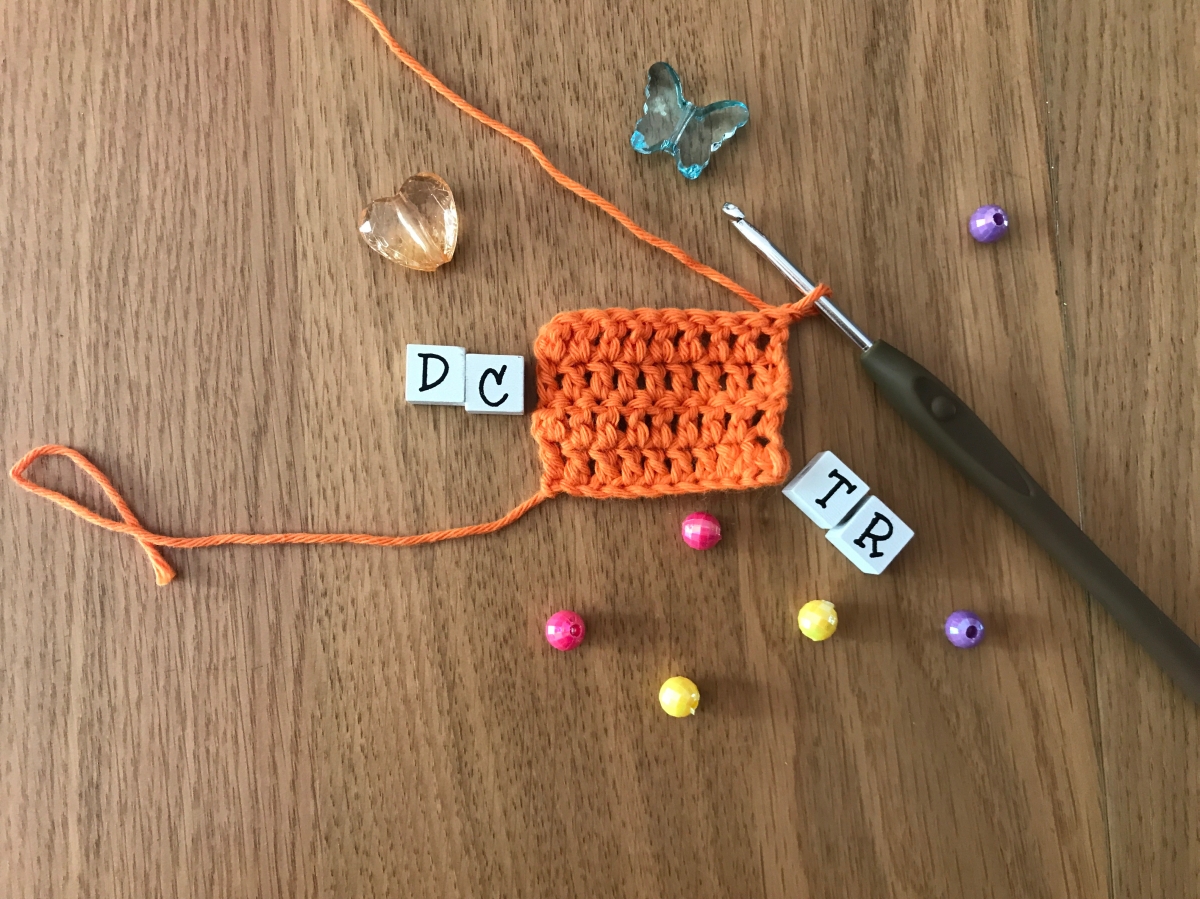
This article explains crochet decrease techniques used in a double crochet stitch.
The basics of single crochet stitch were explained in my previous article https://yarnonhook.com/2018/12/07/3-usual-ways-of-shaping-by-decrease/
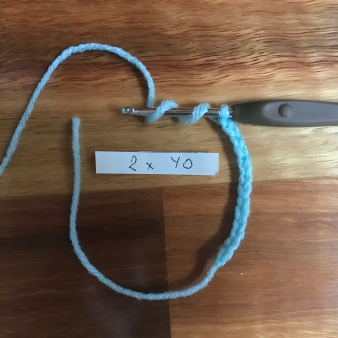
1. Single decreasing in double crochet within a row (dc2tog)
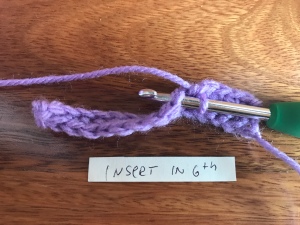
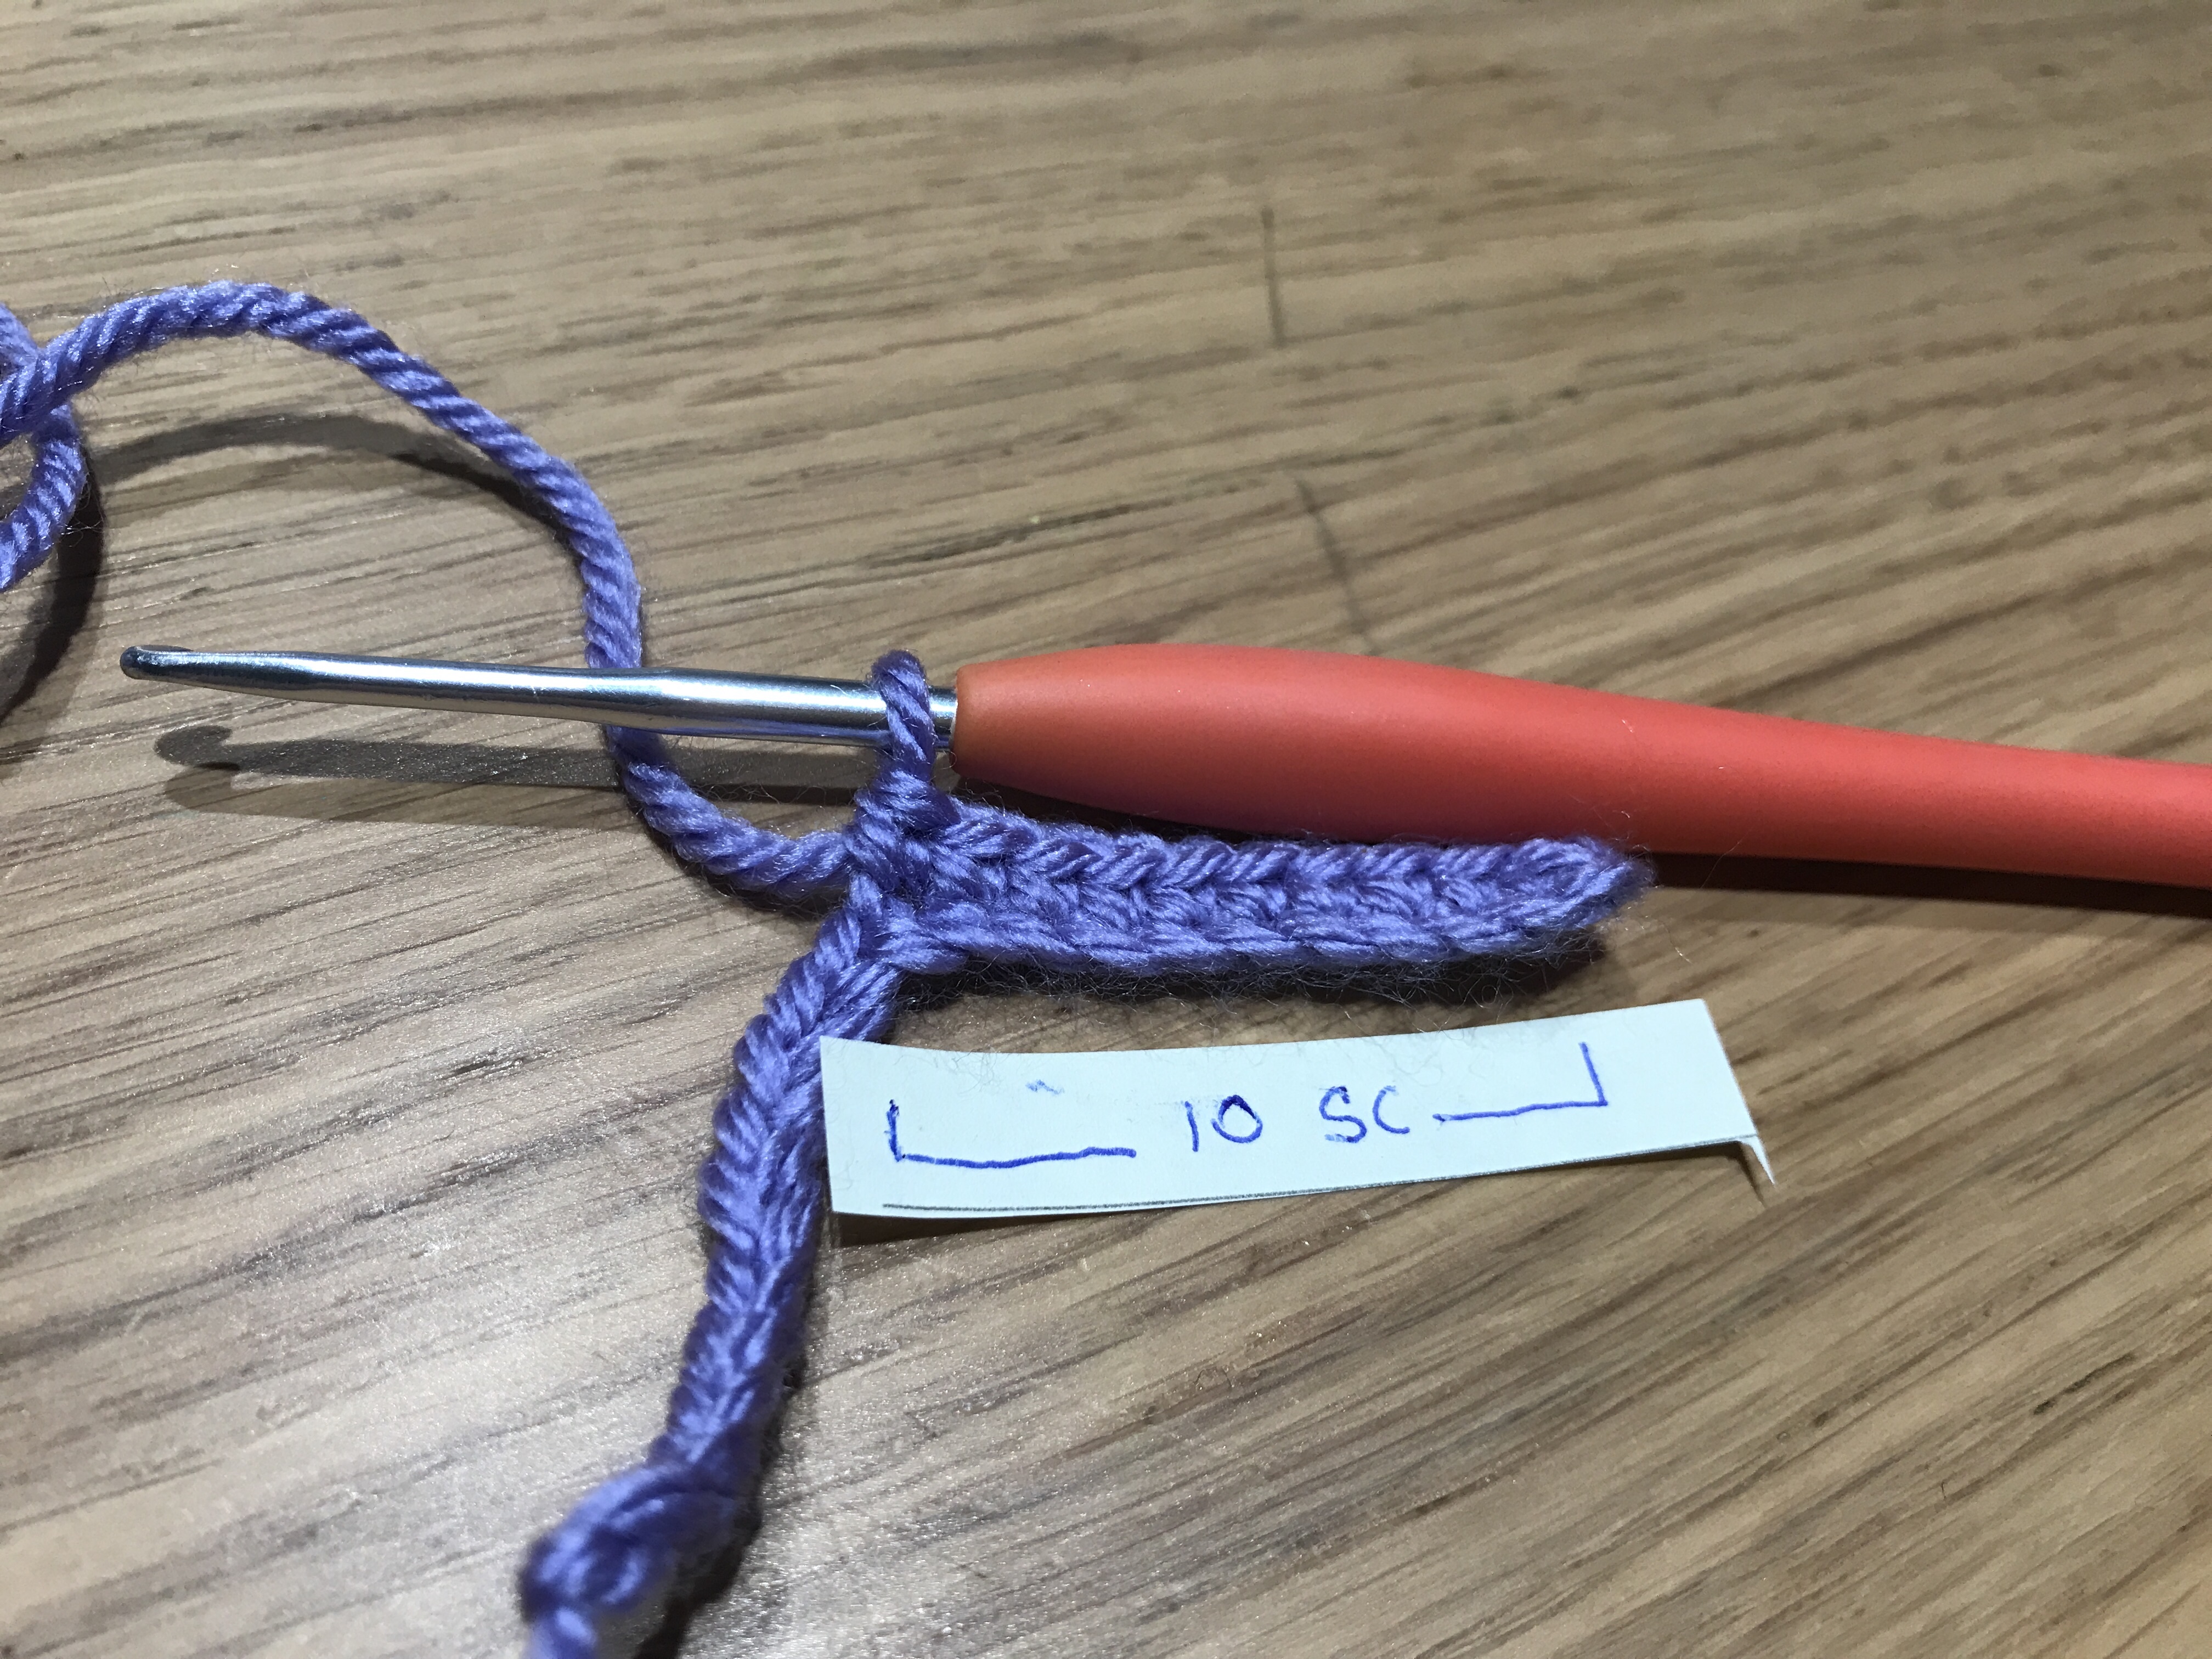
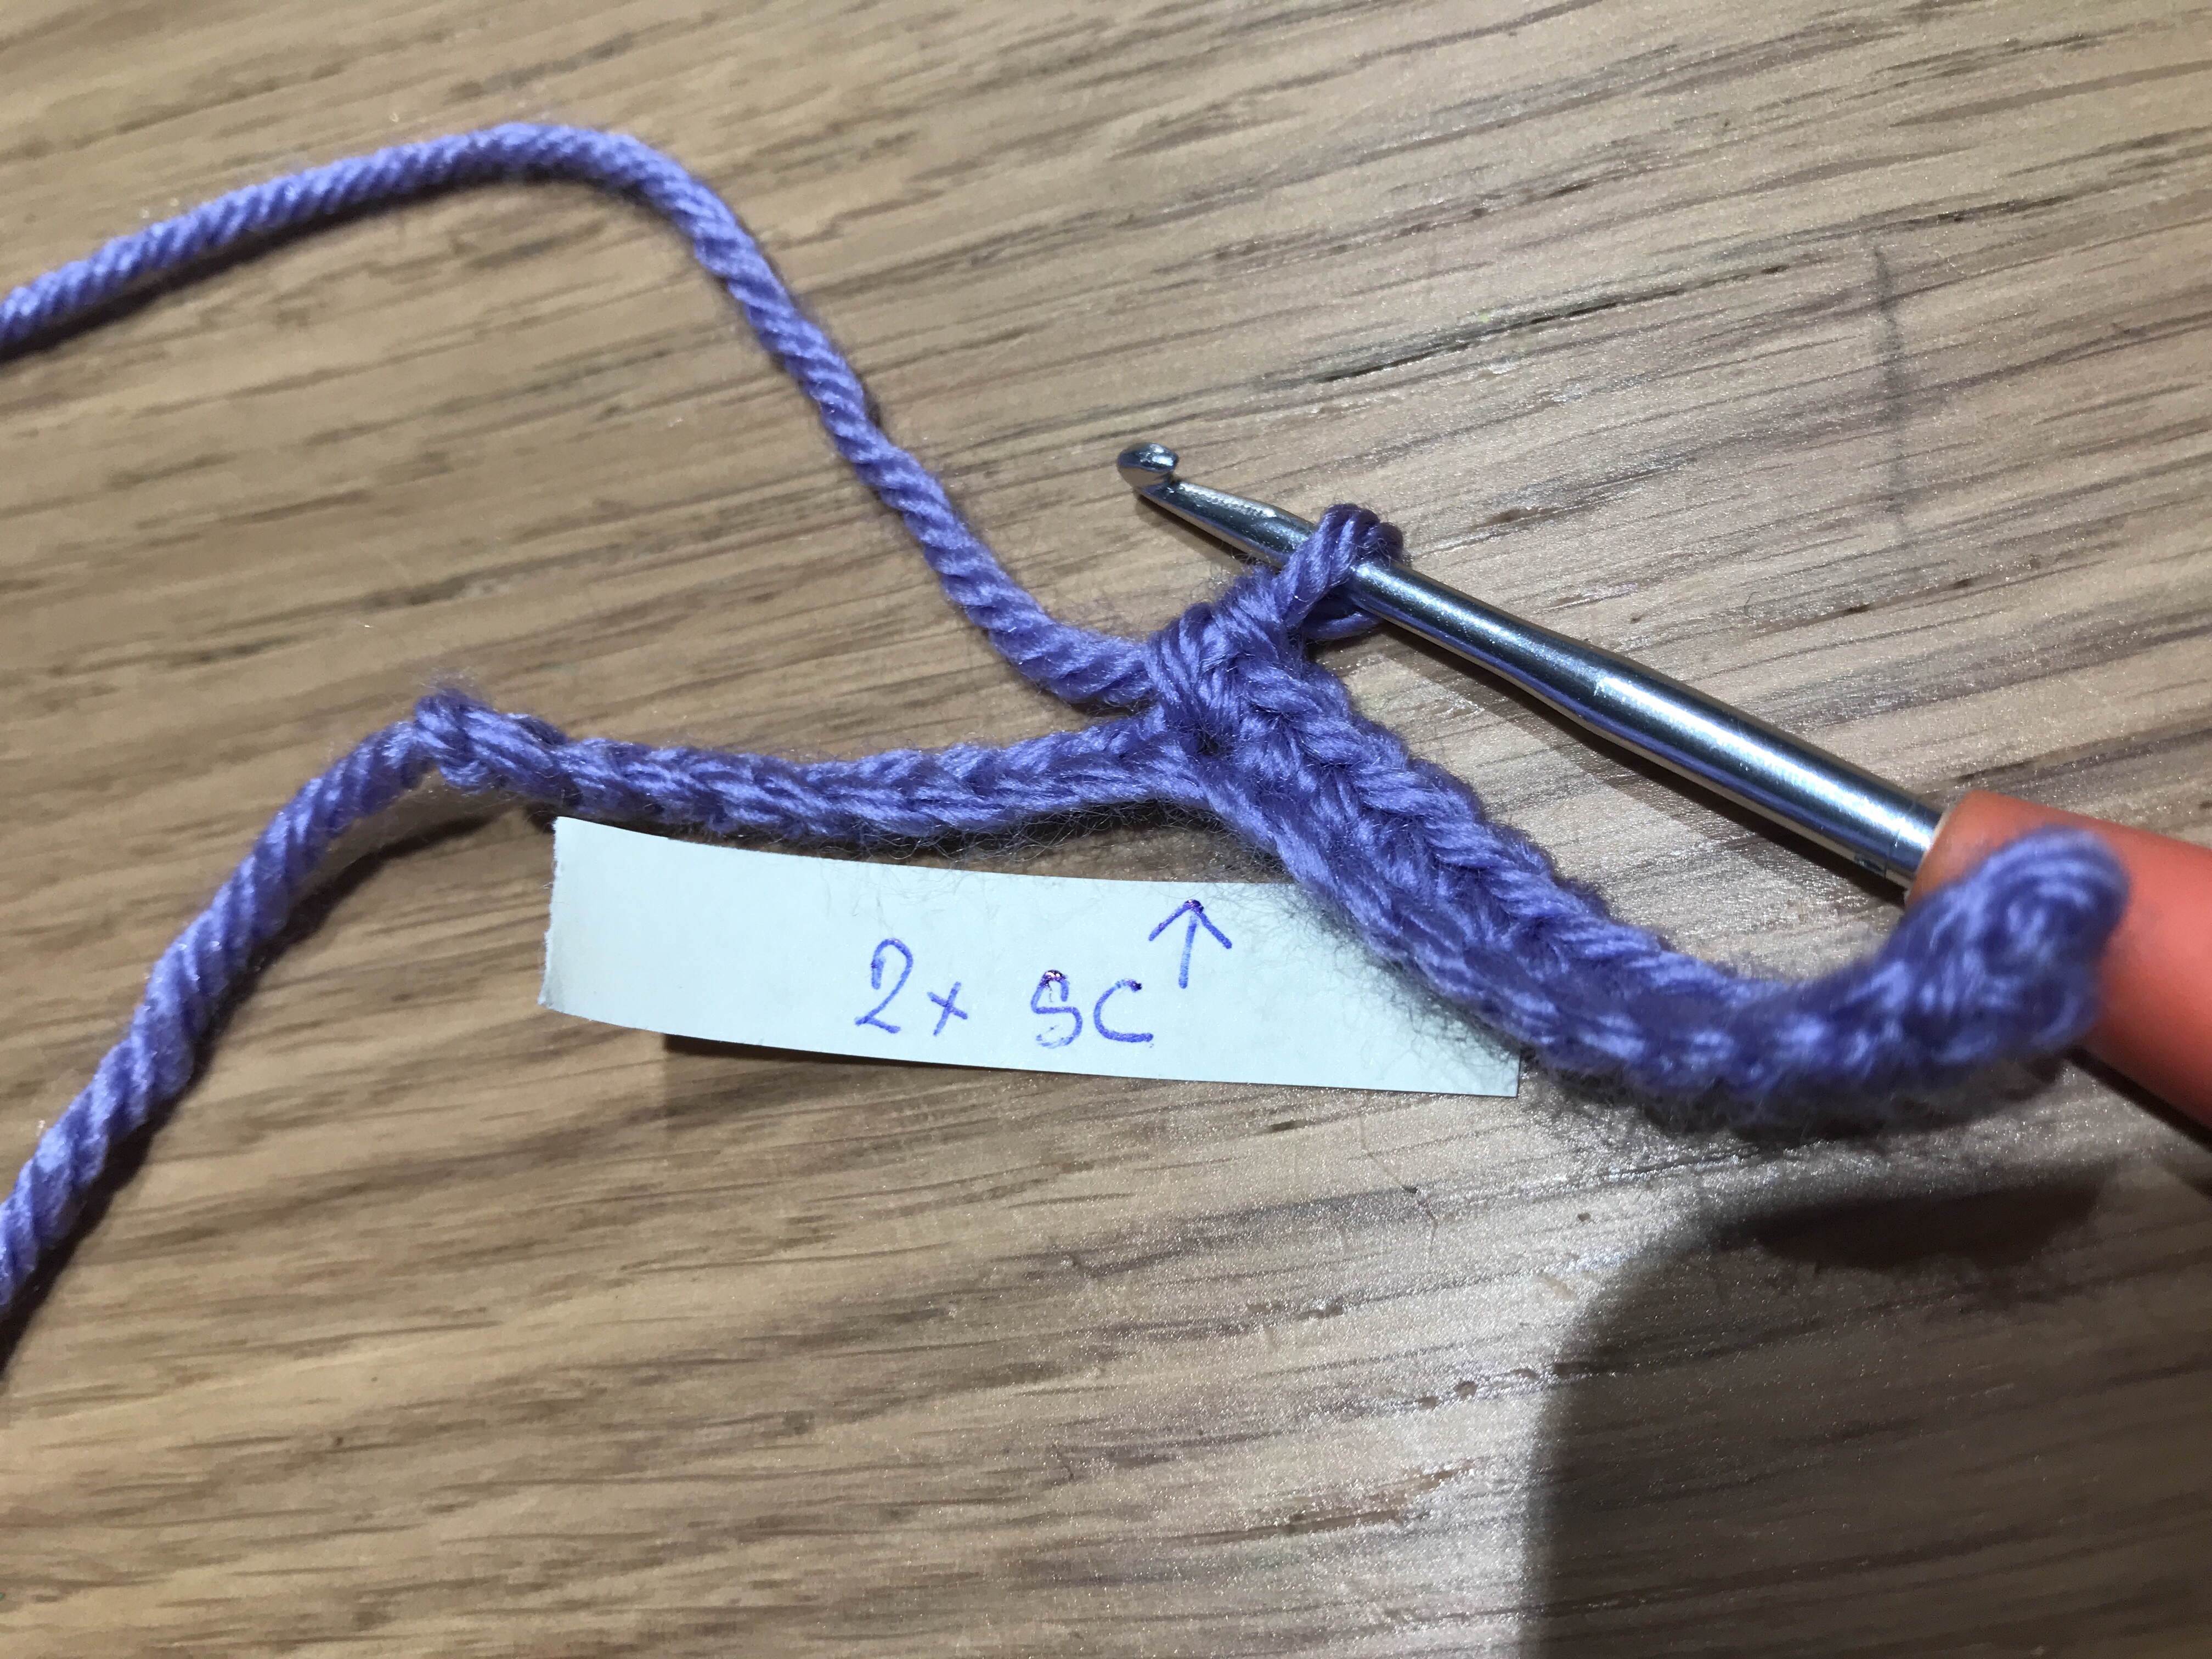
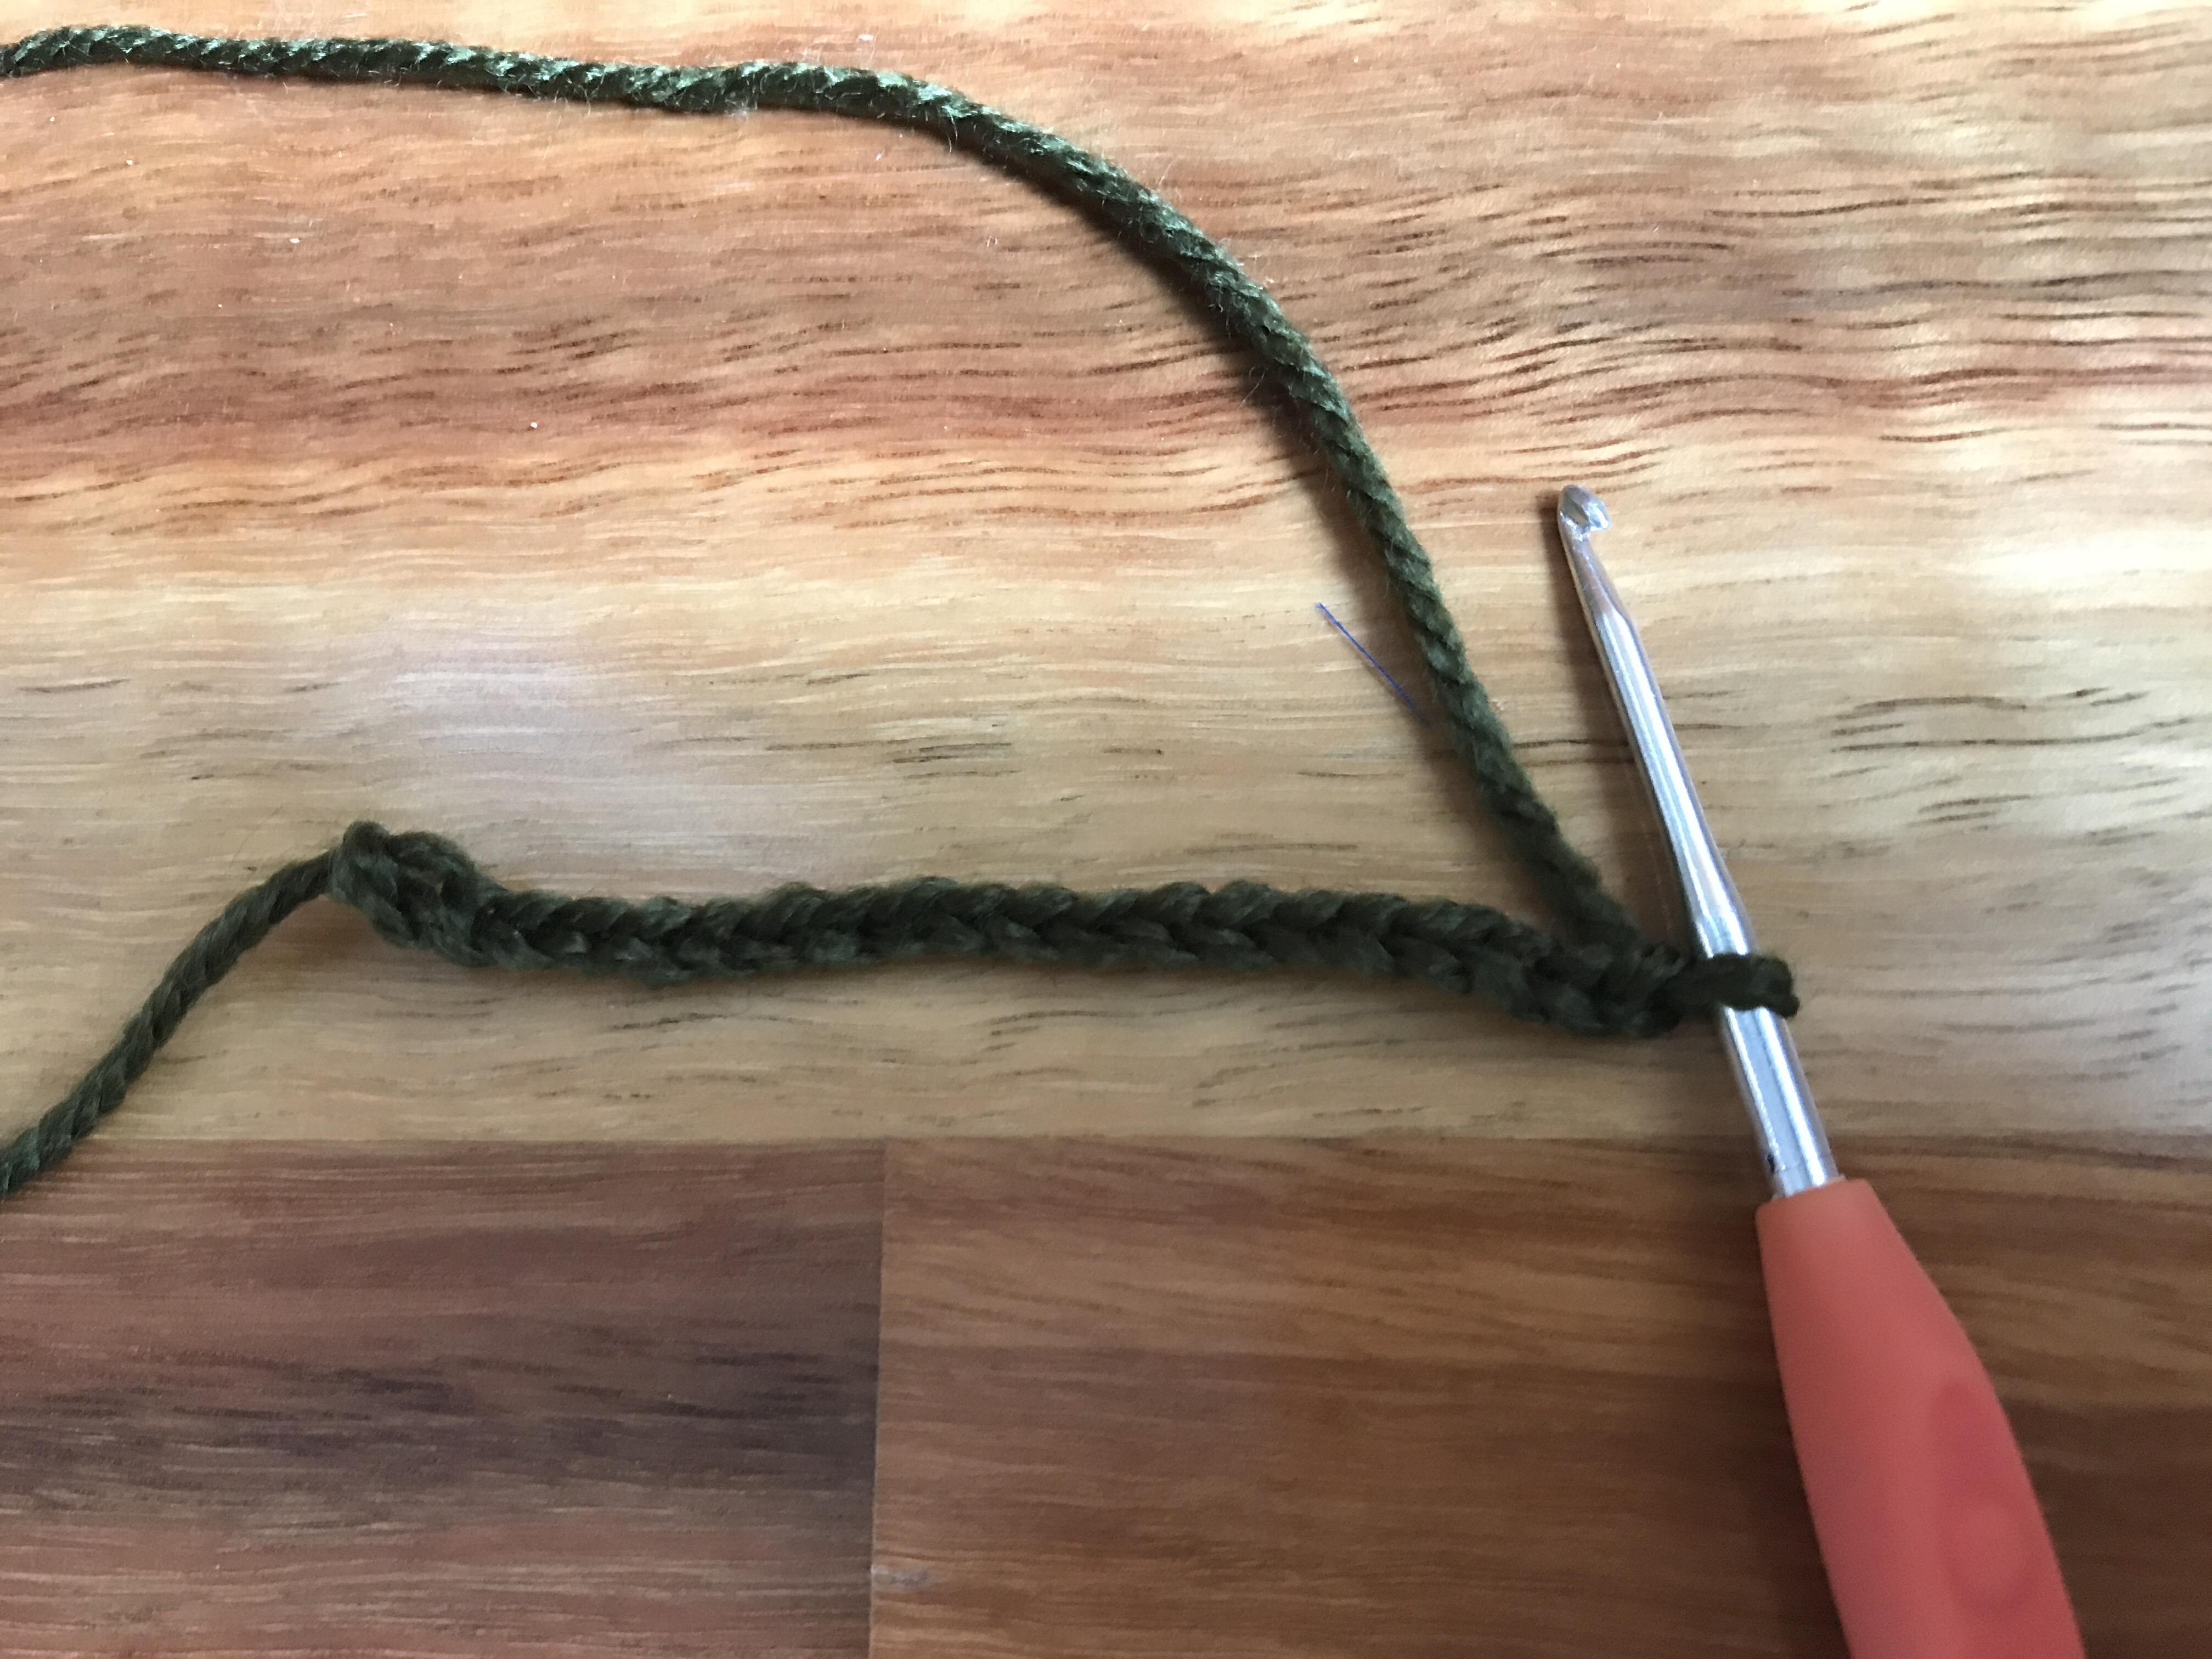
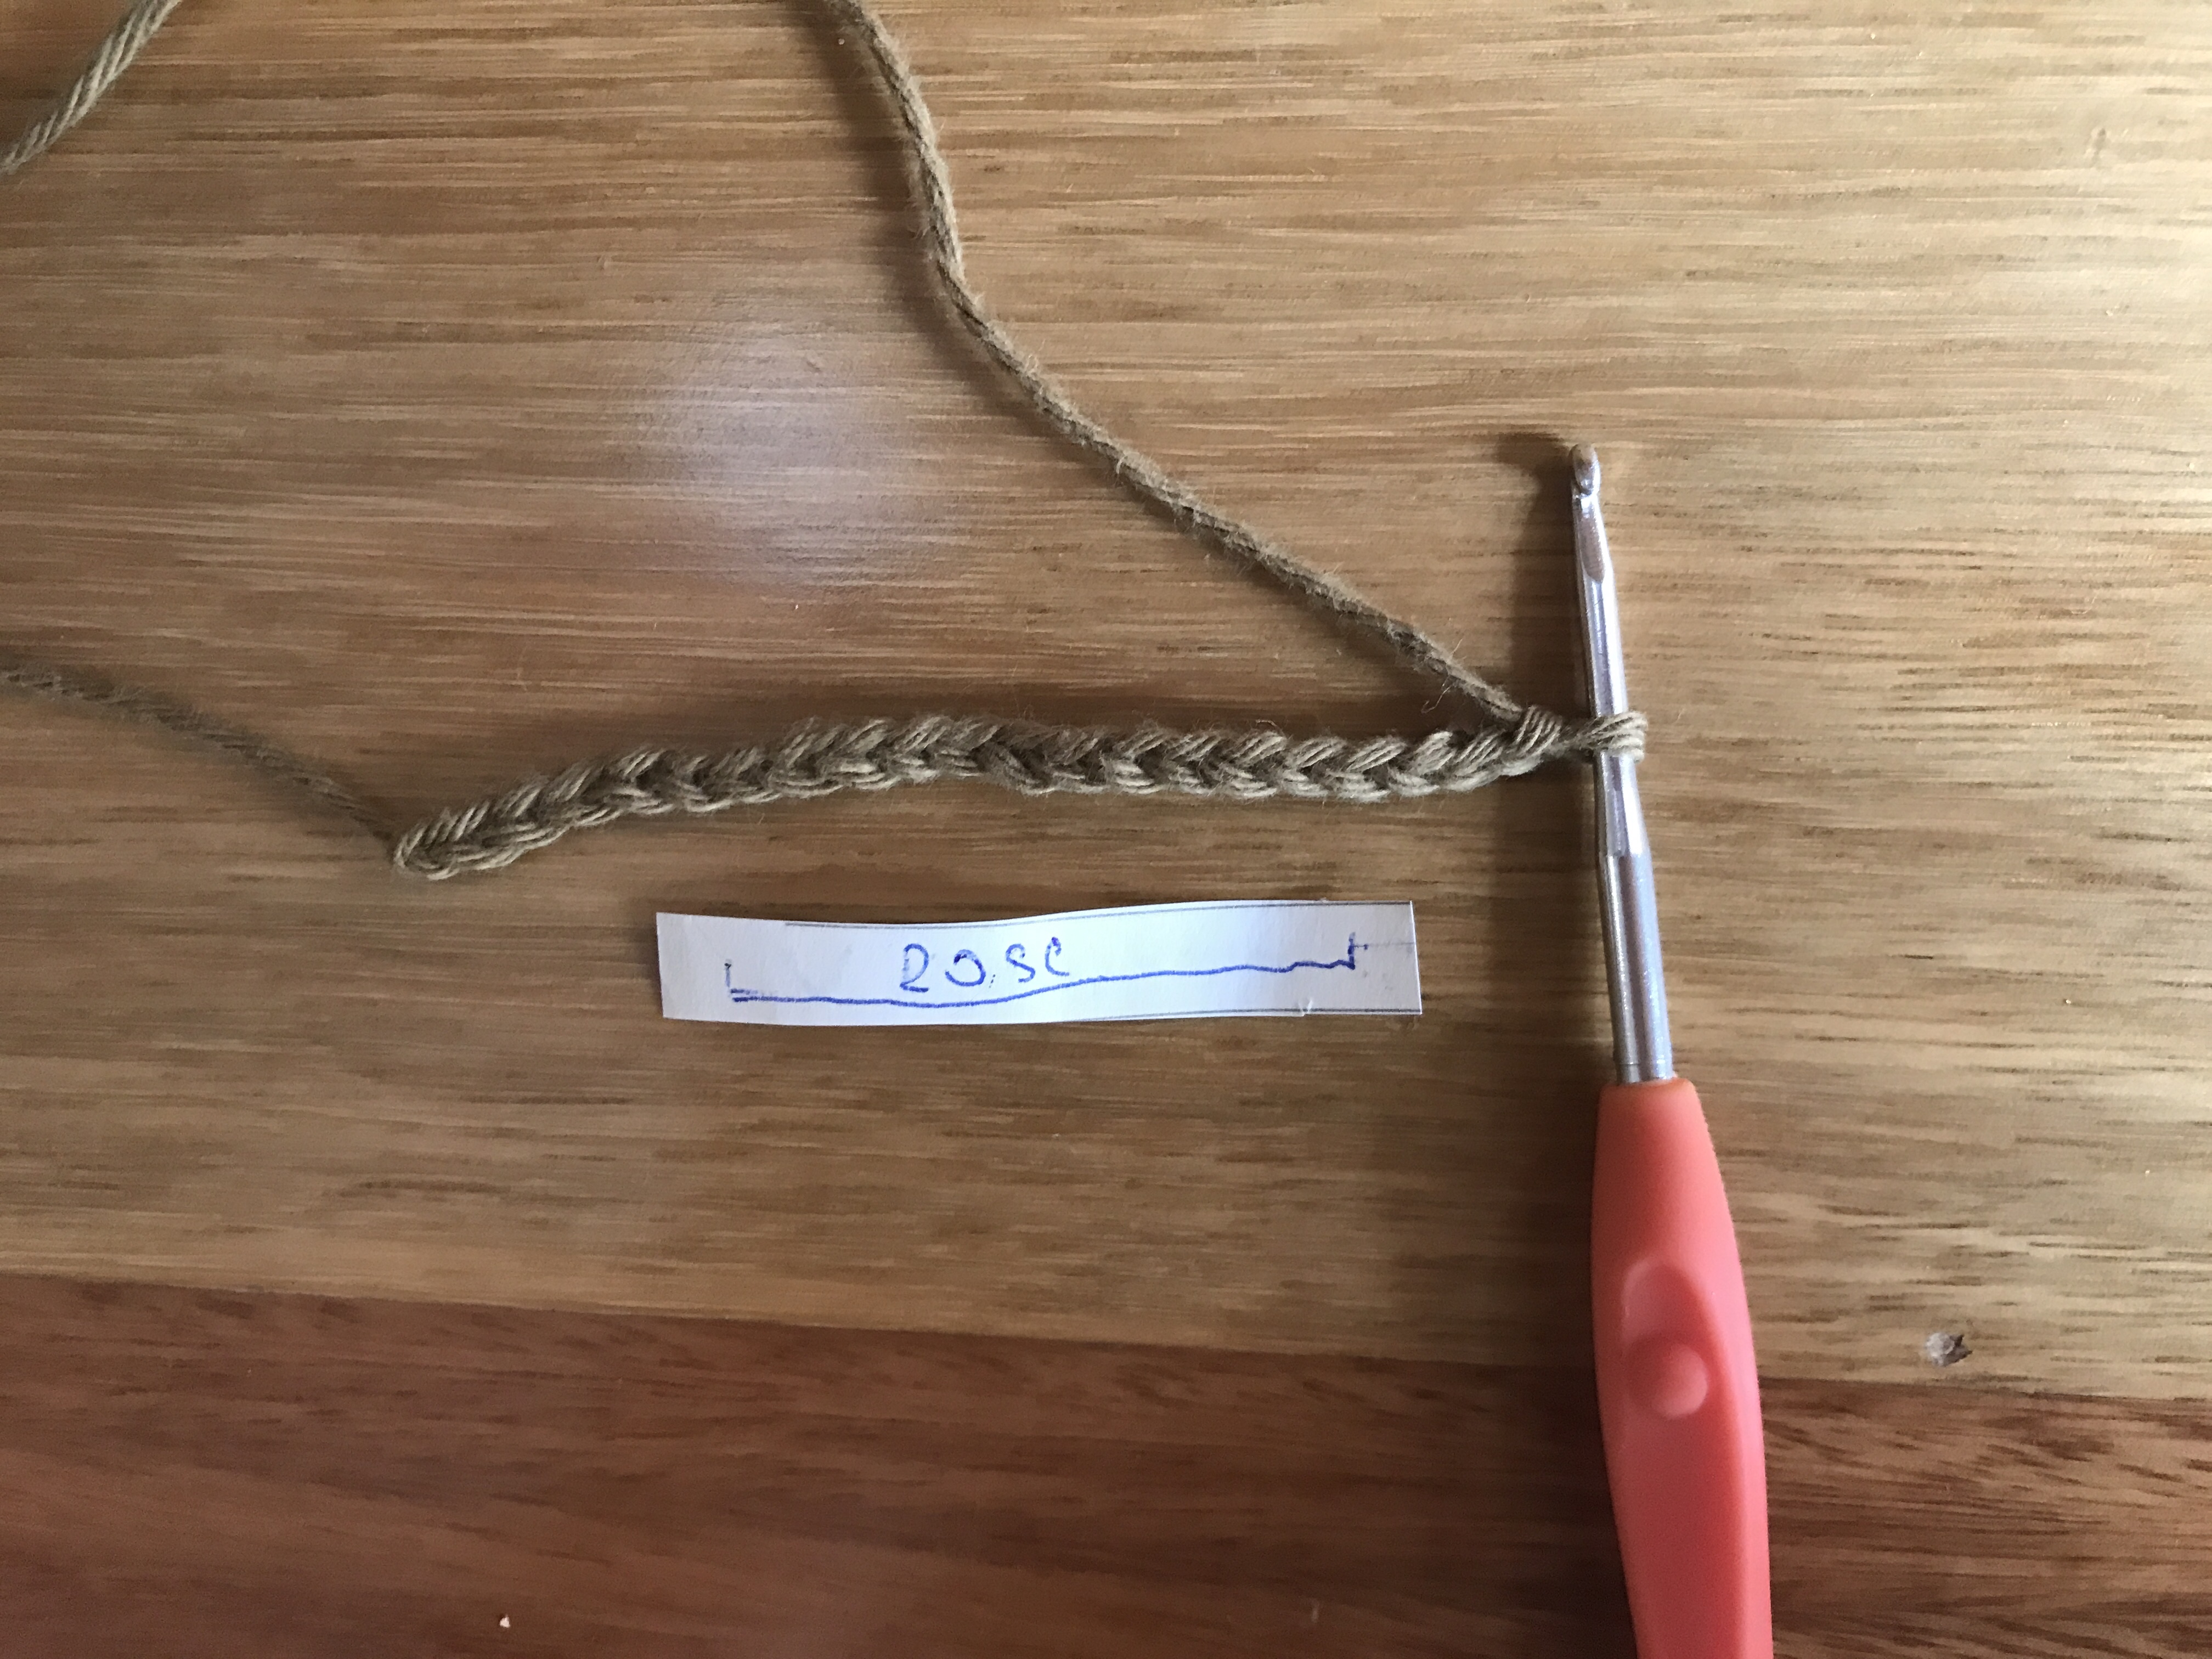
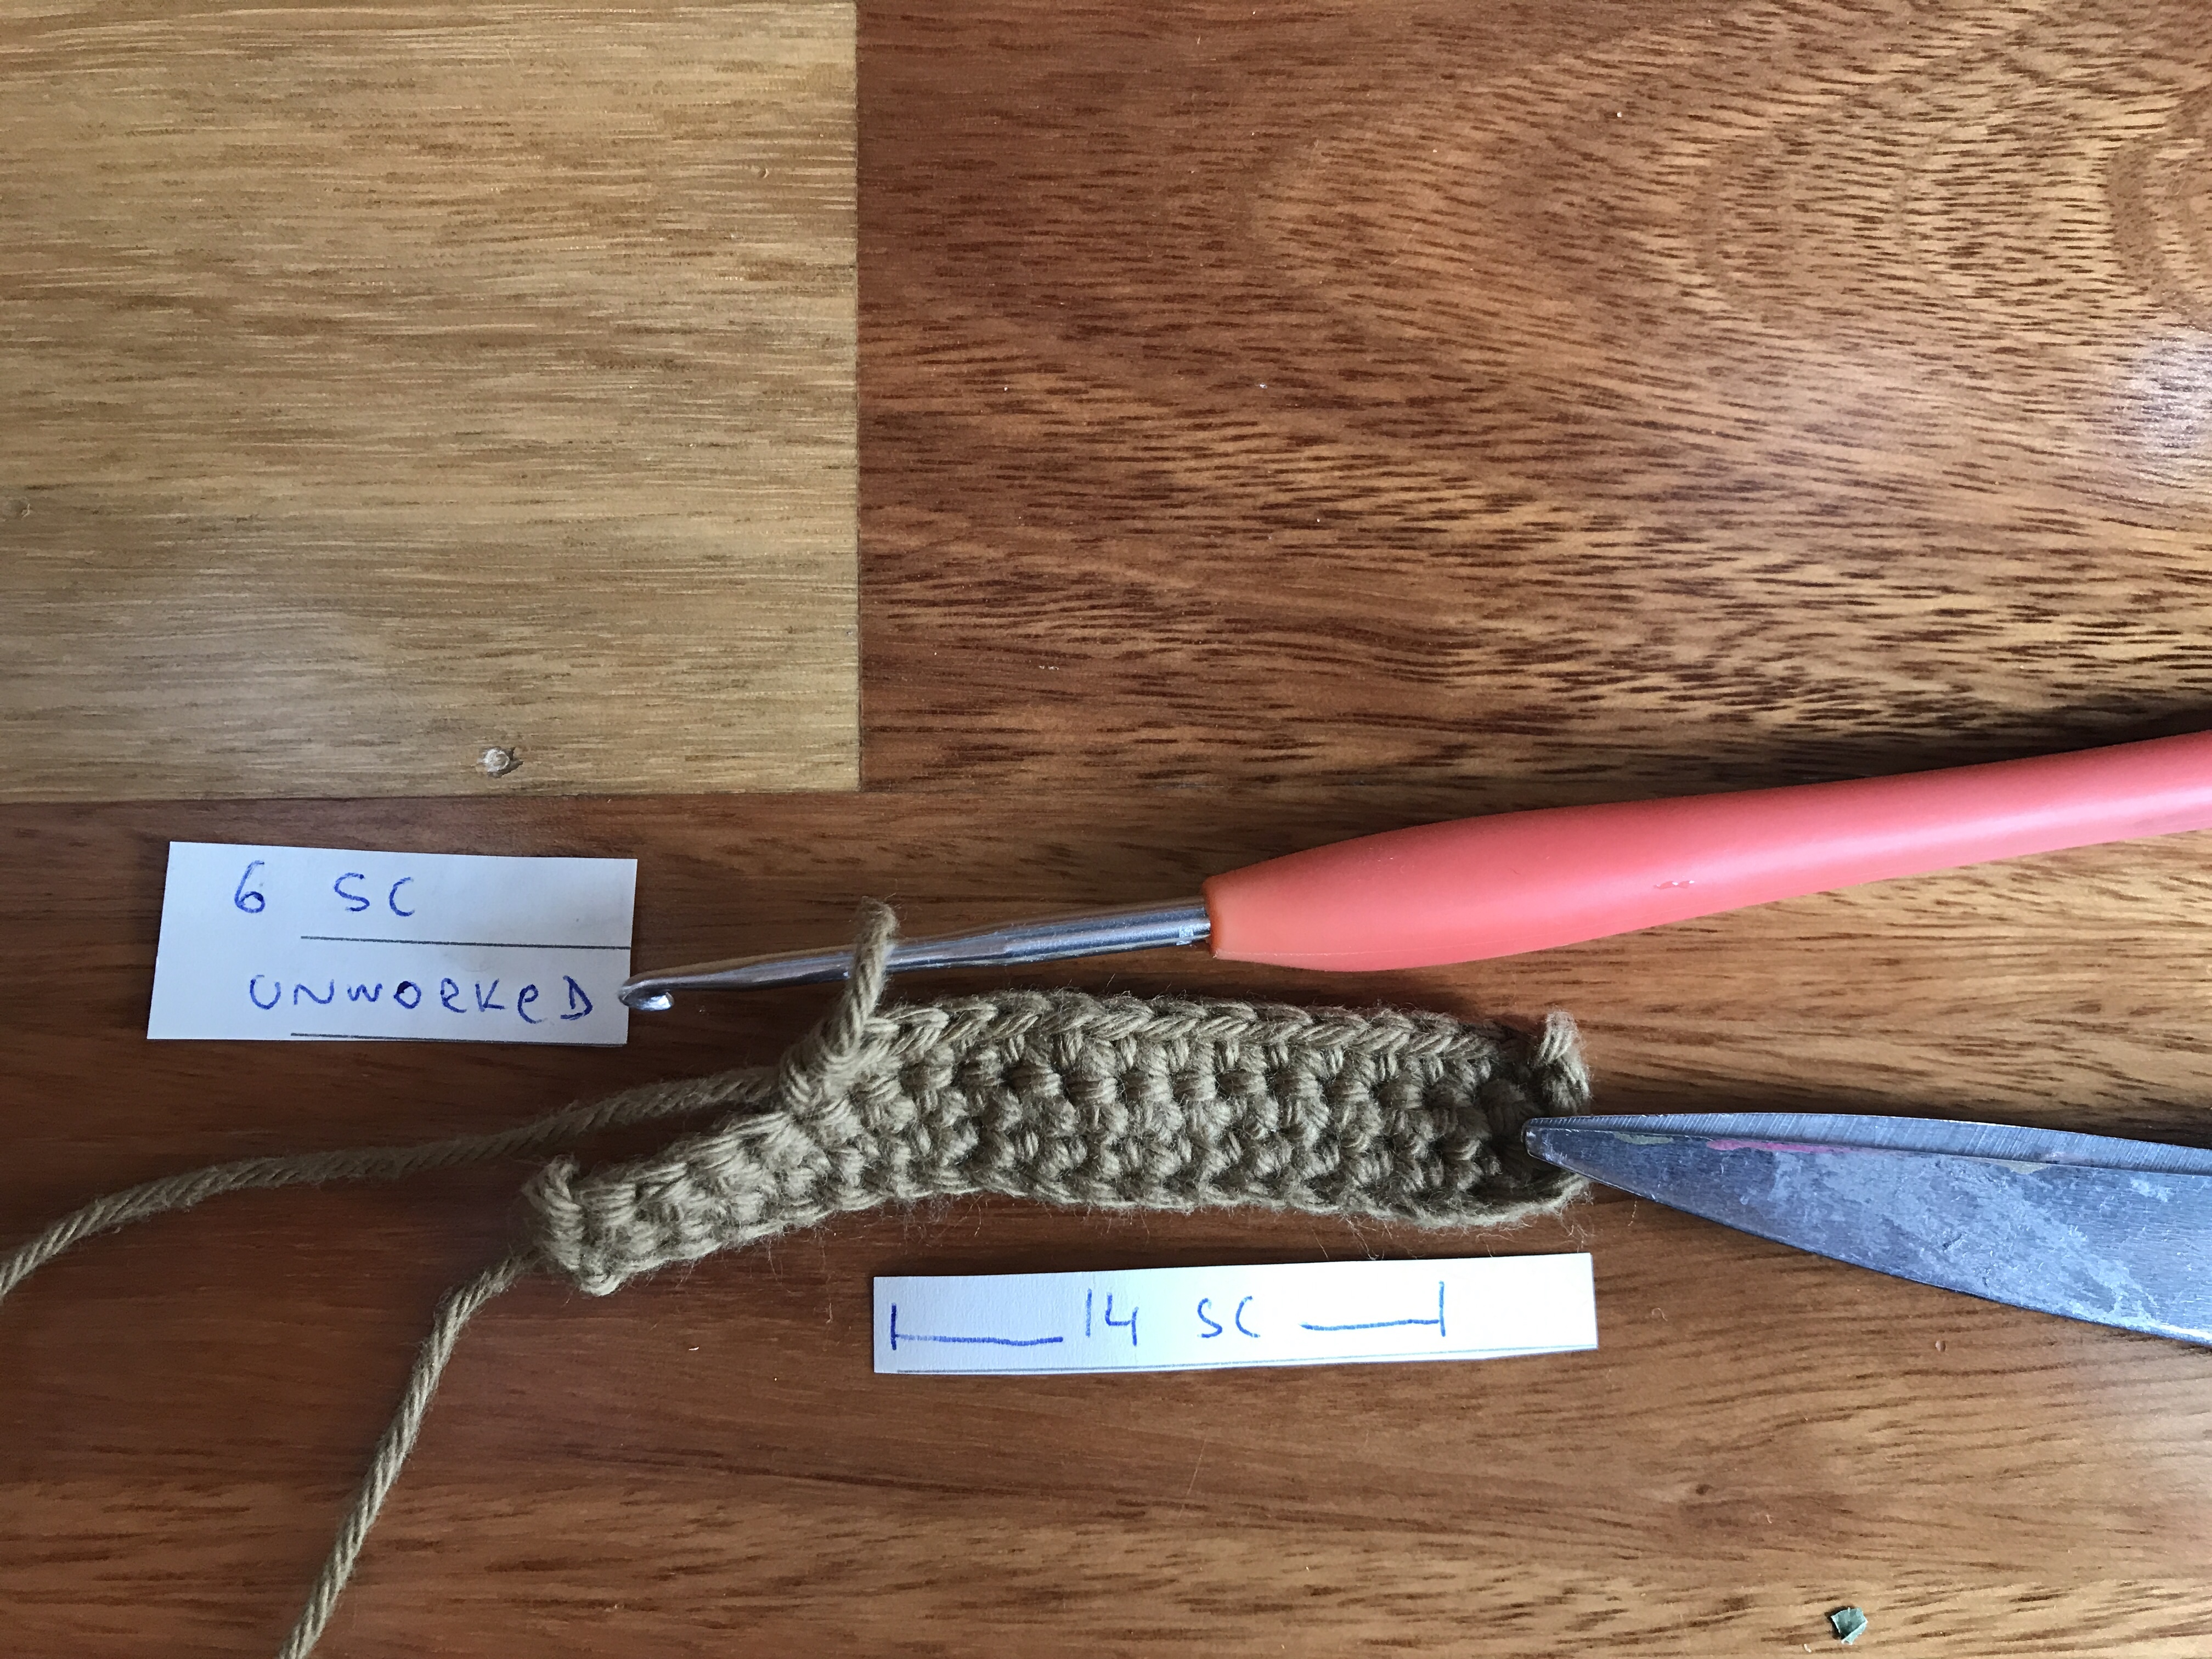
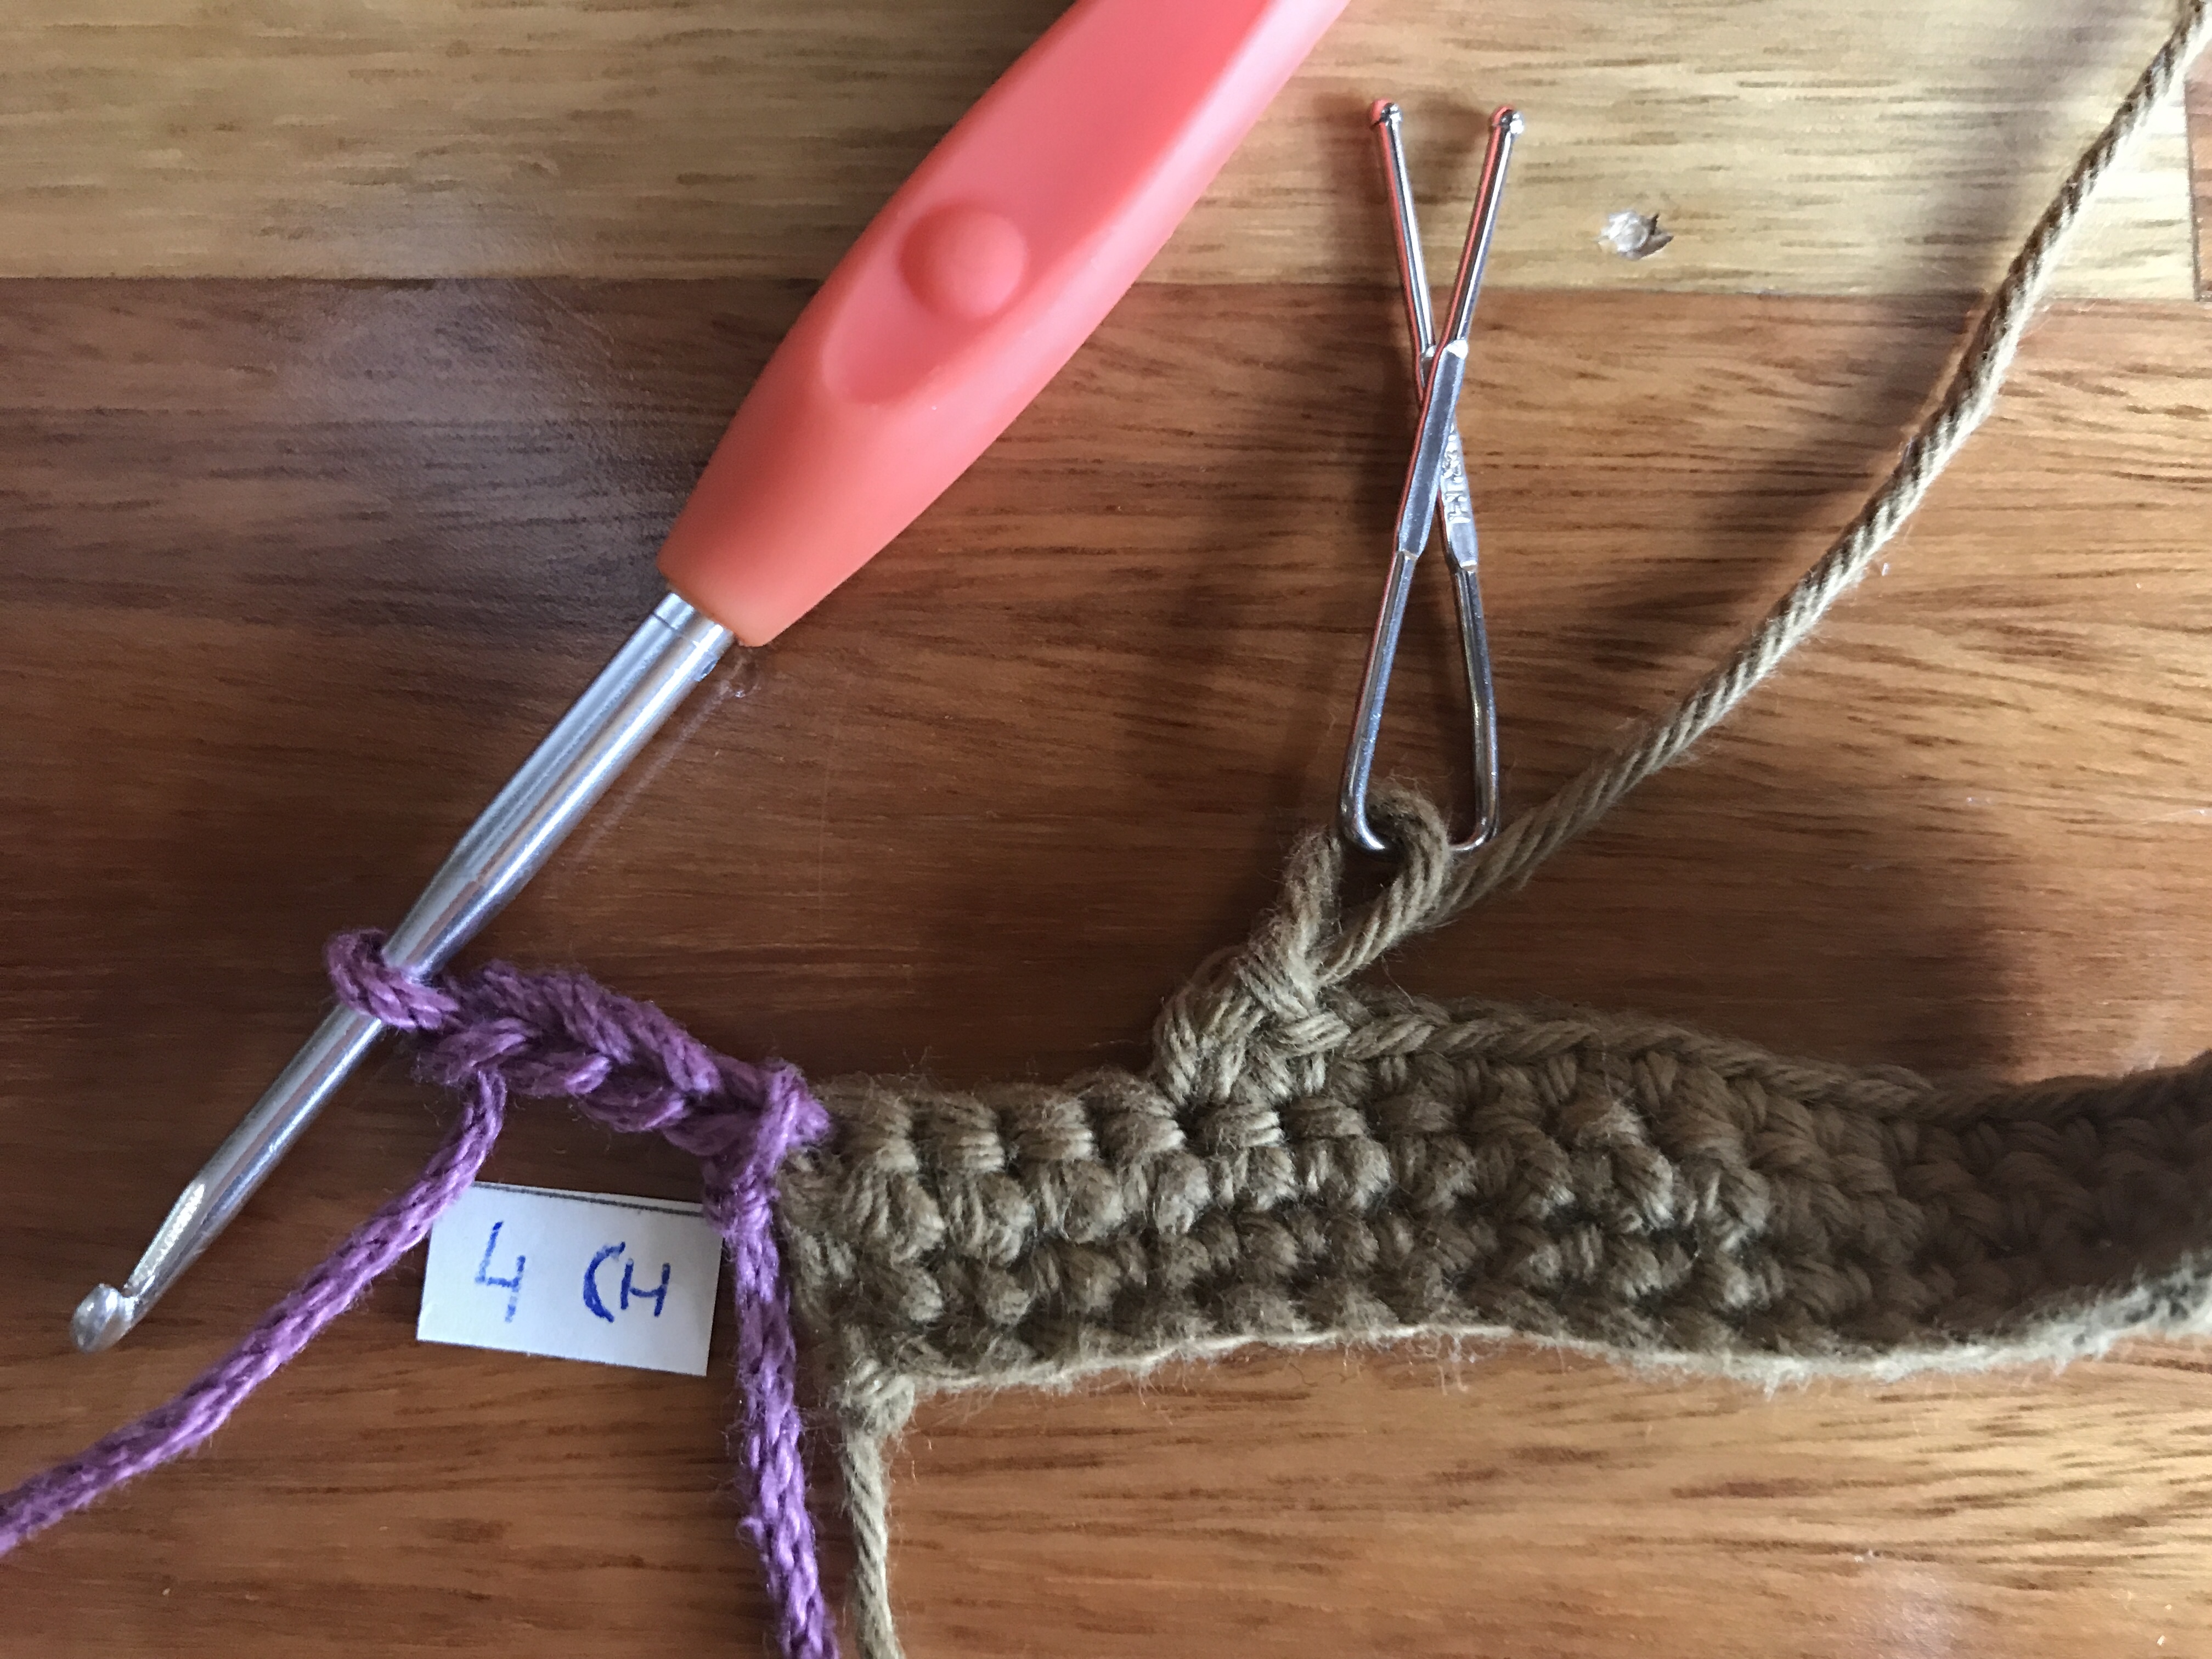
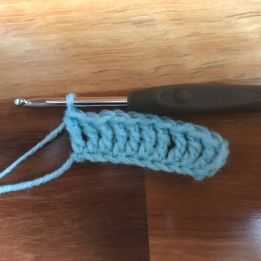
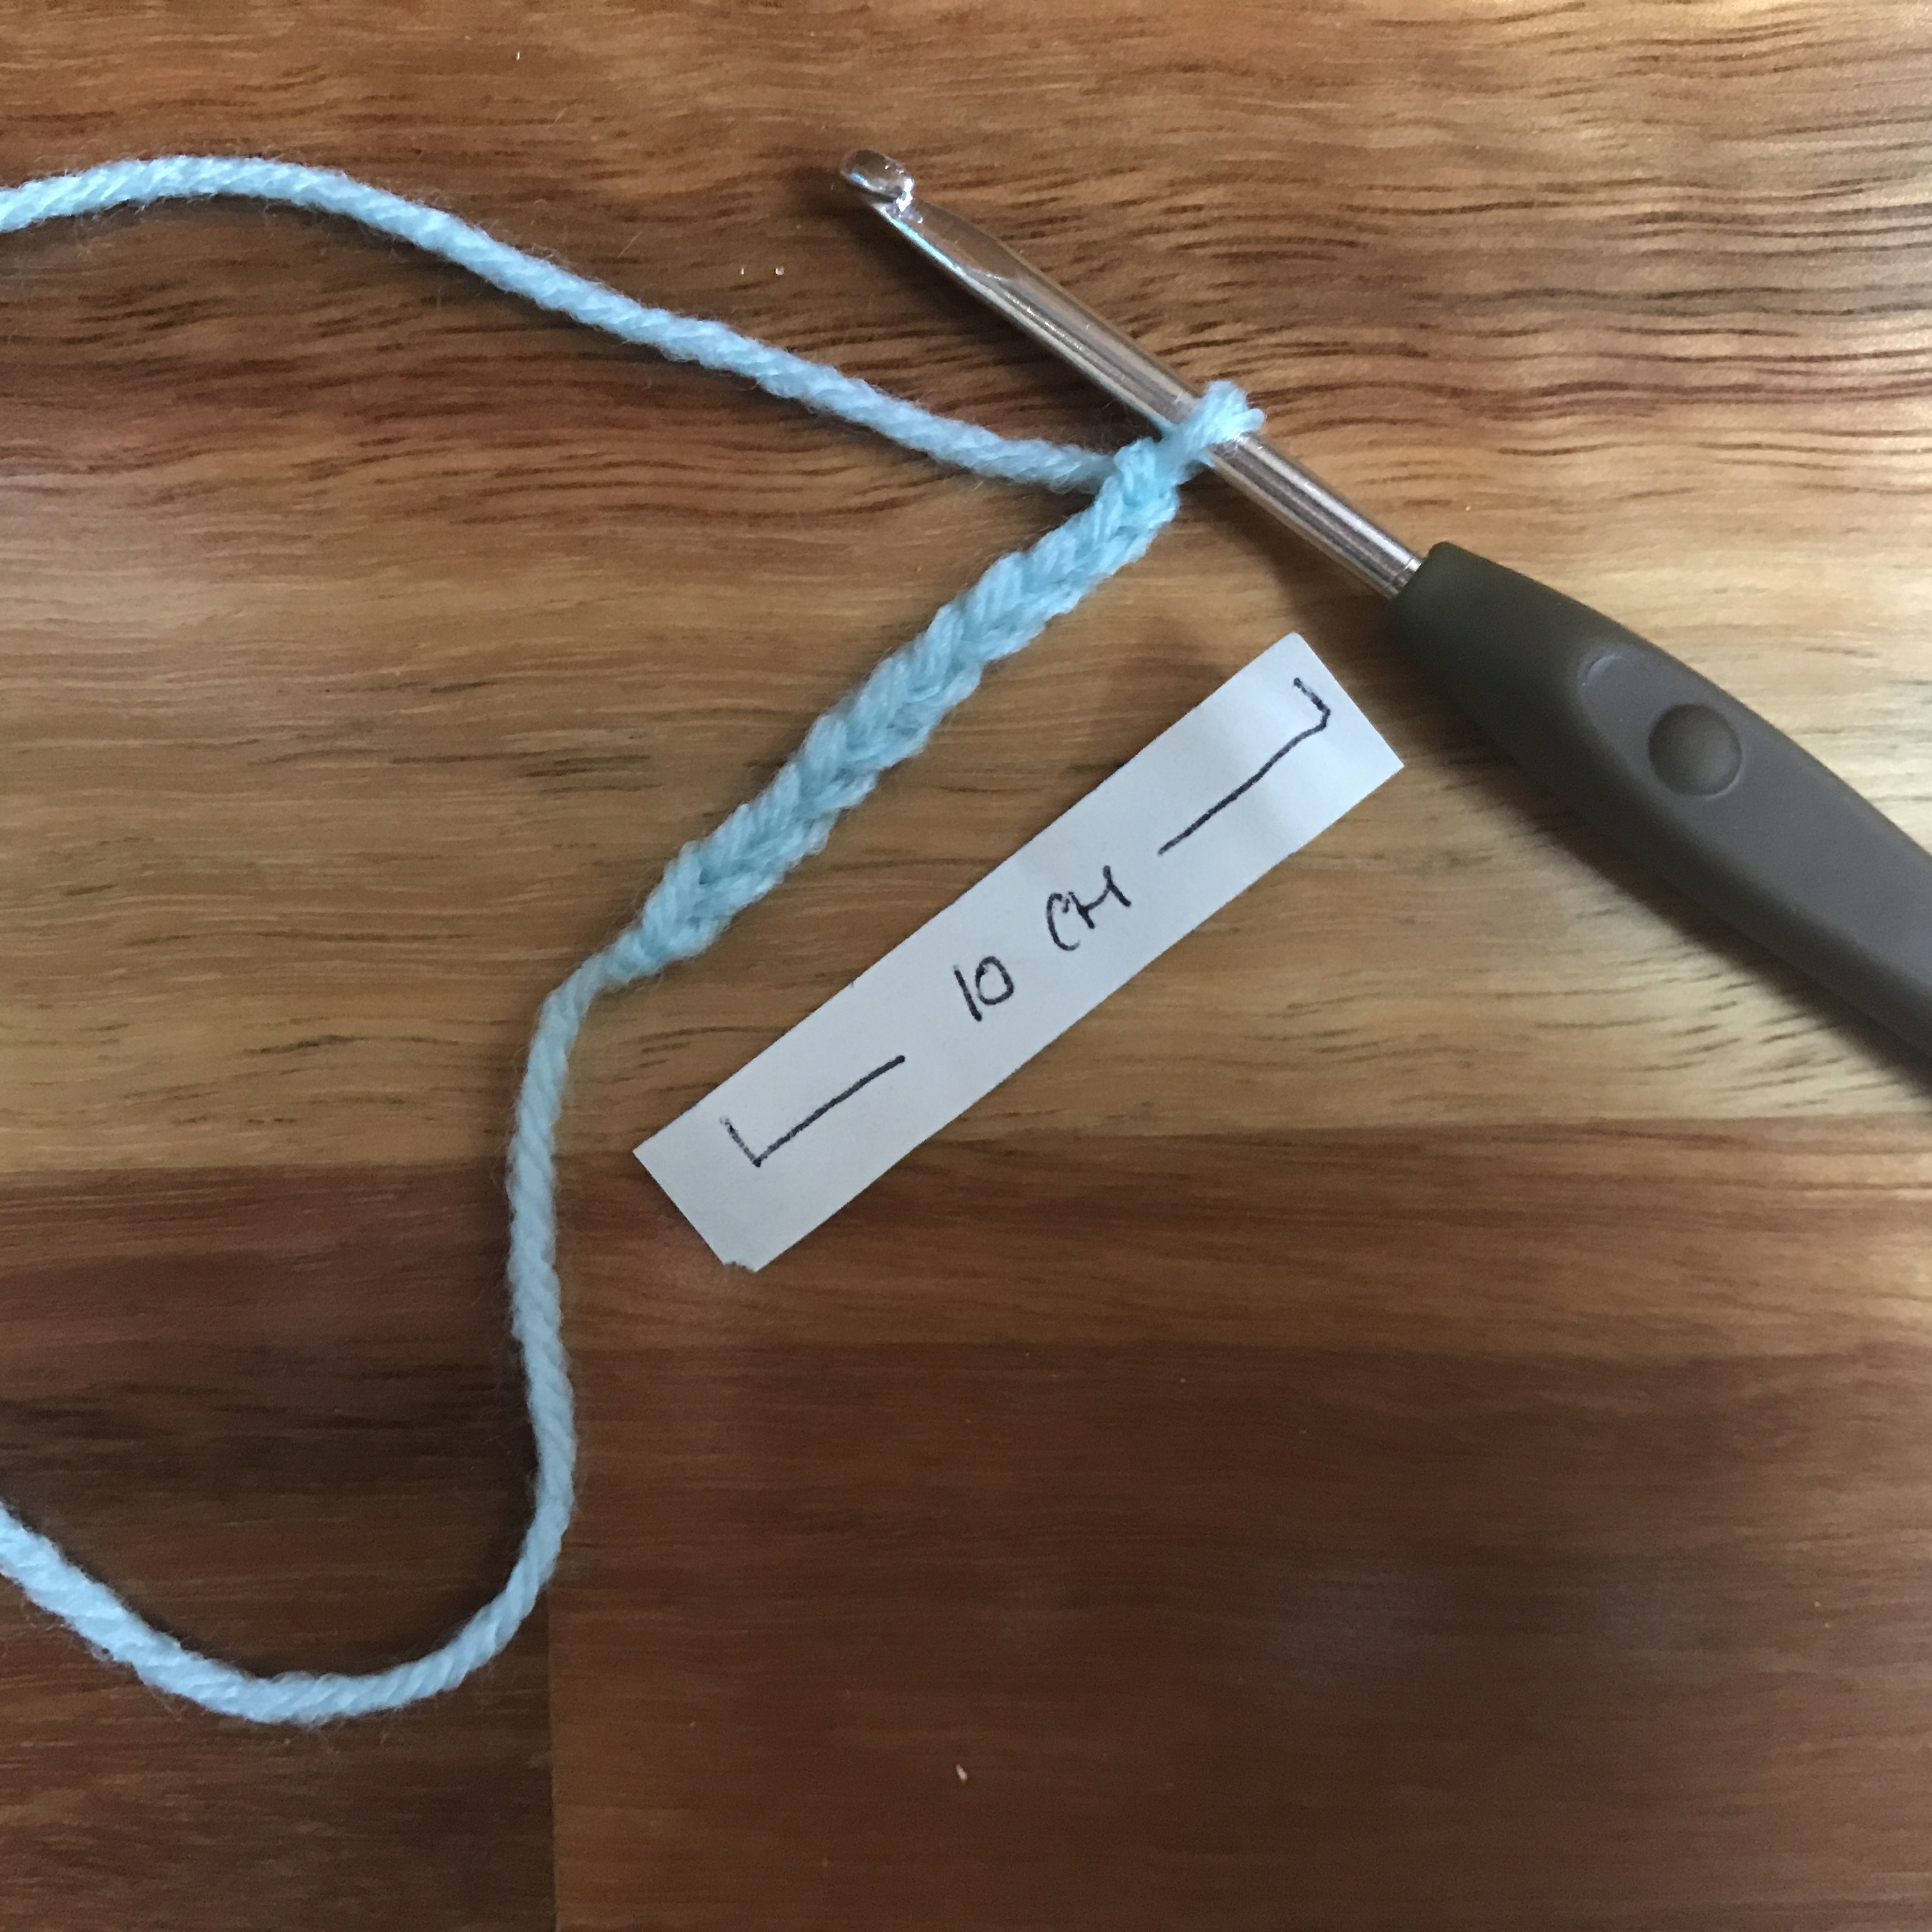
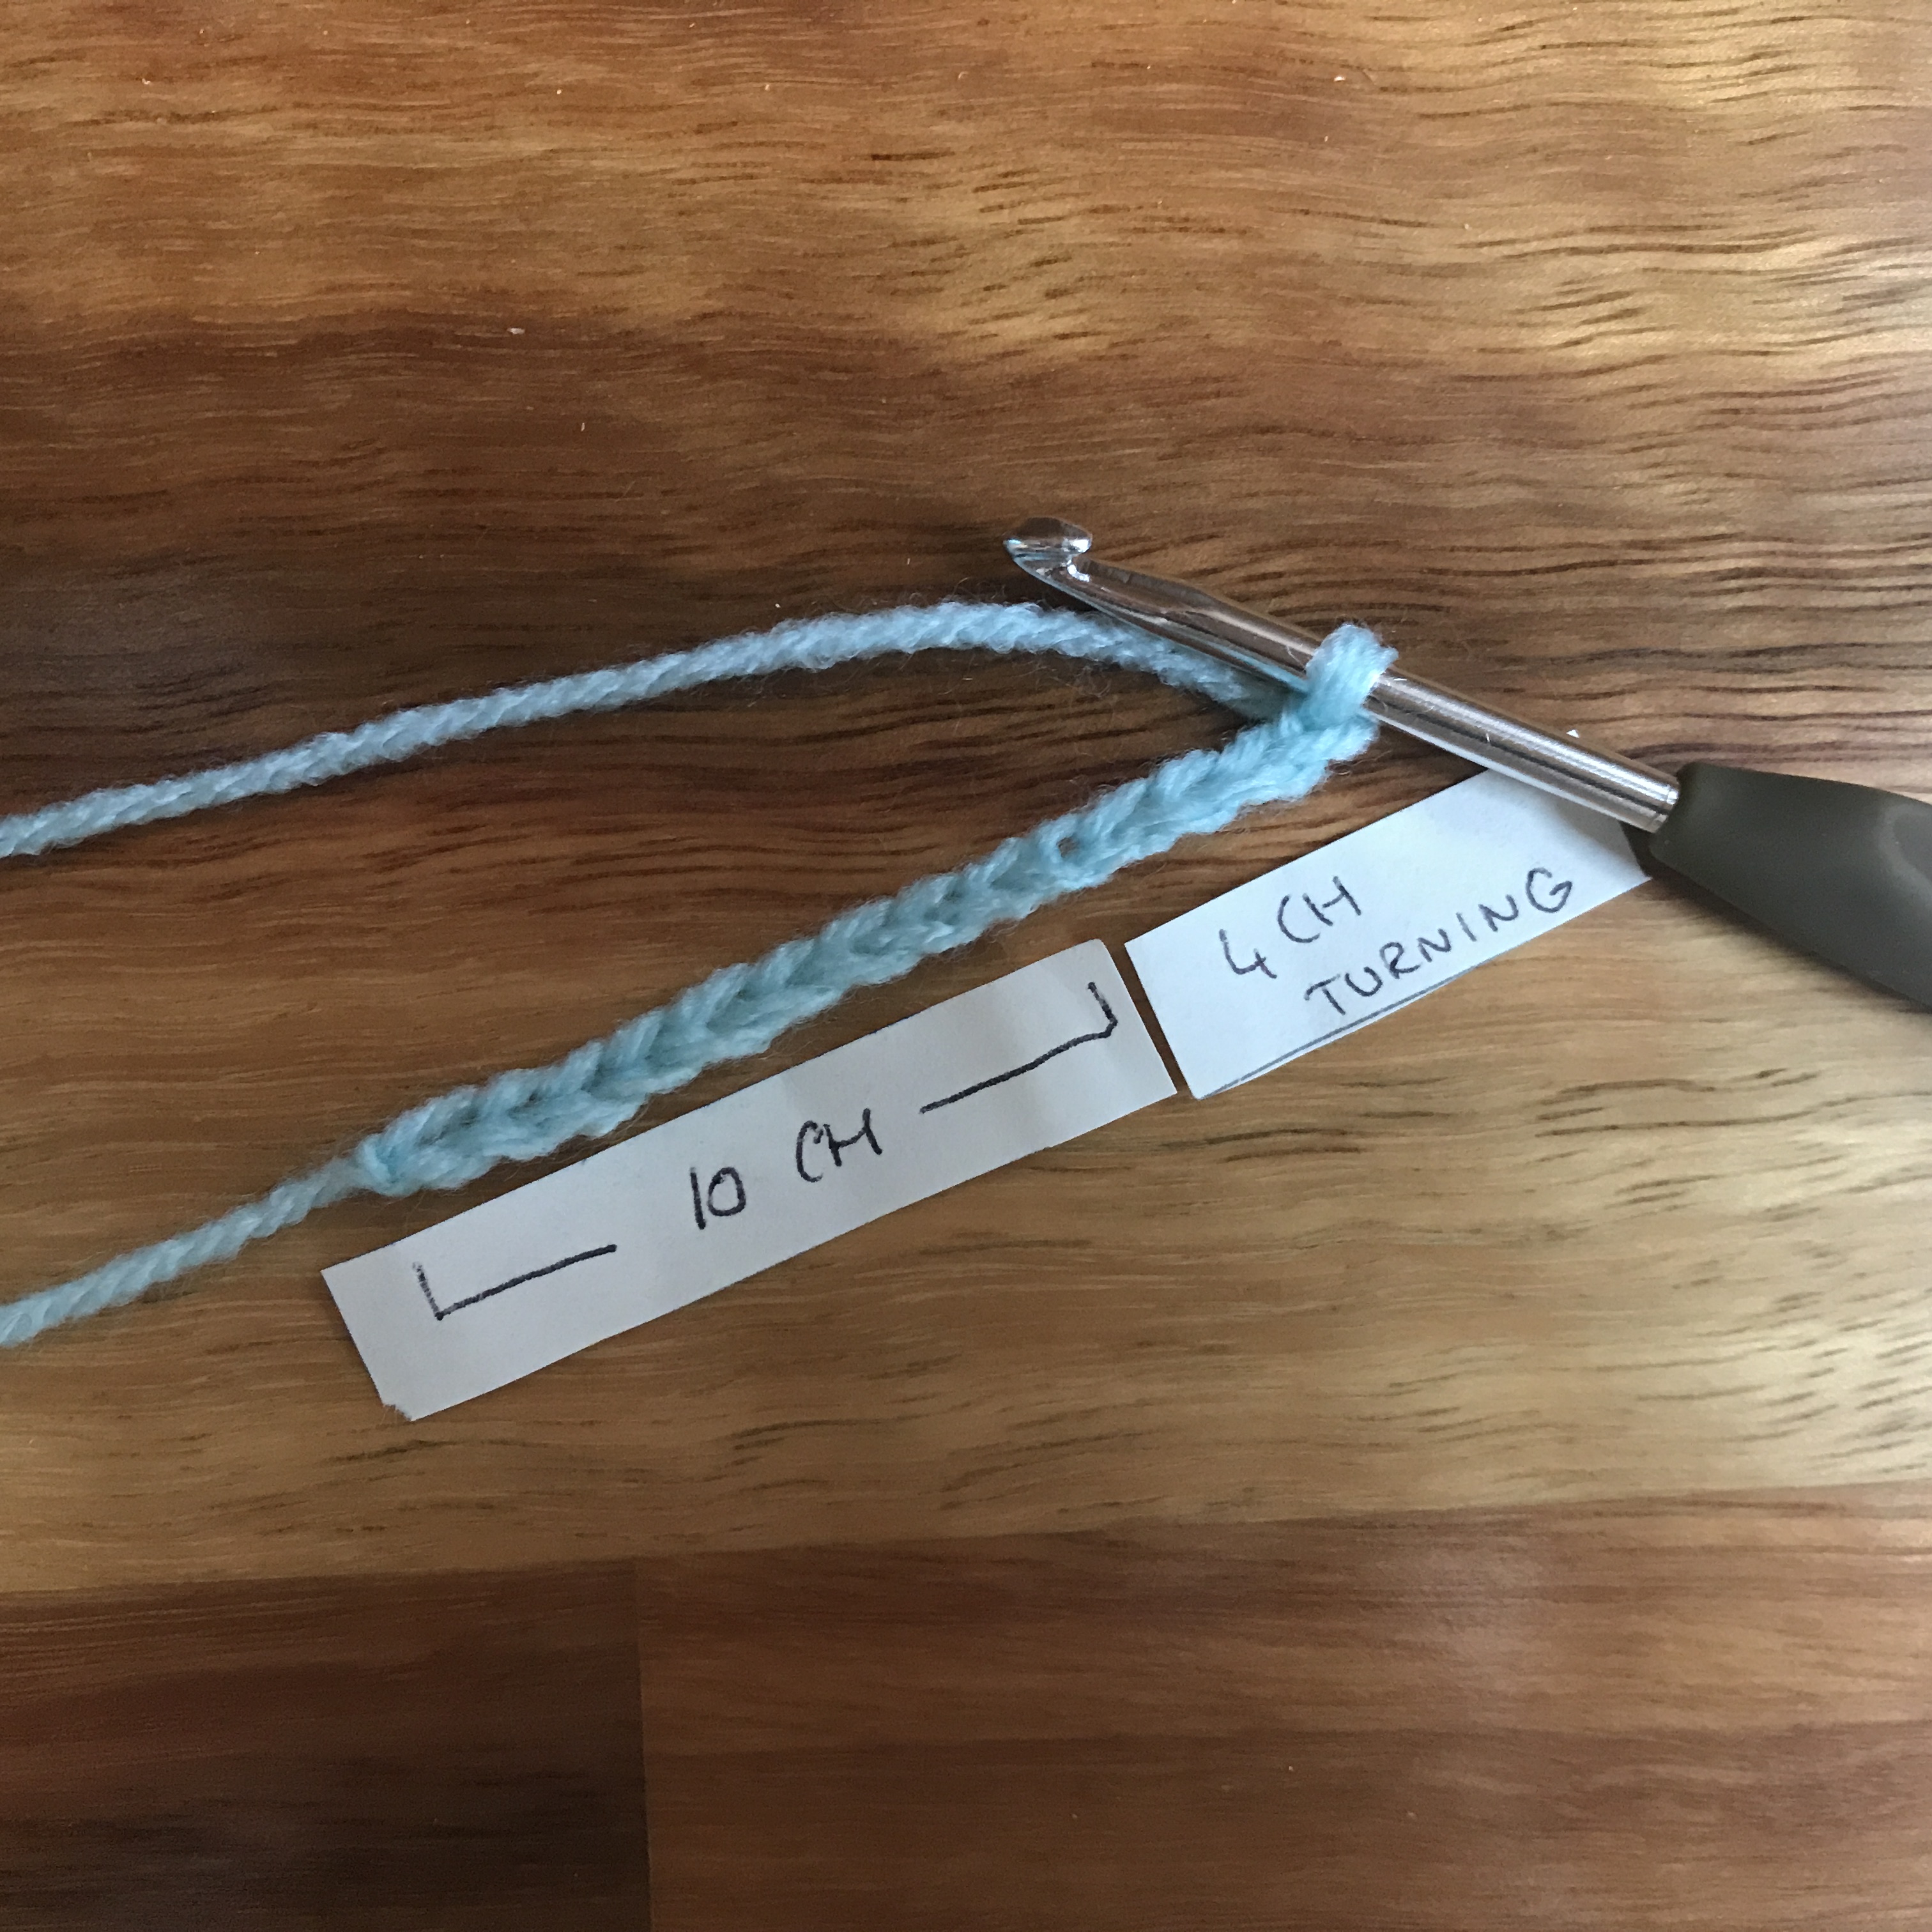
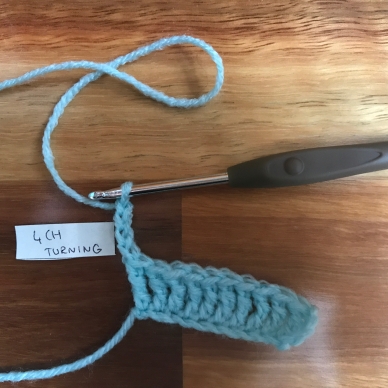
- Stitch to the position of the decrease. In my case I worked 15 DC with 2CH turning. My decrease position is 6th and 7th DC stitch.

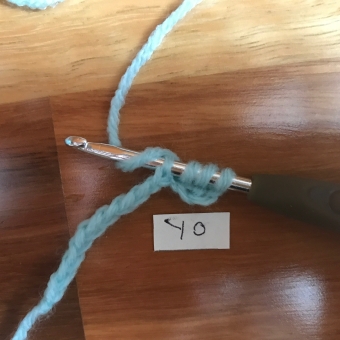
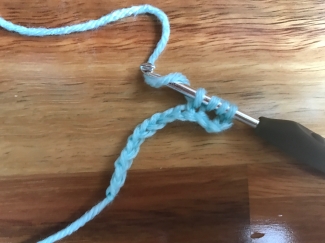
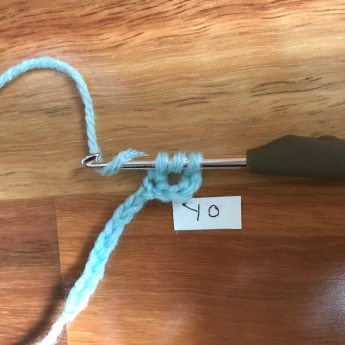
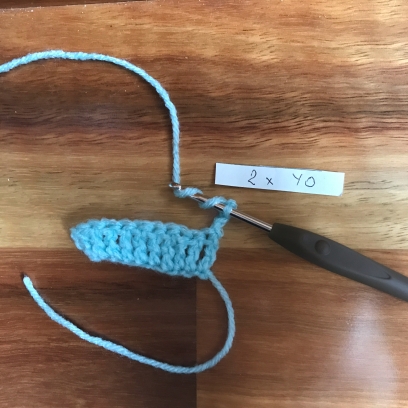
- Yarn over (aka 1 loop on the hook), take the hook, from front to back, through the next stitch (stitch 6th in my case – you have 2 loops).


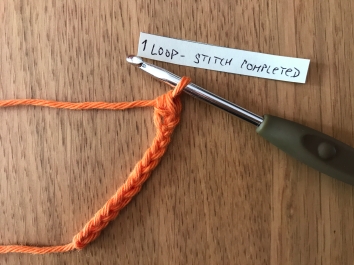
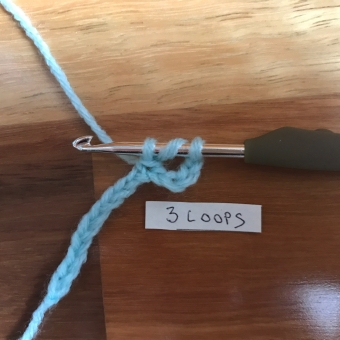
- Wrap the yarn and pull it through, from back to front over the hook and pull a loop through the picked stitch. You have 3 loops on the hook. (nearly completed DC stitch, but DO NOT COMPLETE).

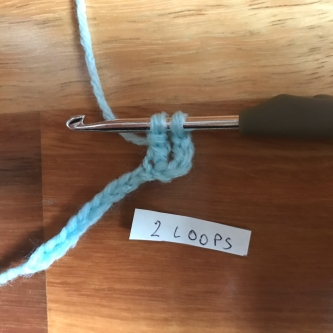
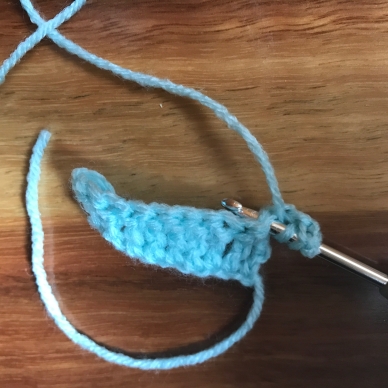
- Yarn over in the barb of the hook and pull it through the first 2 loops only! Leaving 2 loops on the hook.


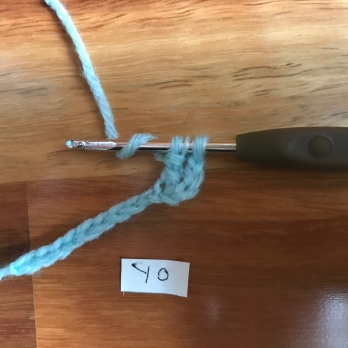
- Yarn over (aka 1 loop) and take the hook, from front to back, through the next stitch (7th stitch – you have 3 loops).

- Wrap the yarn and pull it through, from back to front over the hook and pull a loop through the picked stitch ( 7th stitch). DO NOT COMPLETE THE STITCH! You have 4 loops on the hook.


- Wrap the yarn in the barb of the hook and pull it through the first 2 loops only! Leaving 3 loops on the hook.
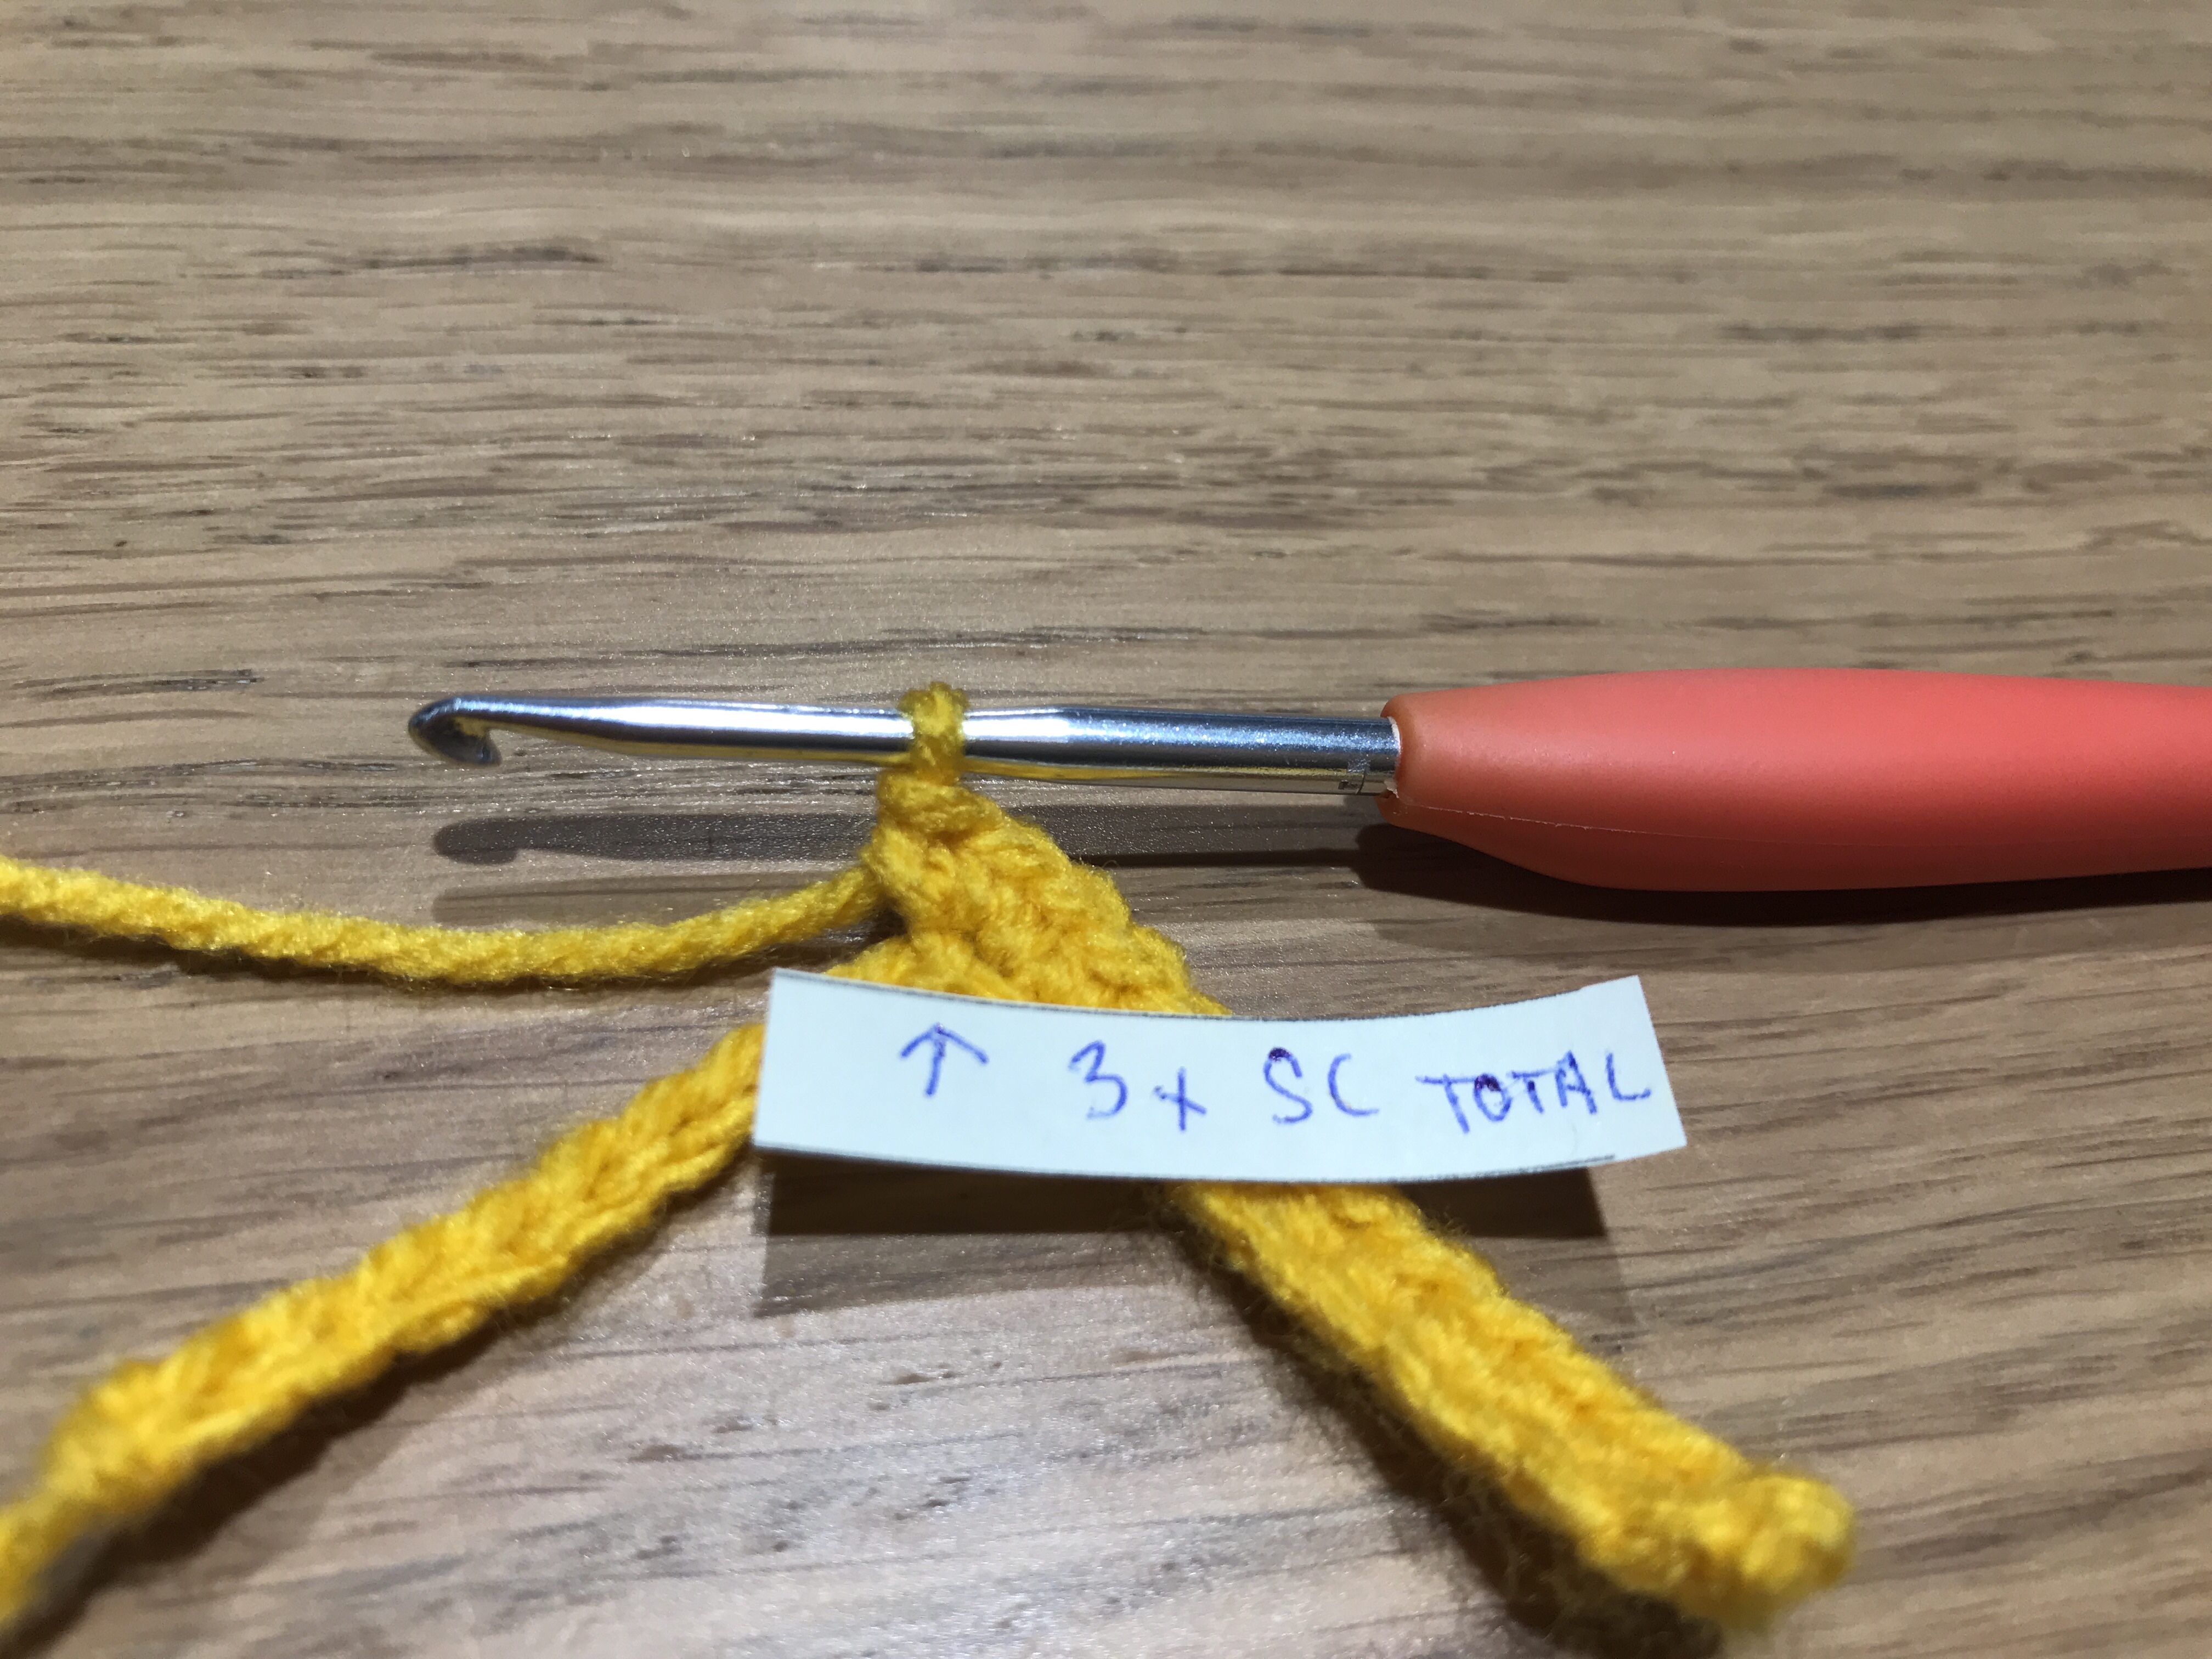
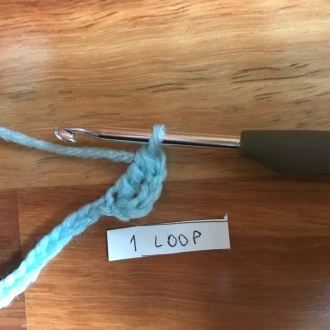
- Wrap the yarn in the barb of the hook and pull it through all 3 loops on the hook, completing the decrease stitch (1 loops remains on the hook).

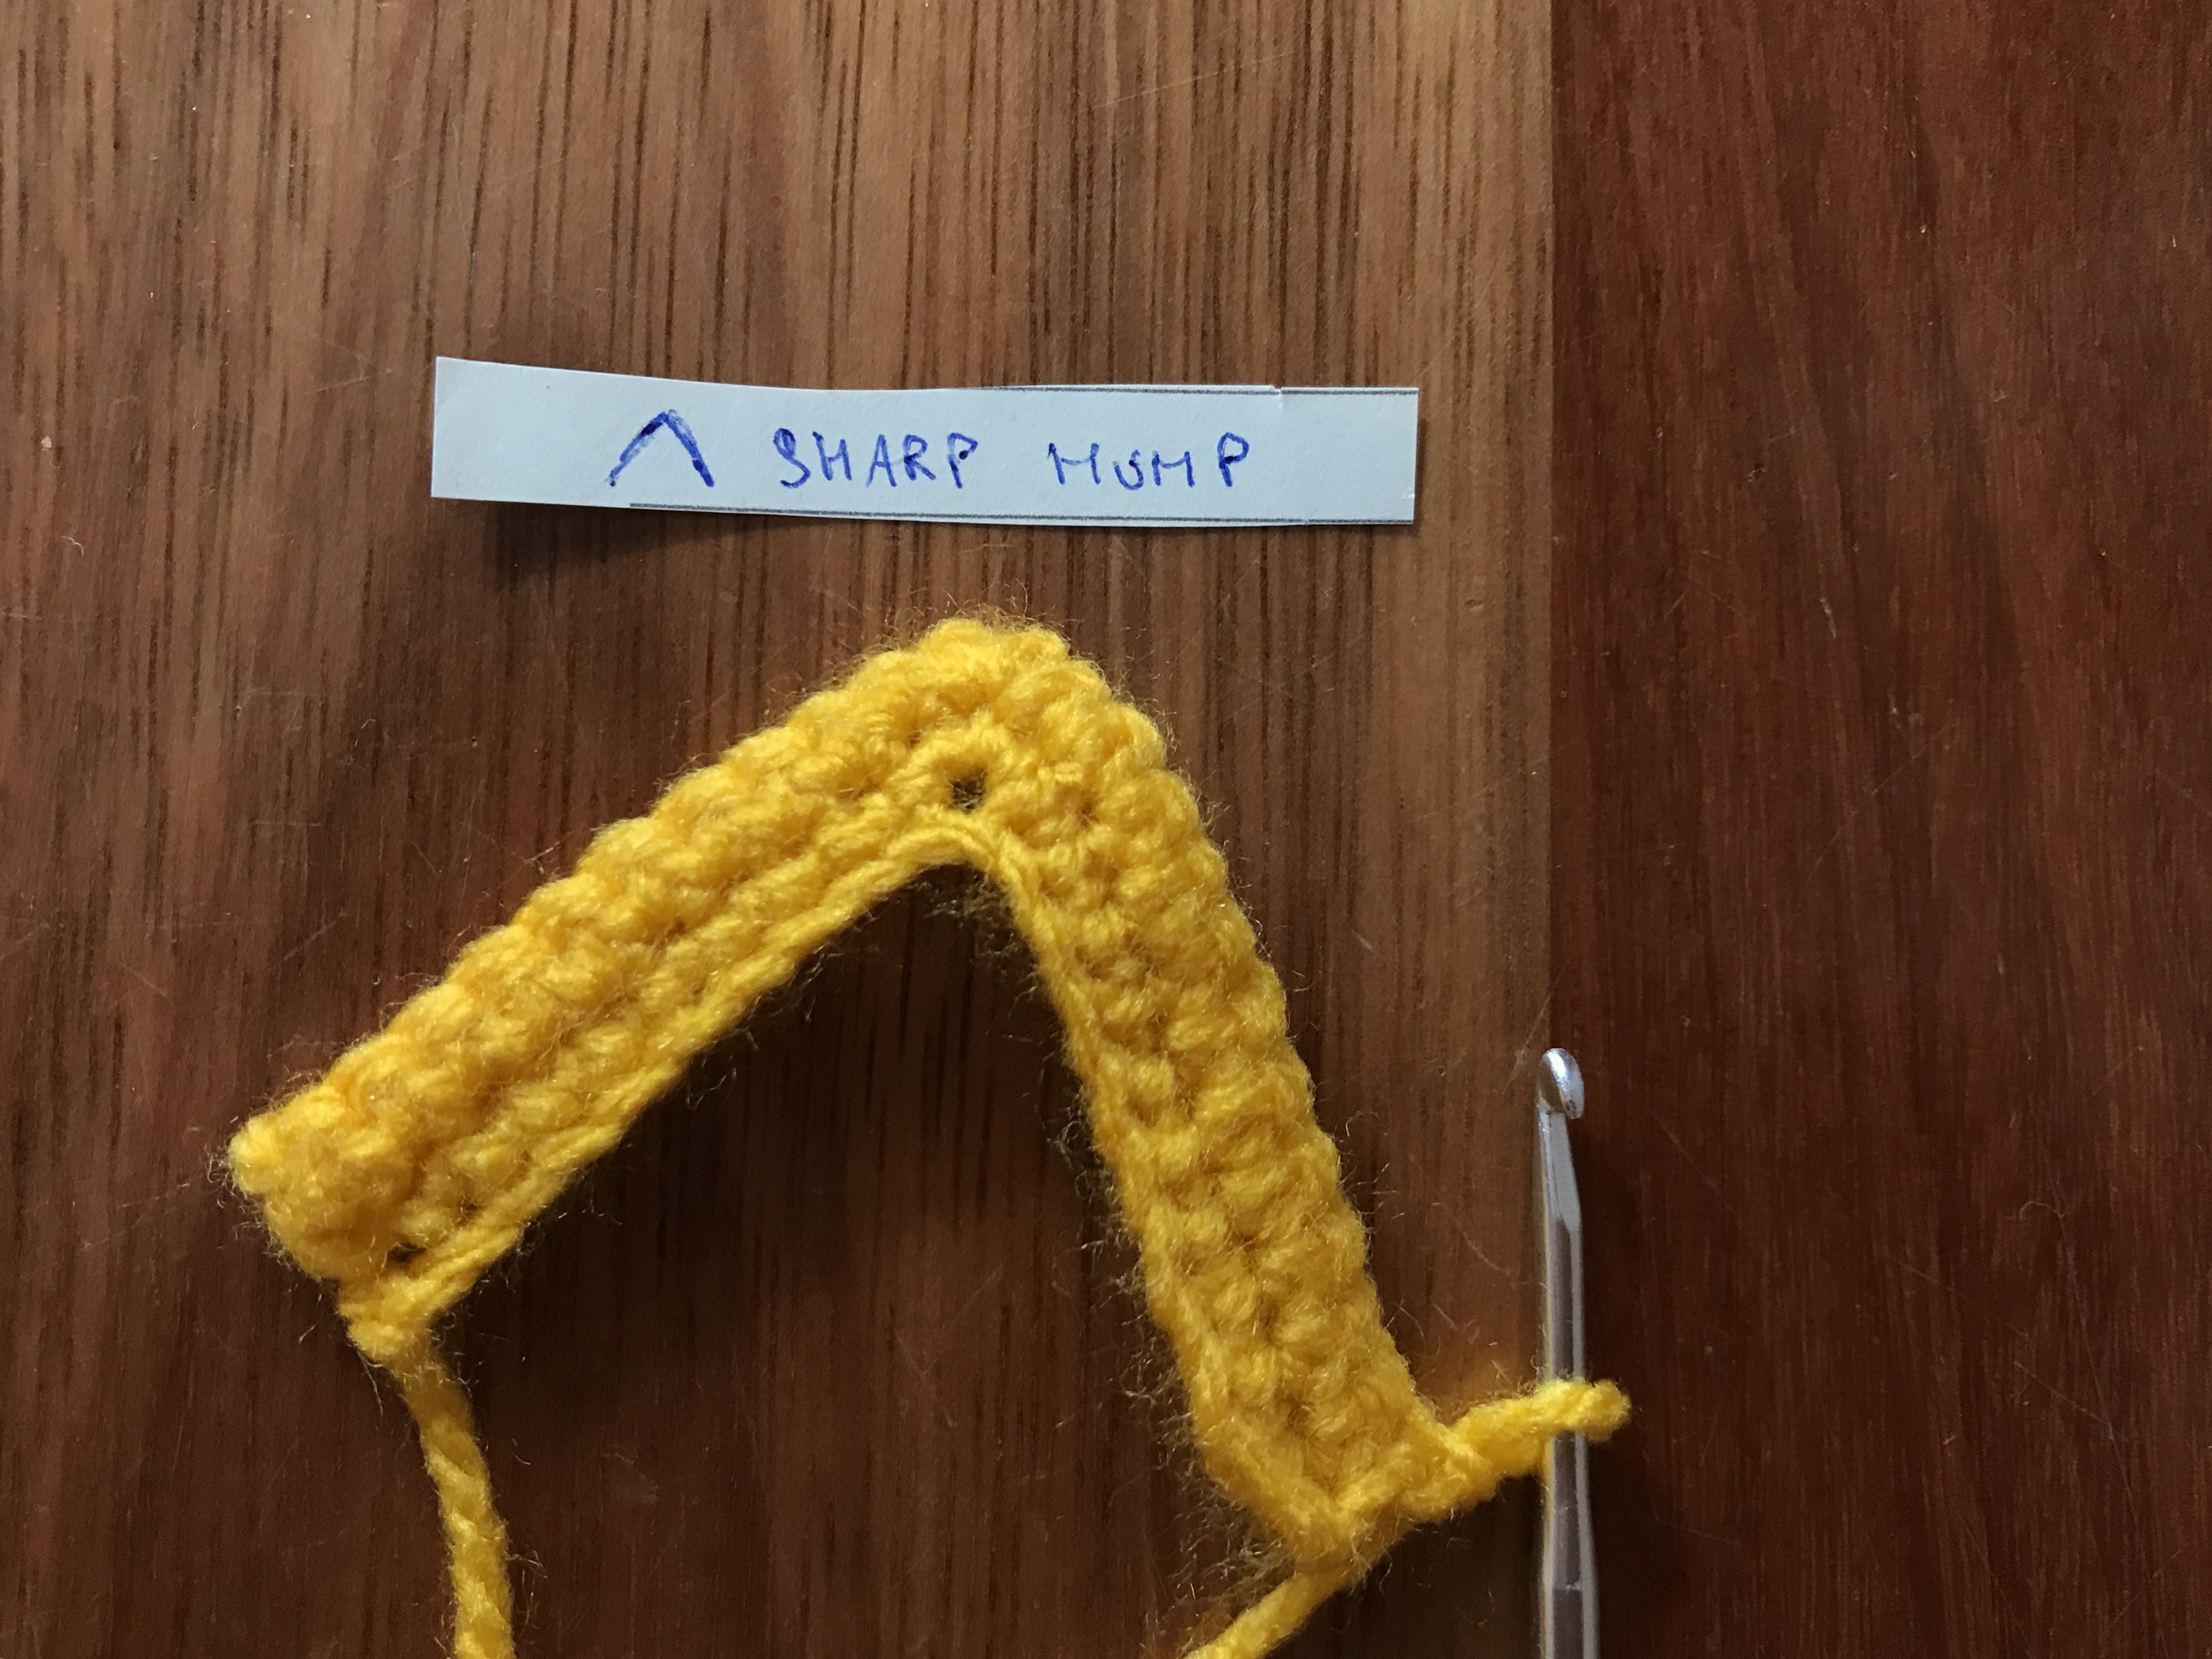
- Make sure that the tension is tight otherwise with decreases the usual problem is “holes”… and you do not want to have unnecessary holes in your pattern. Extremely important especially when you are crocheting together more than 2 loops.

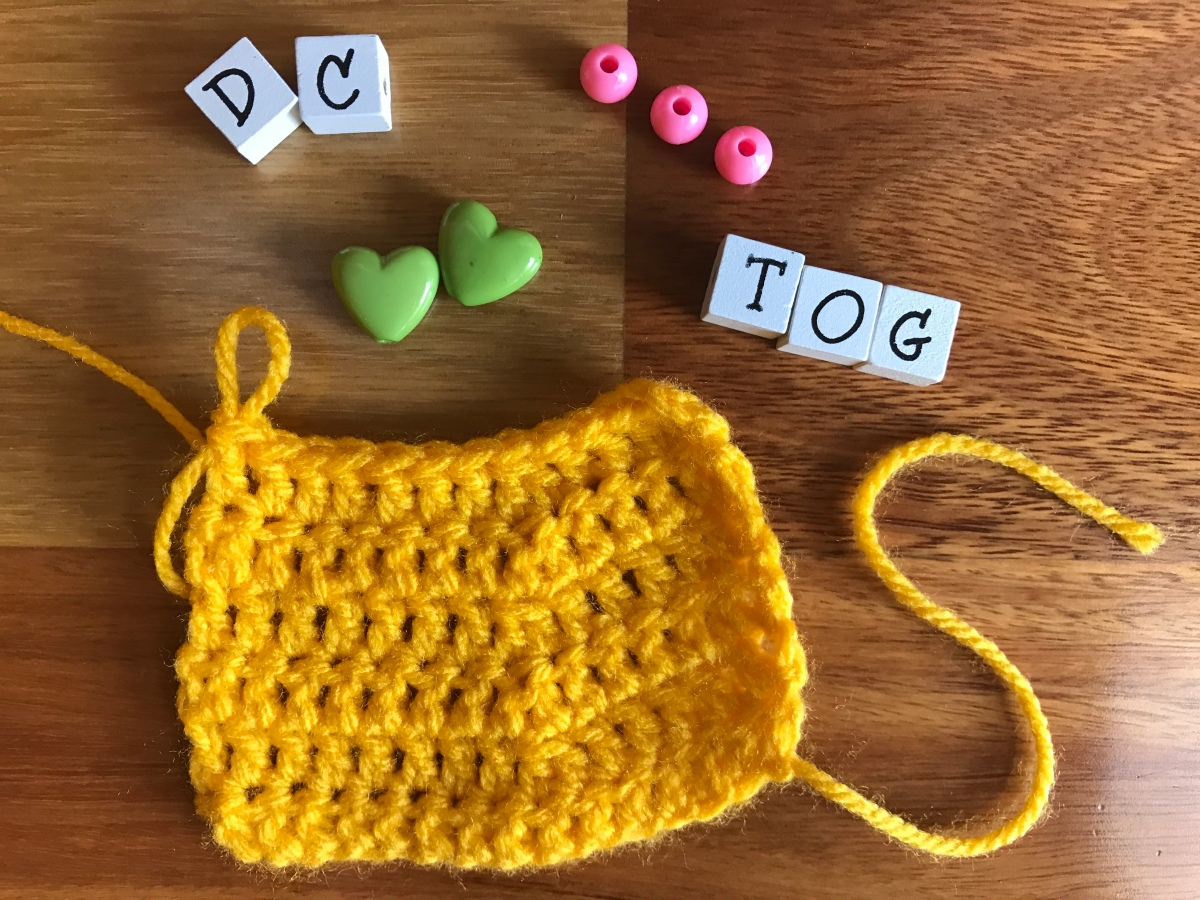
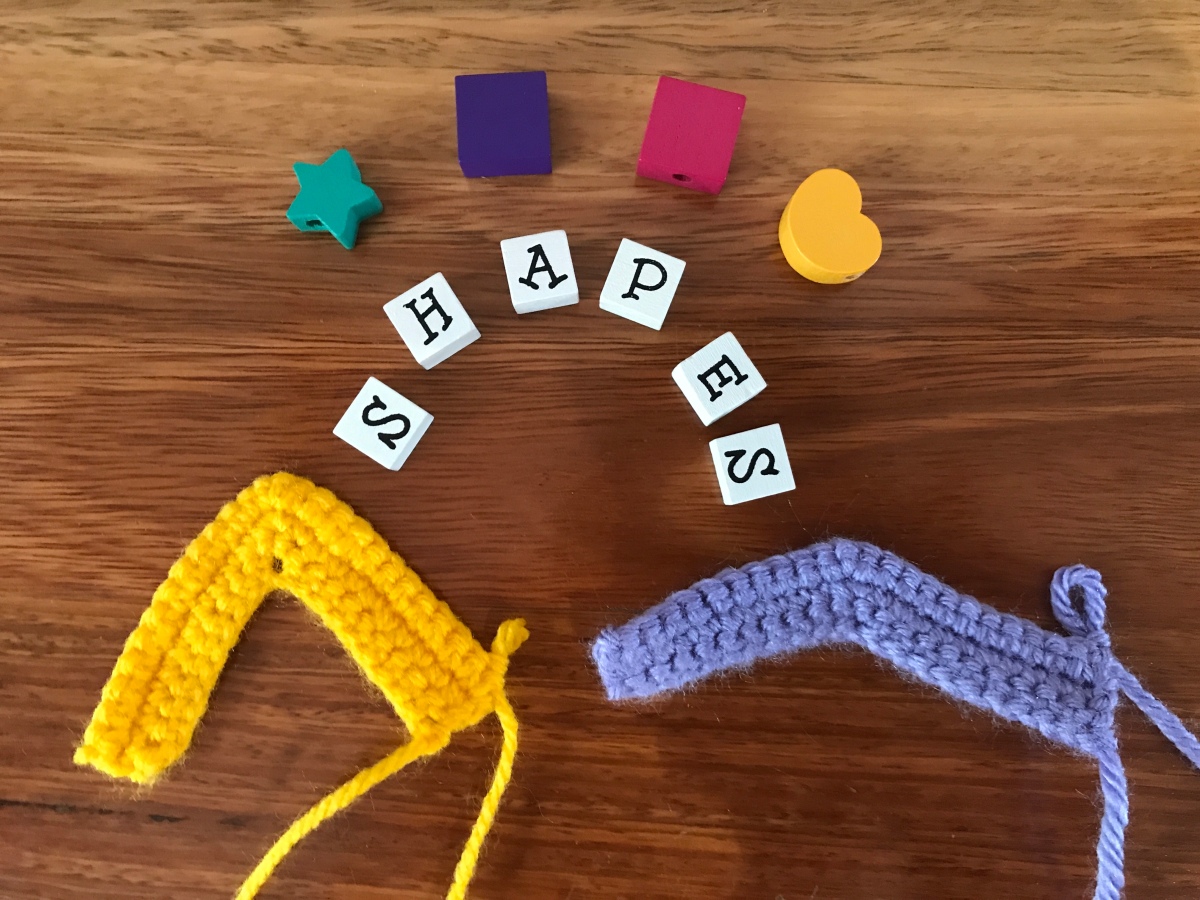
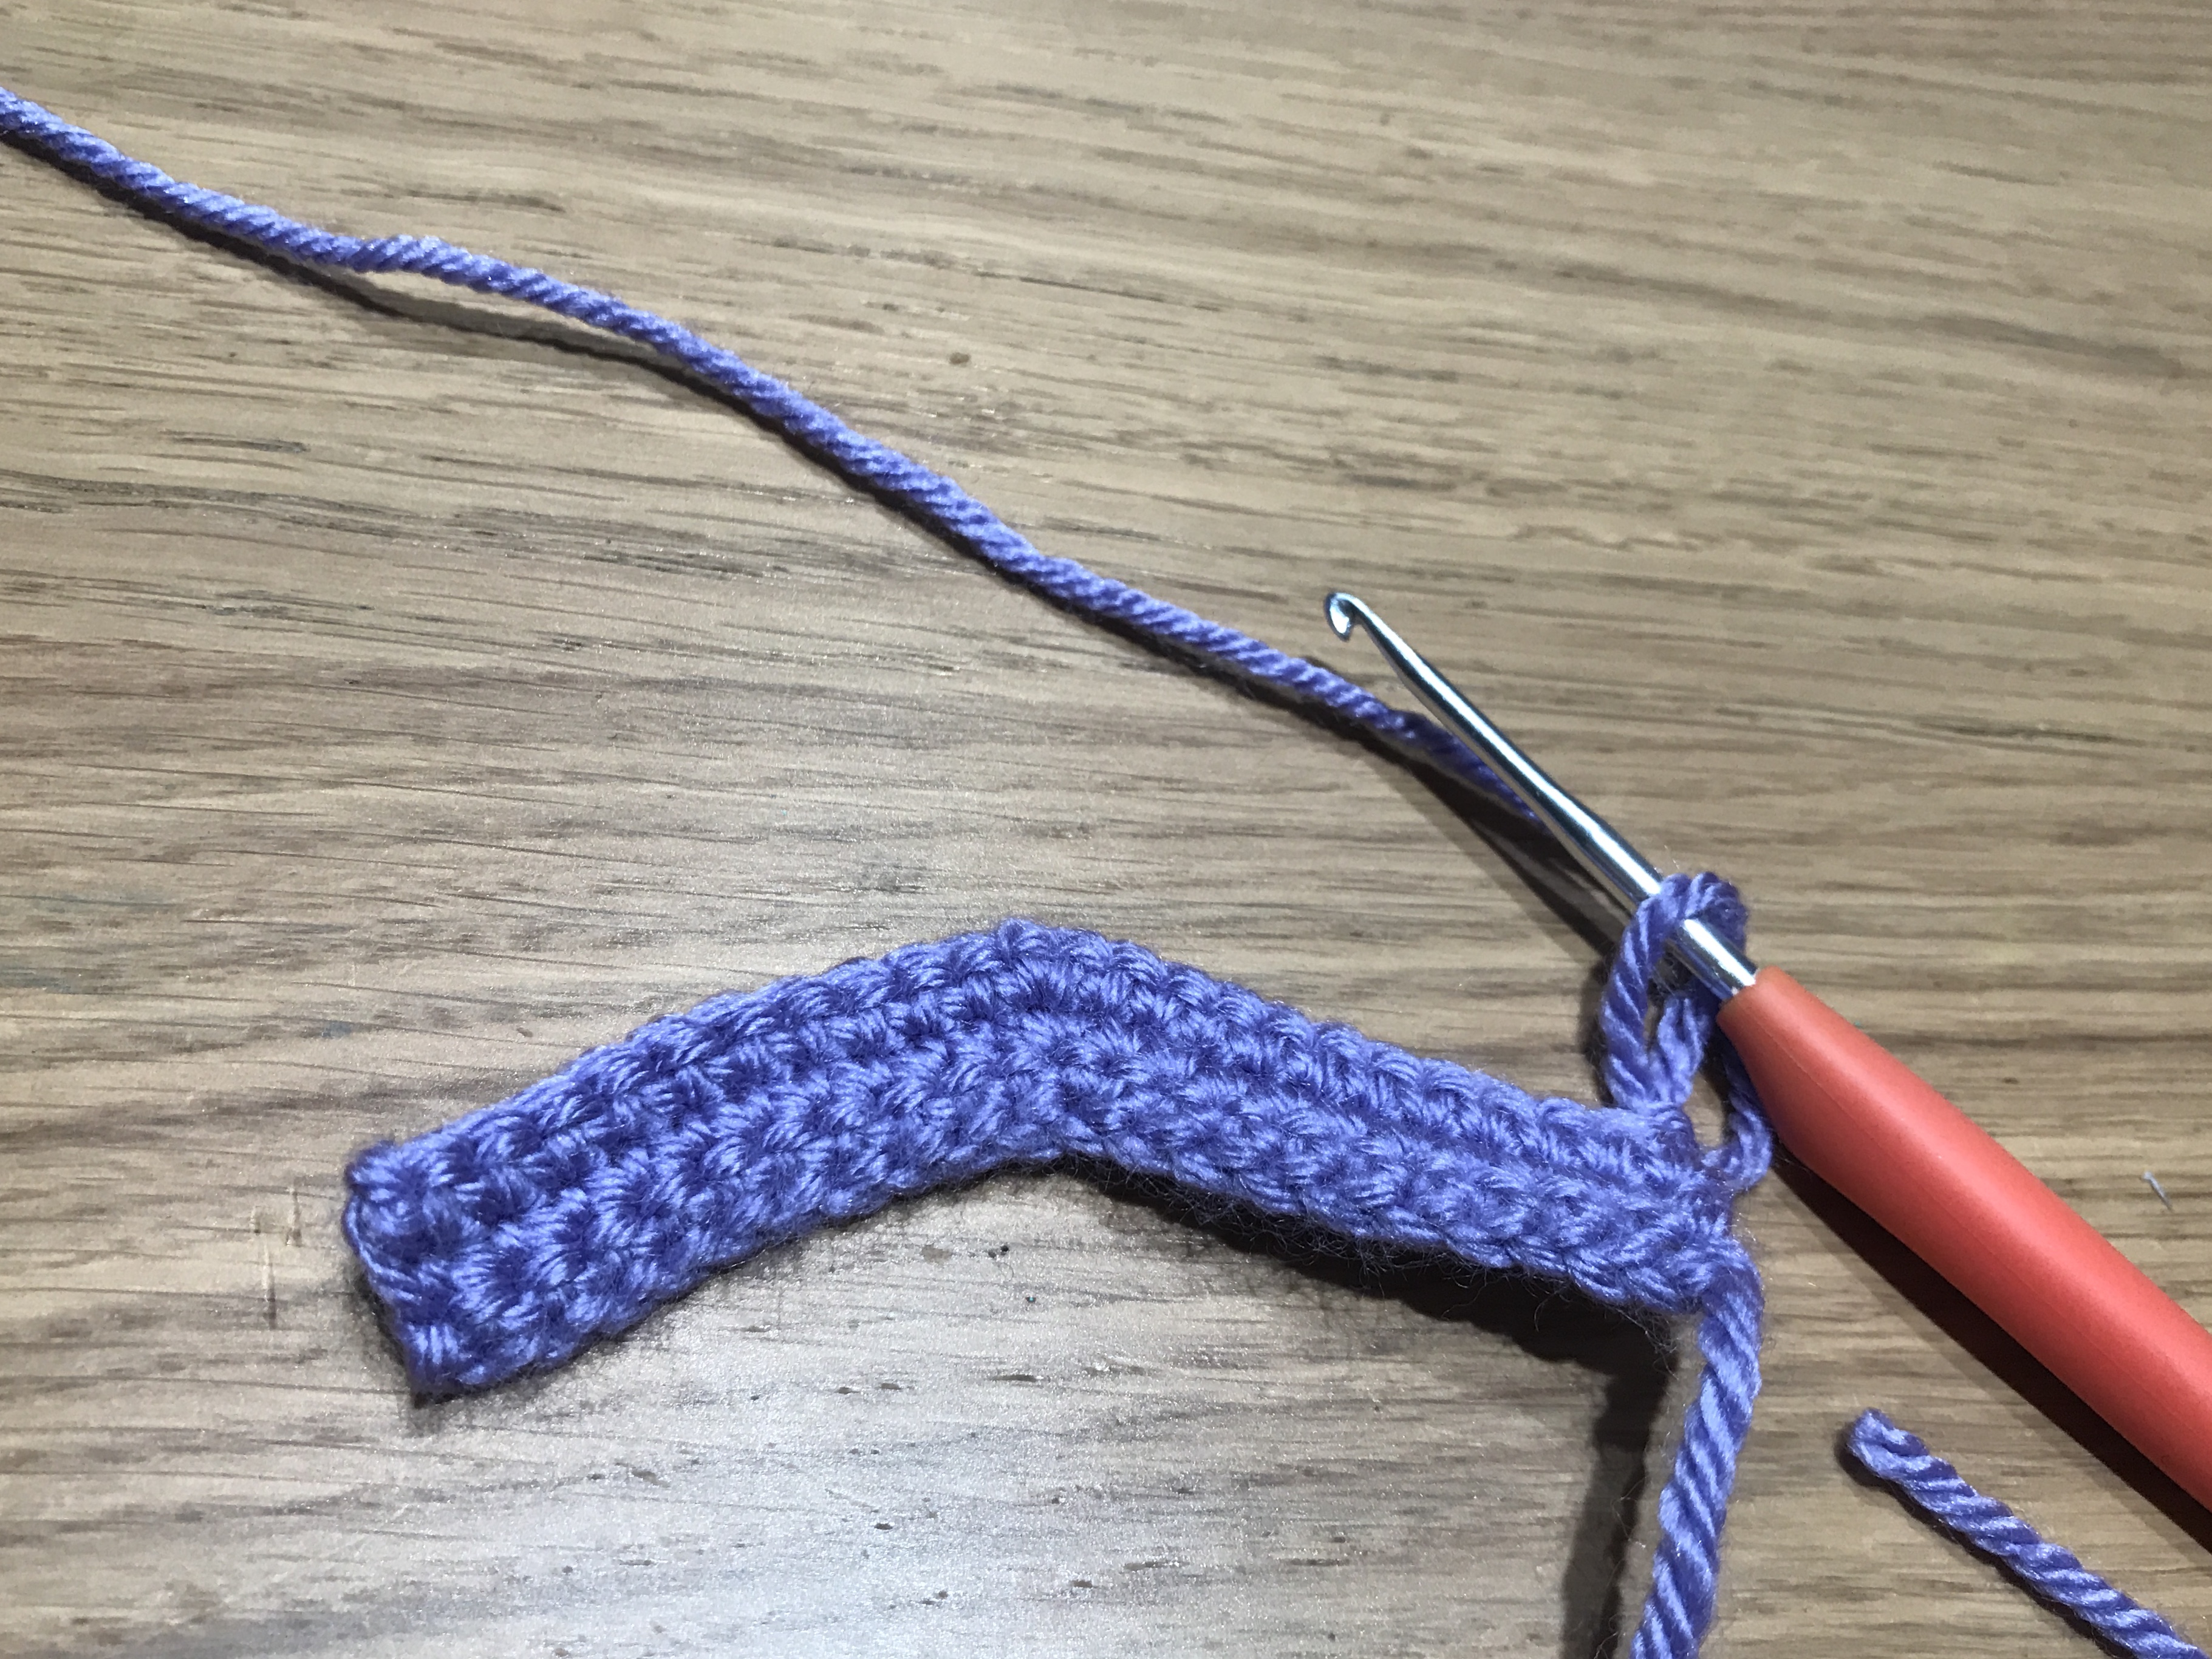
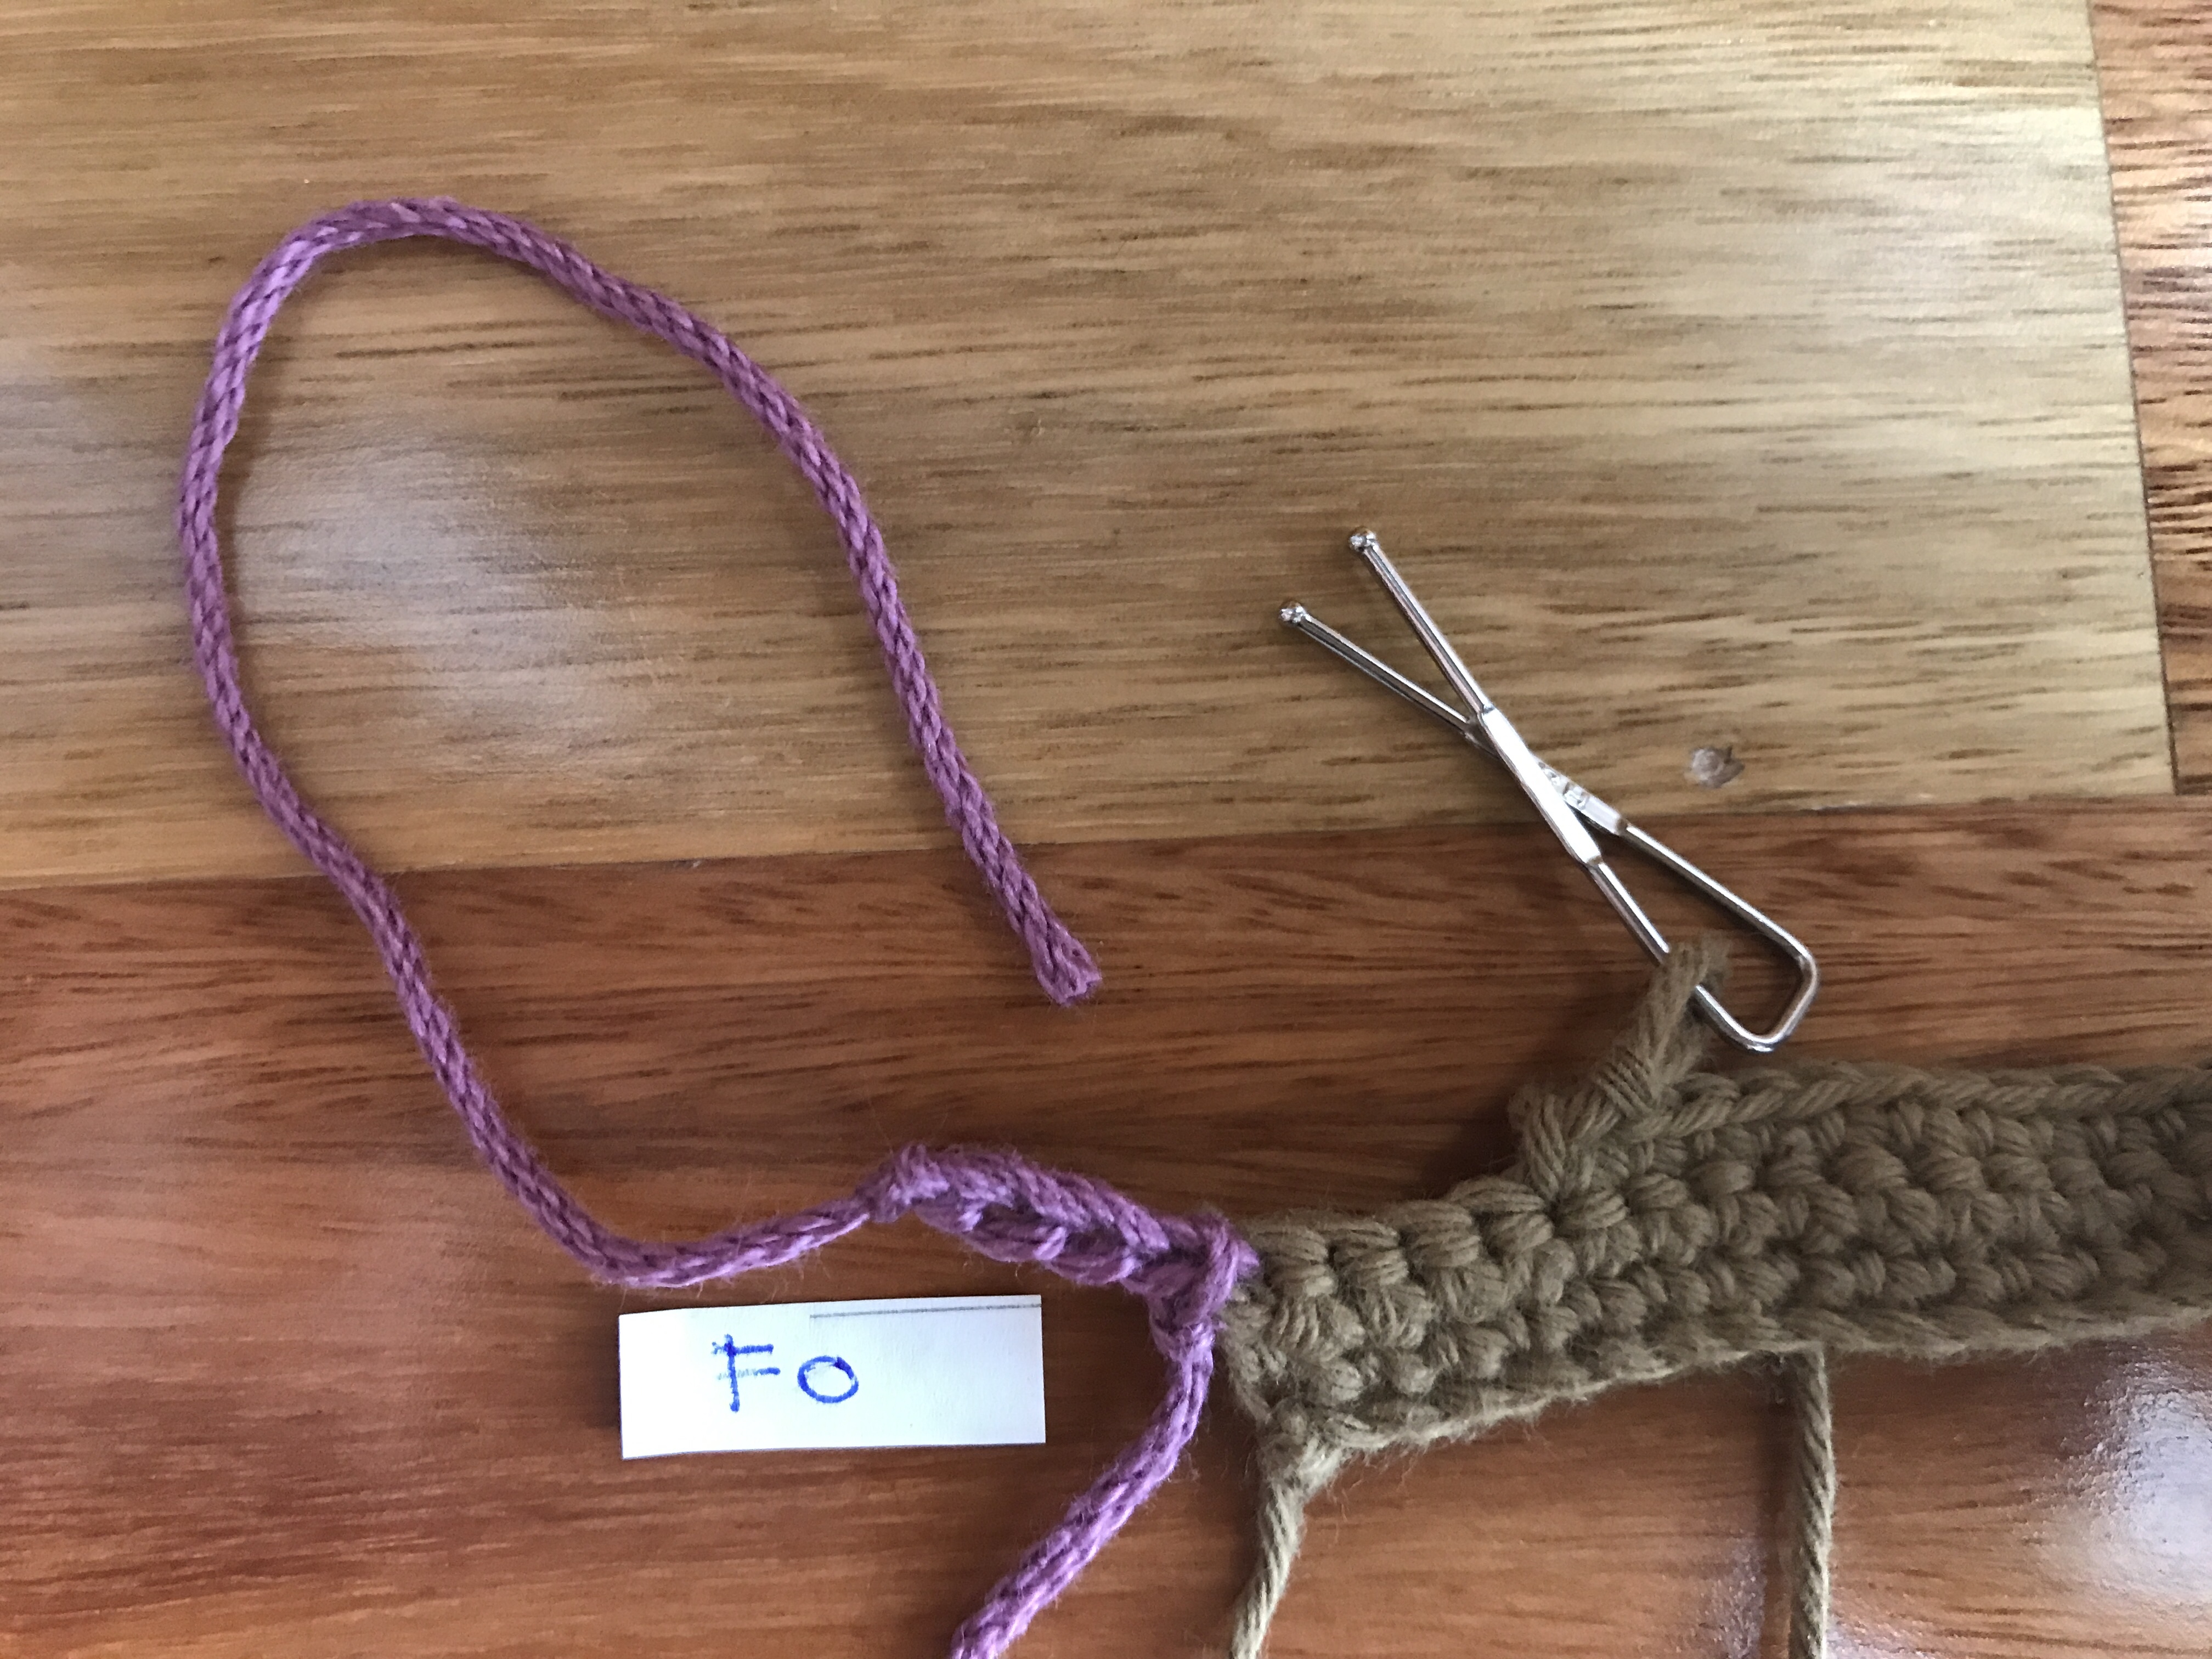
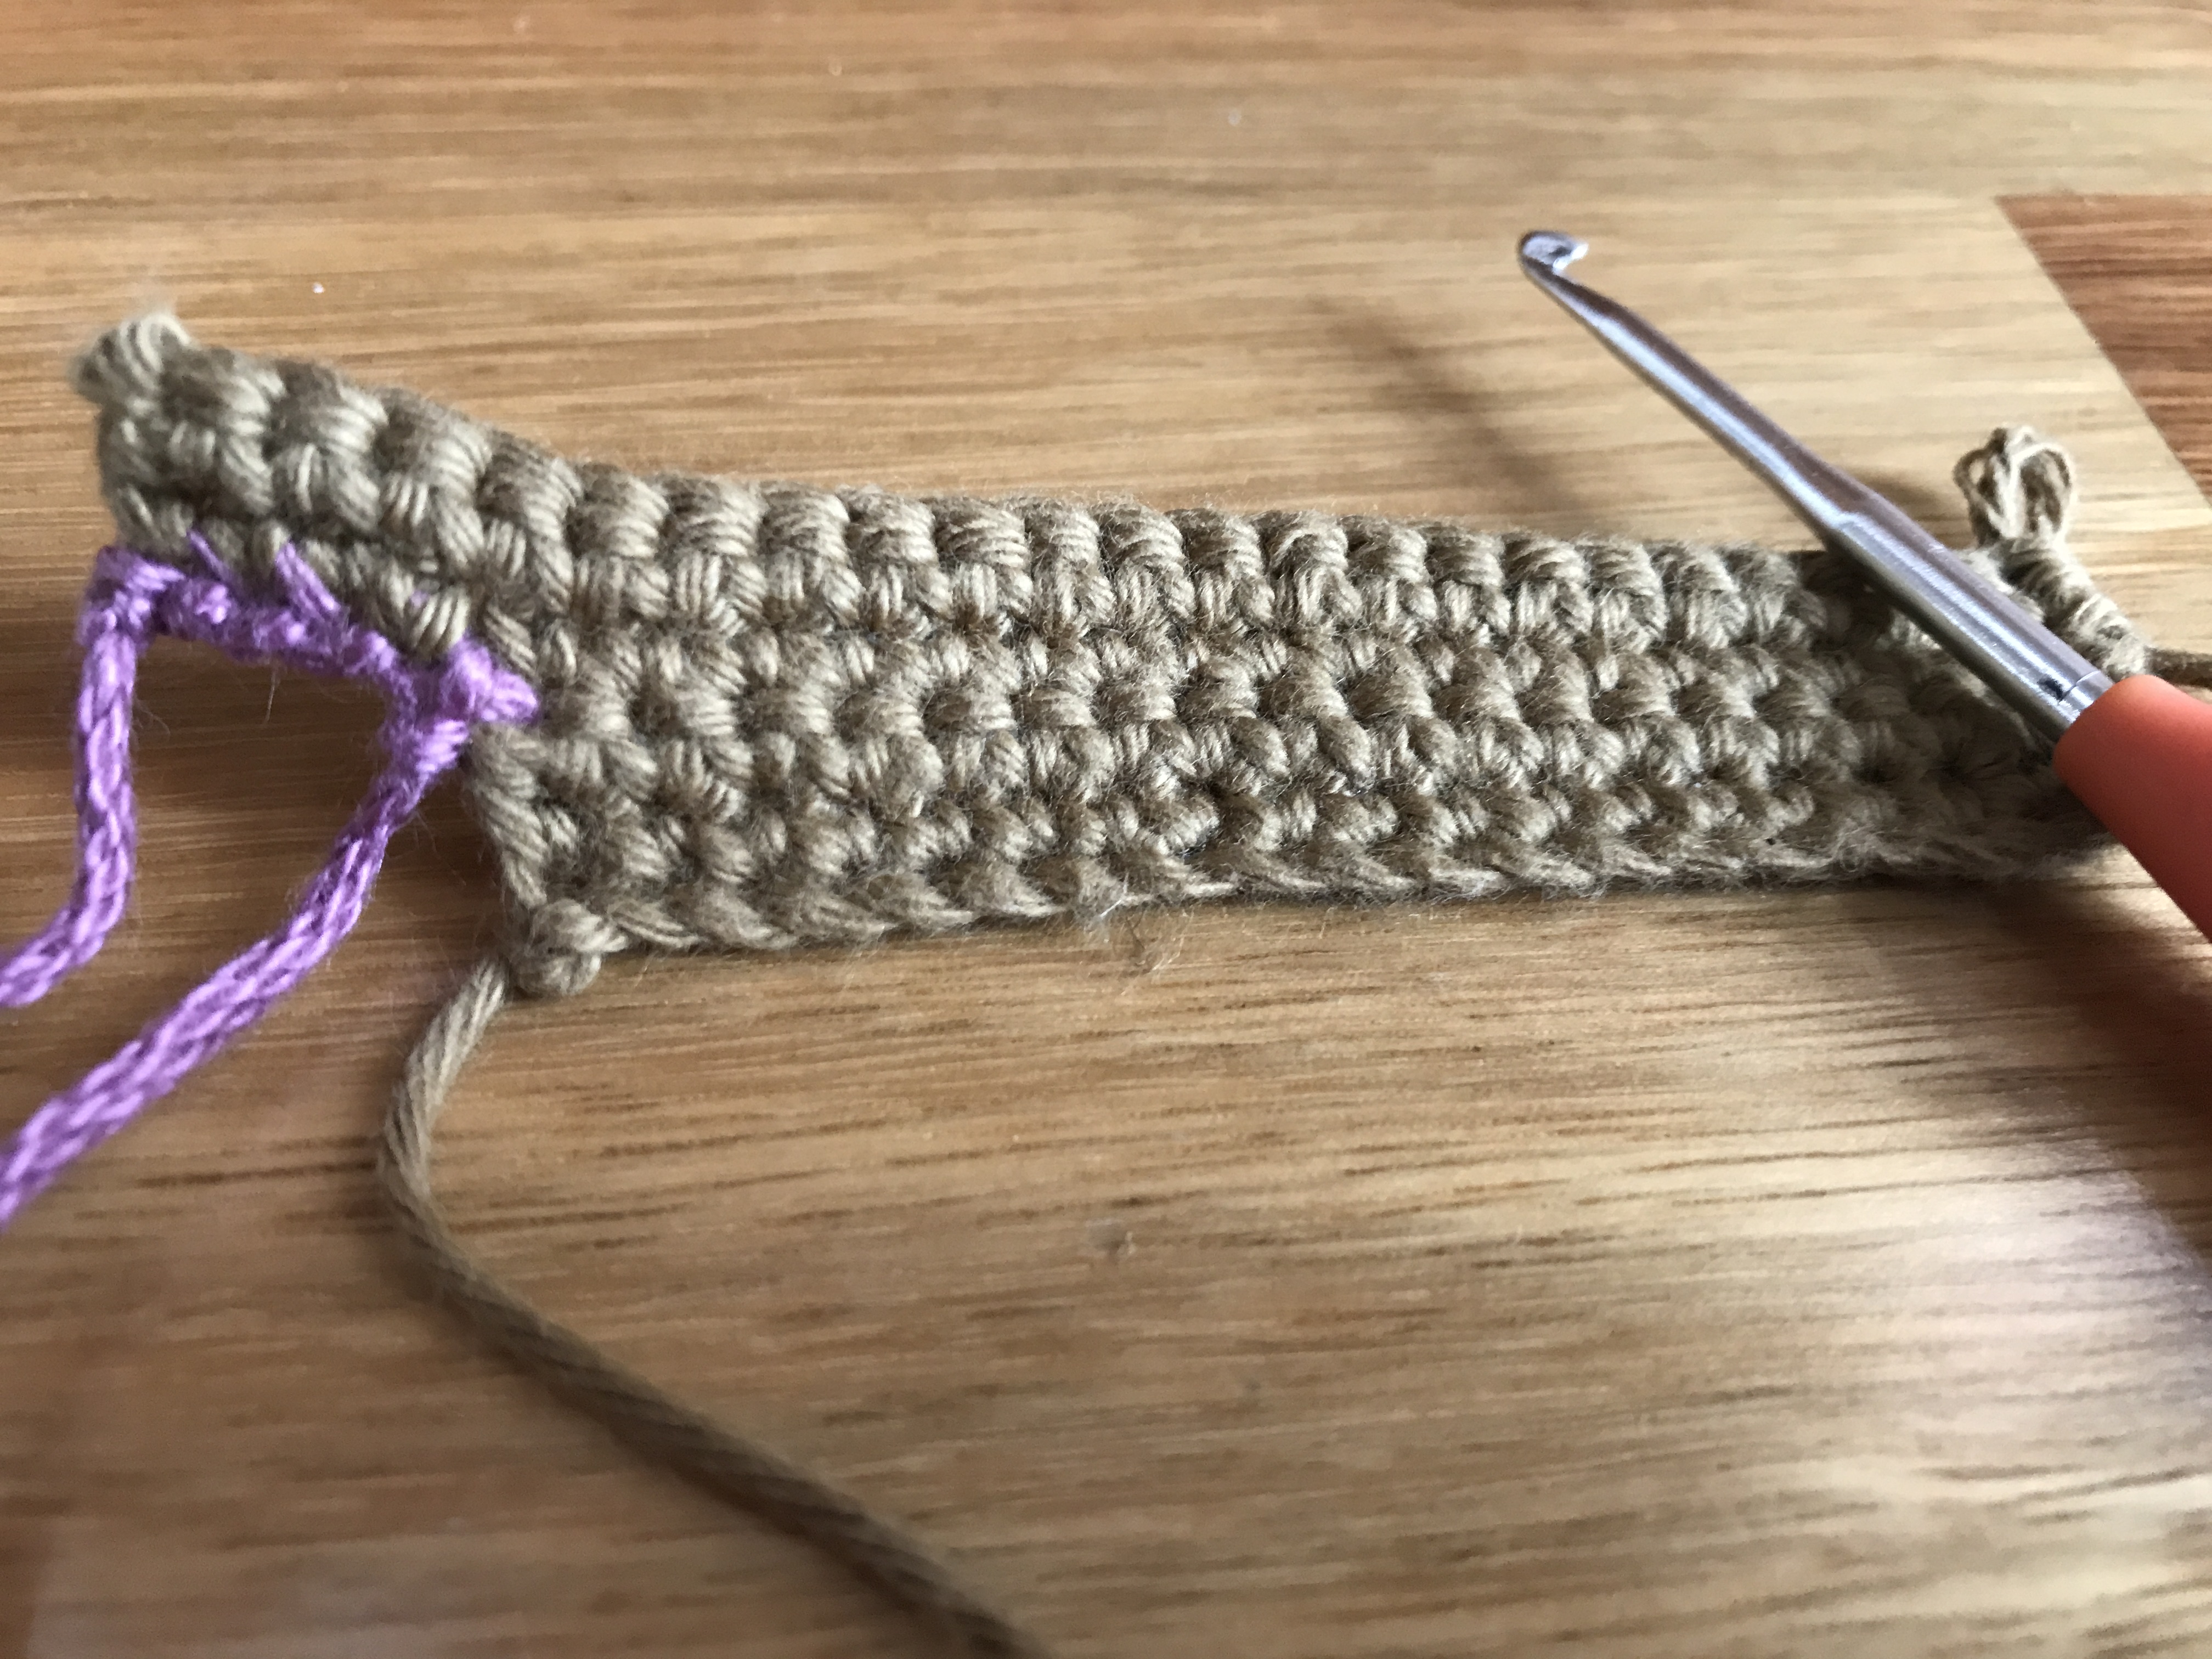
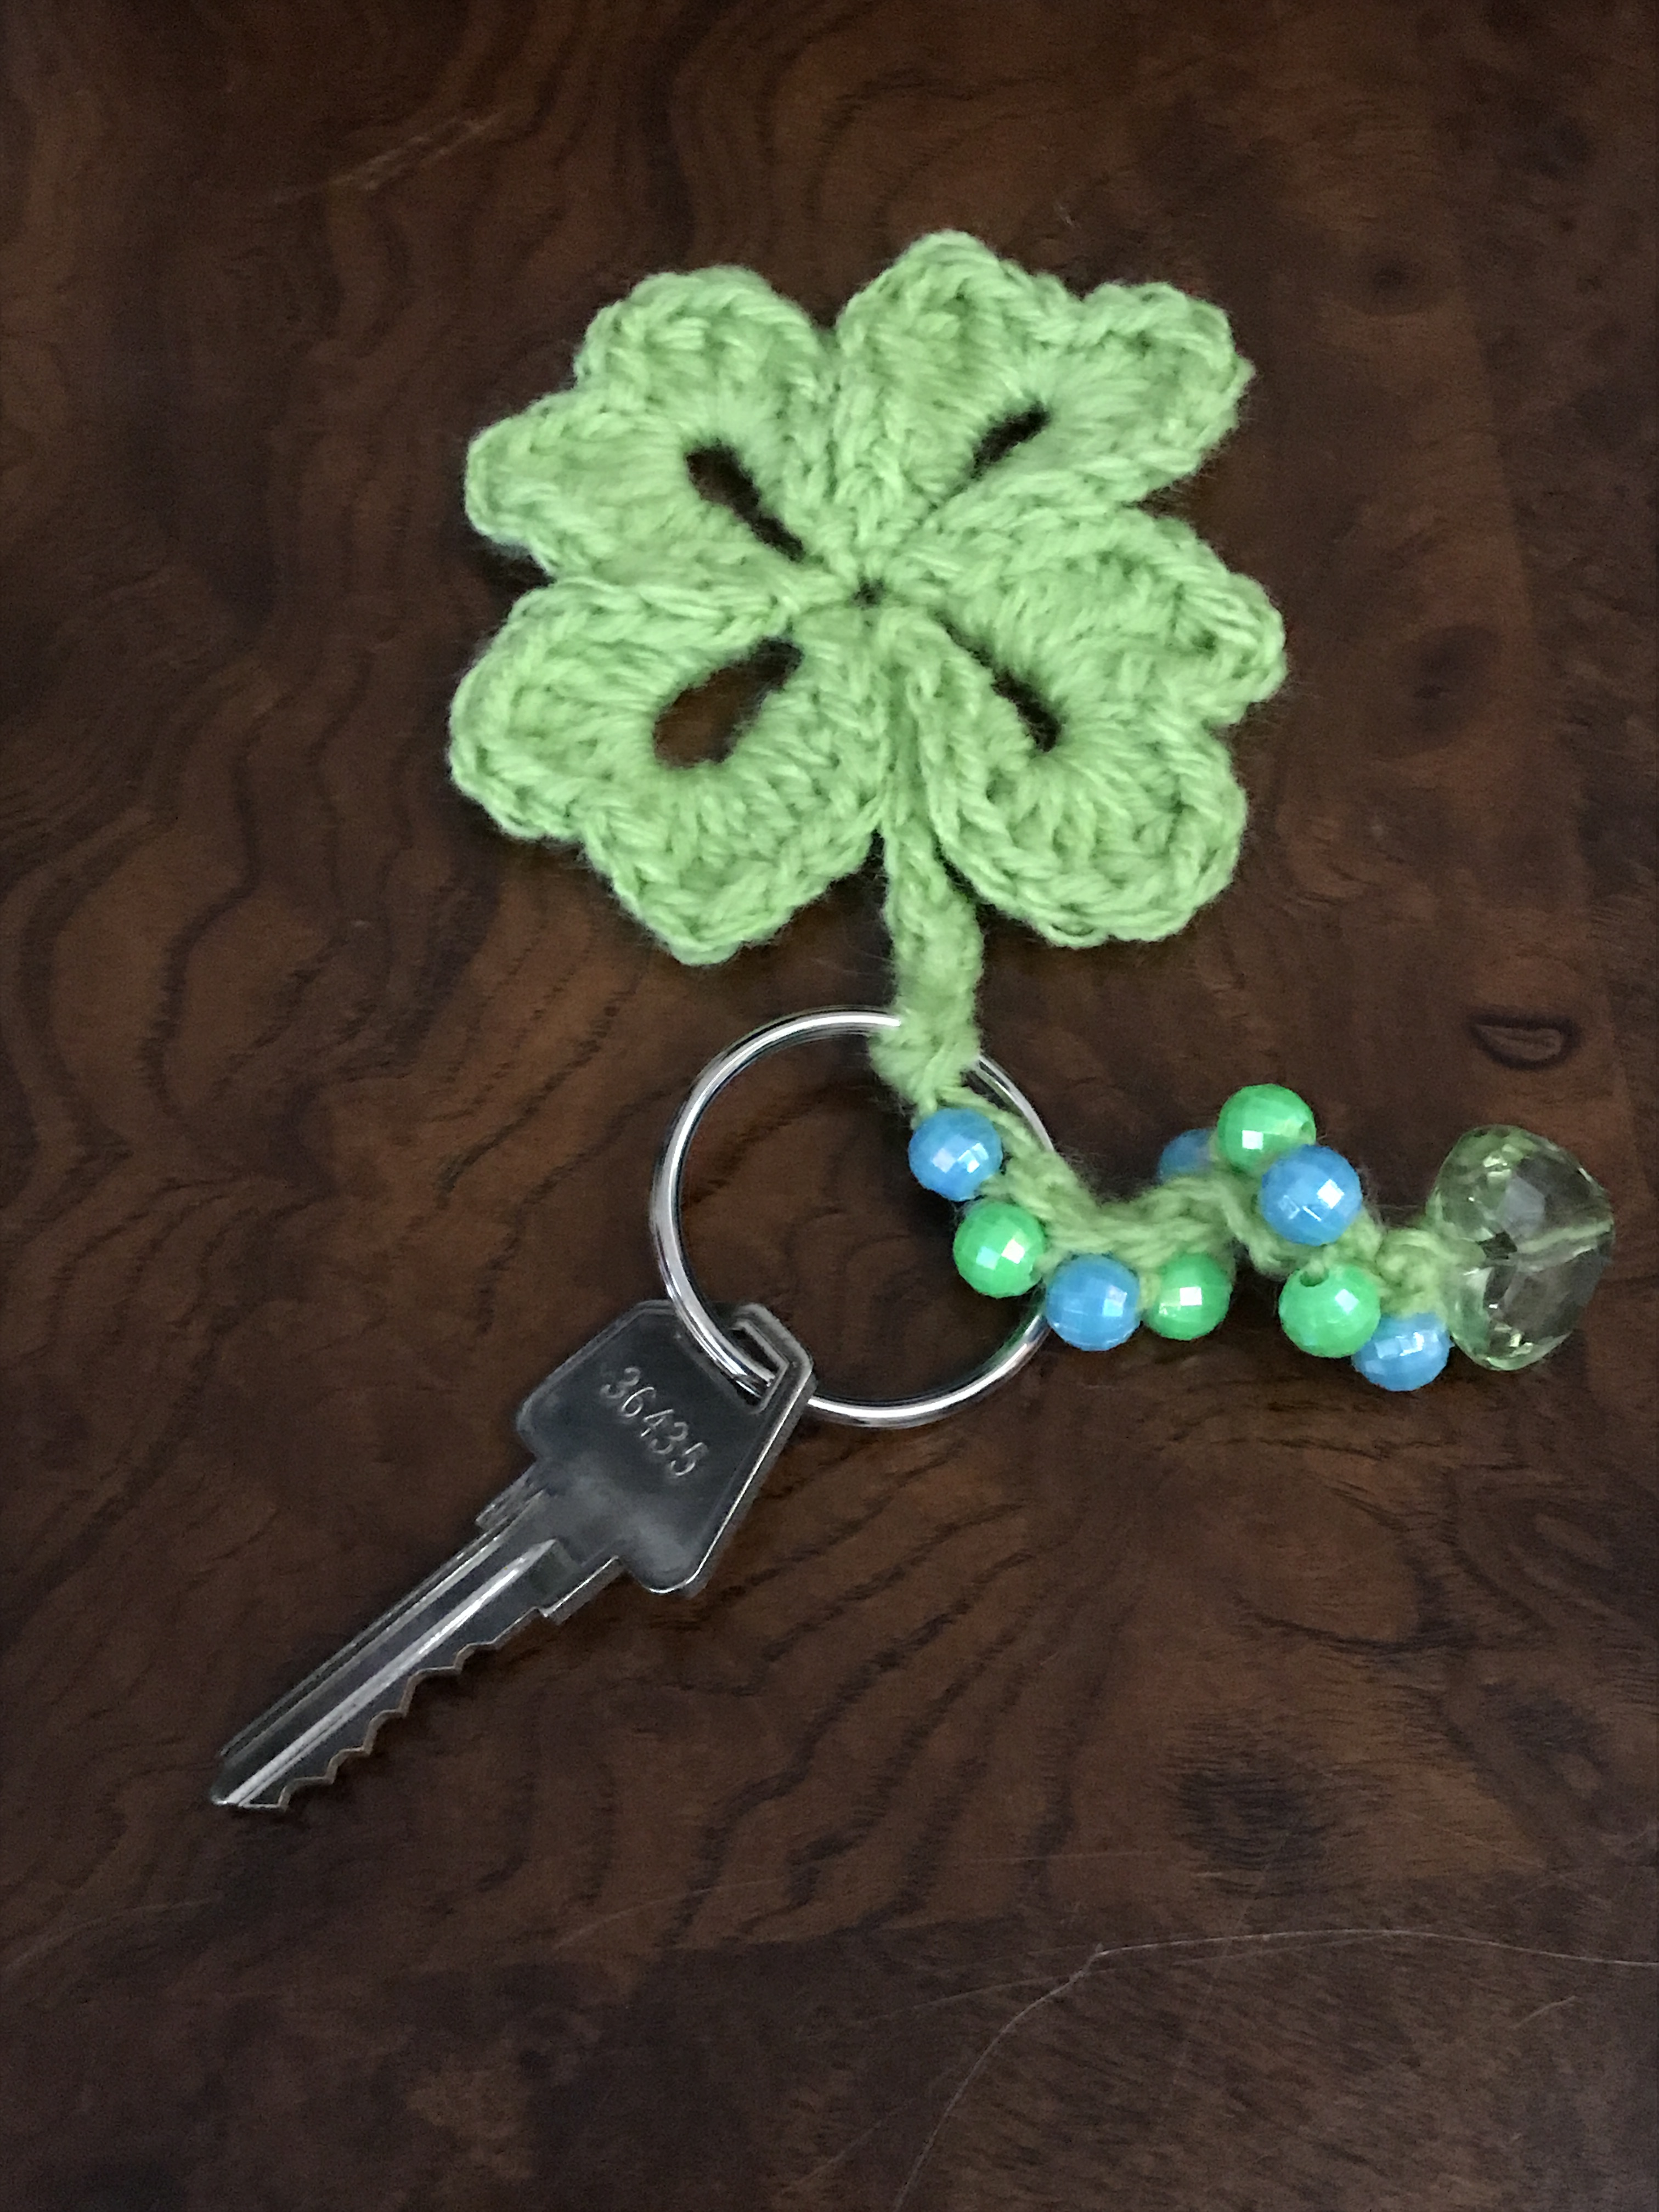
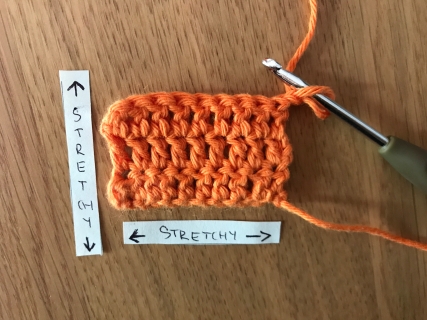
- A little project with dc2tog decrease on the picture below:

2. Double decrease in double crochet within a row (dc3tog)
- Stitch to the position of the decrease. In my case I worked 15 DC with 2CH turning. My decrease position is 6th, 7th & 8th DC stitch.

- Yarn over (aka 1 loop), take the hook, from front to back, through the next stitch (6th stitch – you have 2 loops).

- Pull the yarn, from back to front over the hook and pull a loop through the picked stitch (6th stitch – have 3 loops on the hook).

- Yarn over in the barb of the hook and pull it through the first 2 loops only! Leaving 2 loops on the hook.

- Yarn over (aka 1 loop) and take the hook, from front to back, through the next stitch (7th stitch – you have 3 loops).

- Yarn over and insert the hook through the next stitch (7th stitch) wrapping the yarn in the barb of the hook and pulling it through the picked stitch (you have 4 loops on the hook).

- Wrap the yarn in the barb of the hook and pull it through the first 2 loops only! Leaving 3 loops on the hook.


- Yarn over (it appears like 4 loops on the hook)

- Insert the hook through the next stitch (8th stitch) wrapping the yarn in the barb of the hook and pulling it through the picked stitch (you have 5 loops on the hook).

- Wrap the yarn in the barb of the hook and pull it through the first 2 loops only! Leaving 4 loops on the hook.
- Wrap the yarn in the barb of the hook and pull it through all 4 loops on the hook, completing the decrease stitch (1 loops remains on the hook).

- Make sure that the tension is tight otherwise with decreases the usual problem is “holes”… and you do not want to have unnecessary holes in your pattern. Extremely important especially when you are crocheting together more than 2 loops.
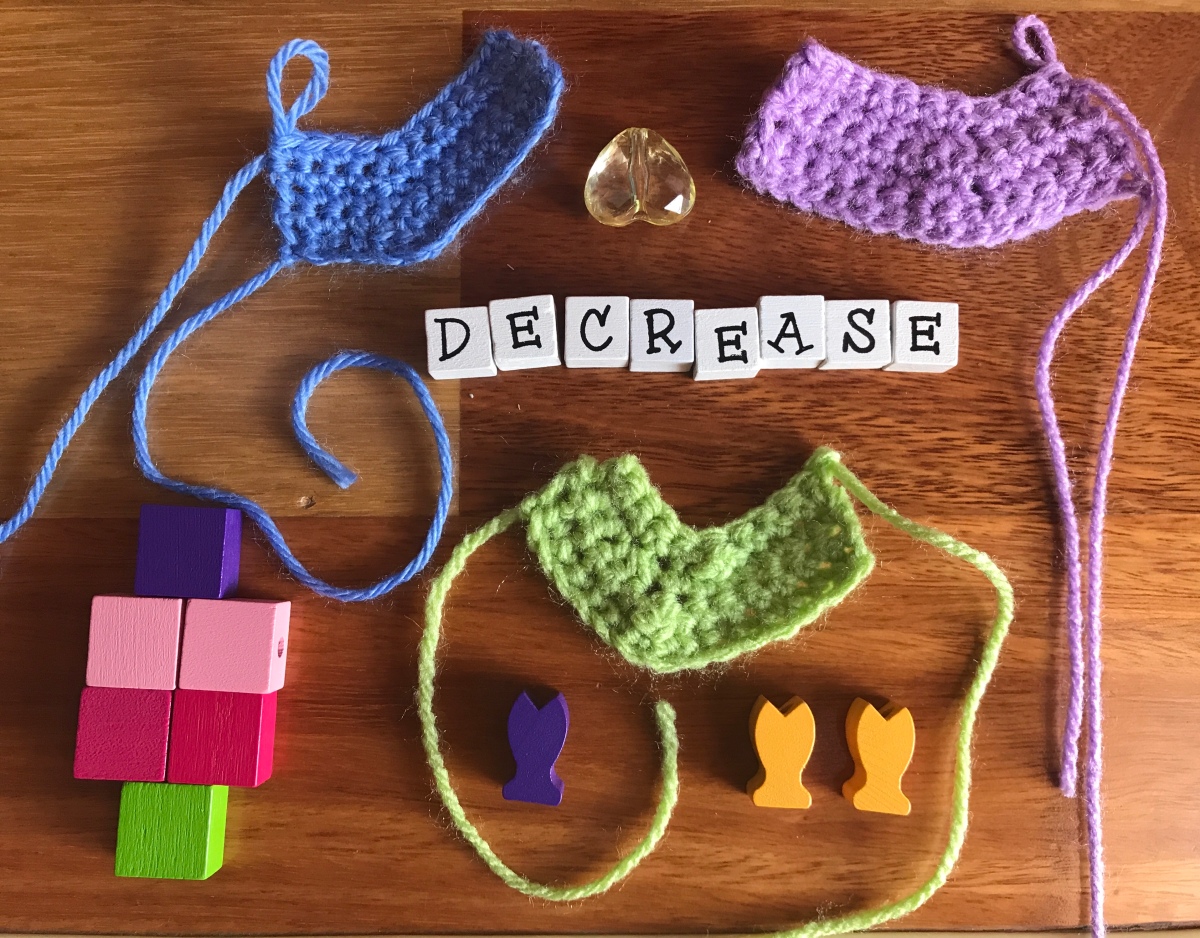
- A little project with dc3tog decrease on the picture below:

Happy Crocheting!
I.


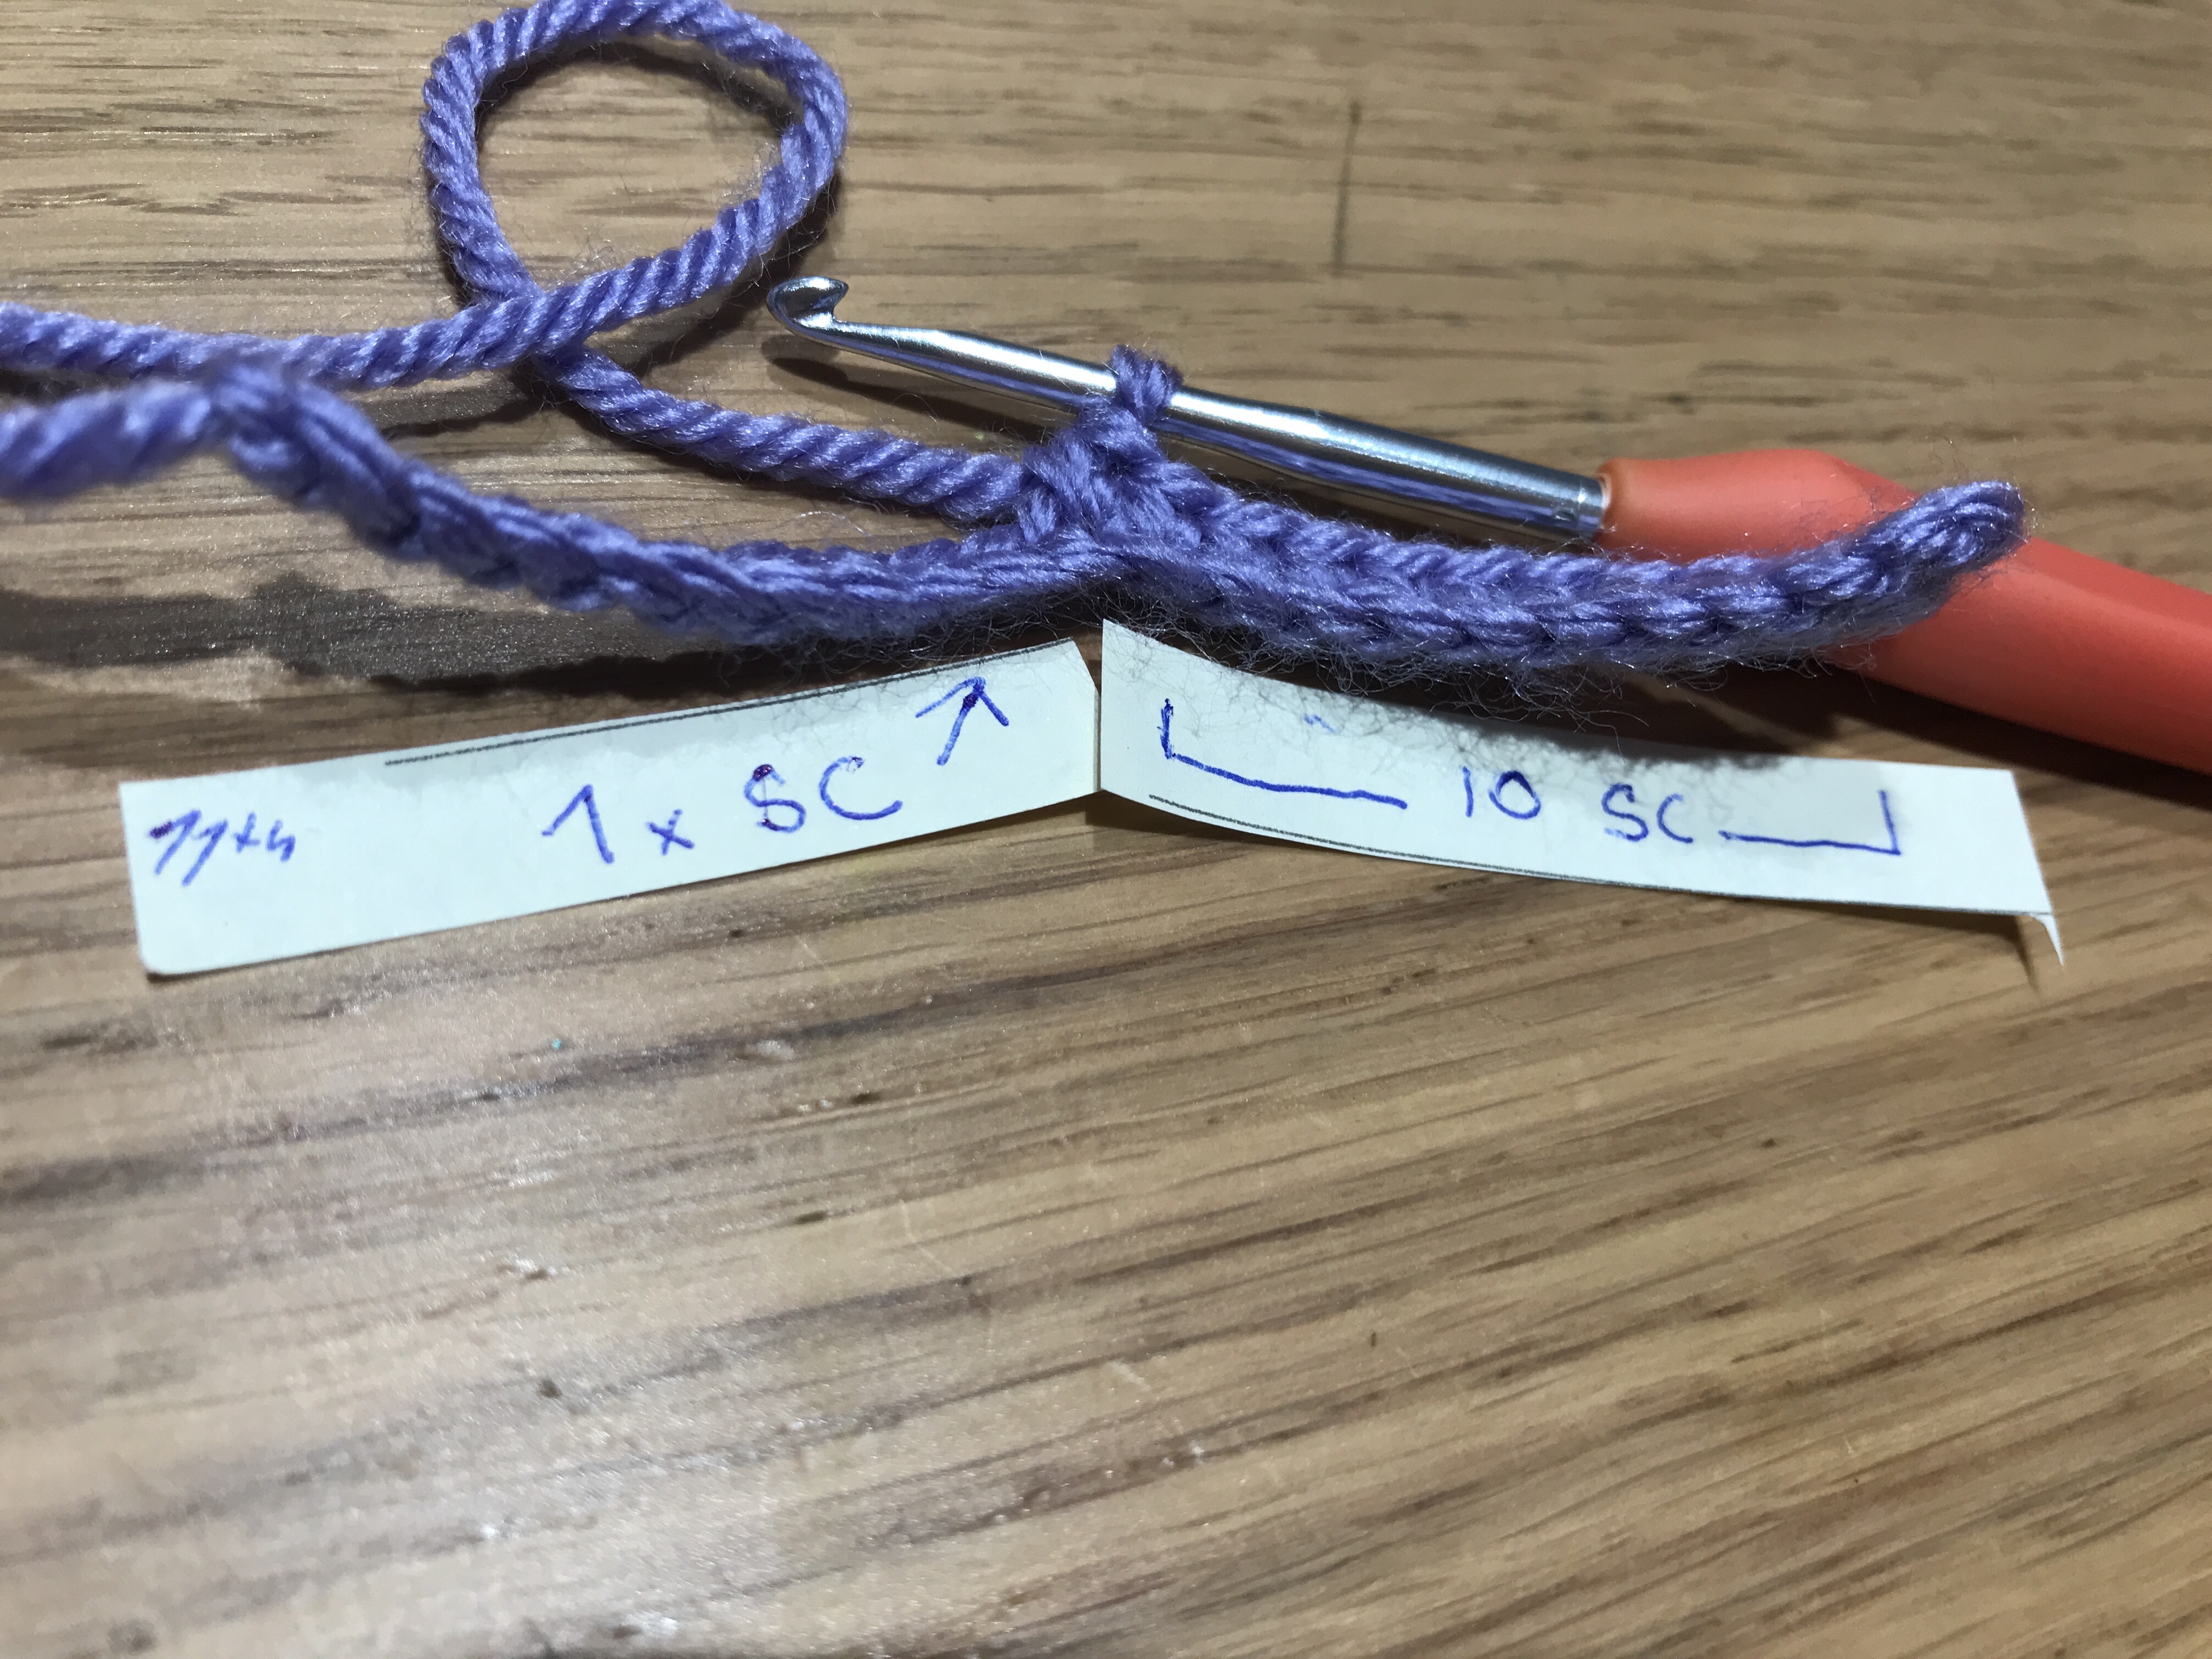 Work the stitch exactly in the same manner as the first SC in the 11th stitch.

 Work the stitch exactly in the same manner as the first SC in the 11th stitch.
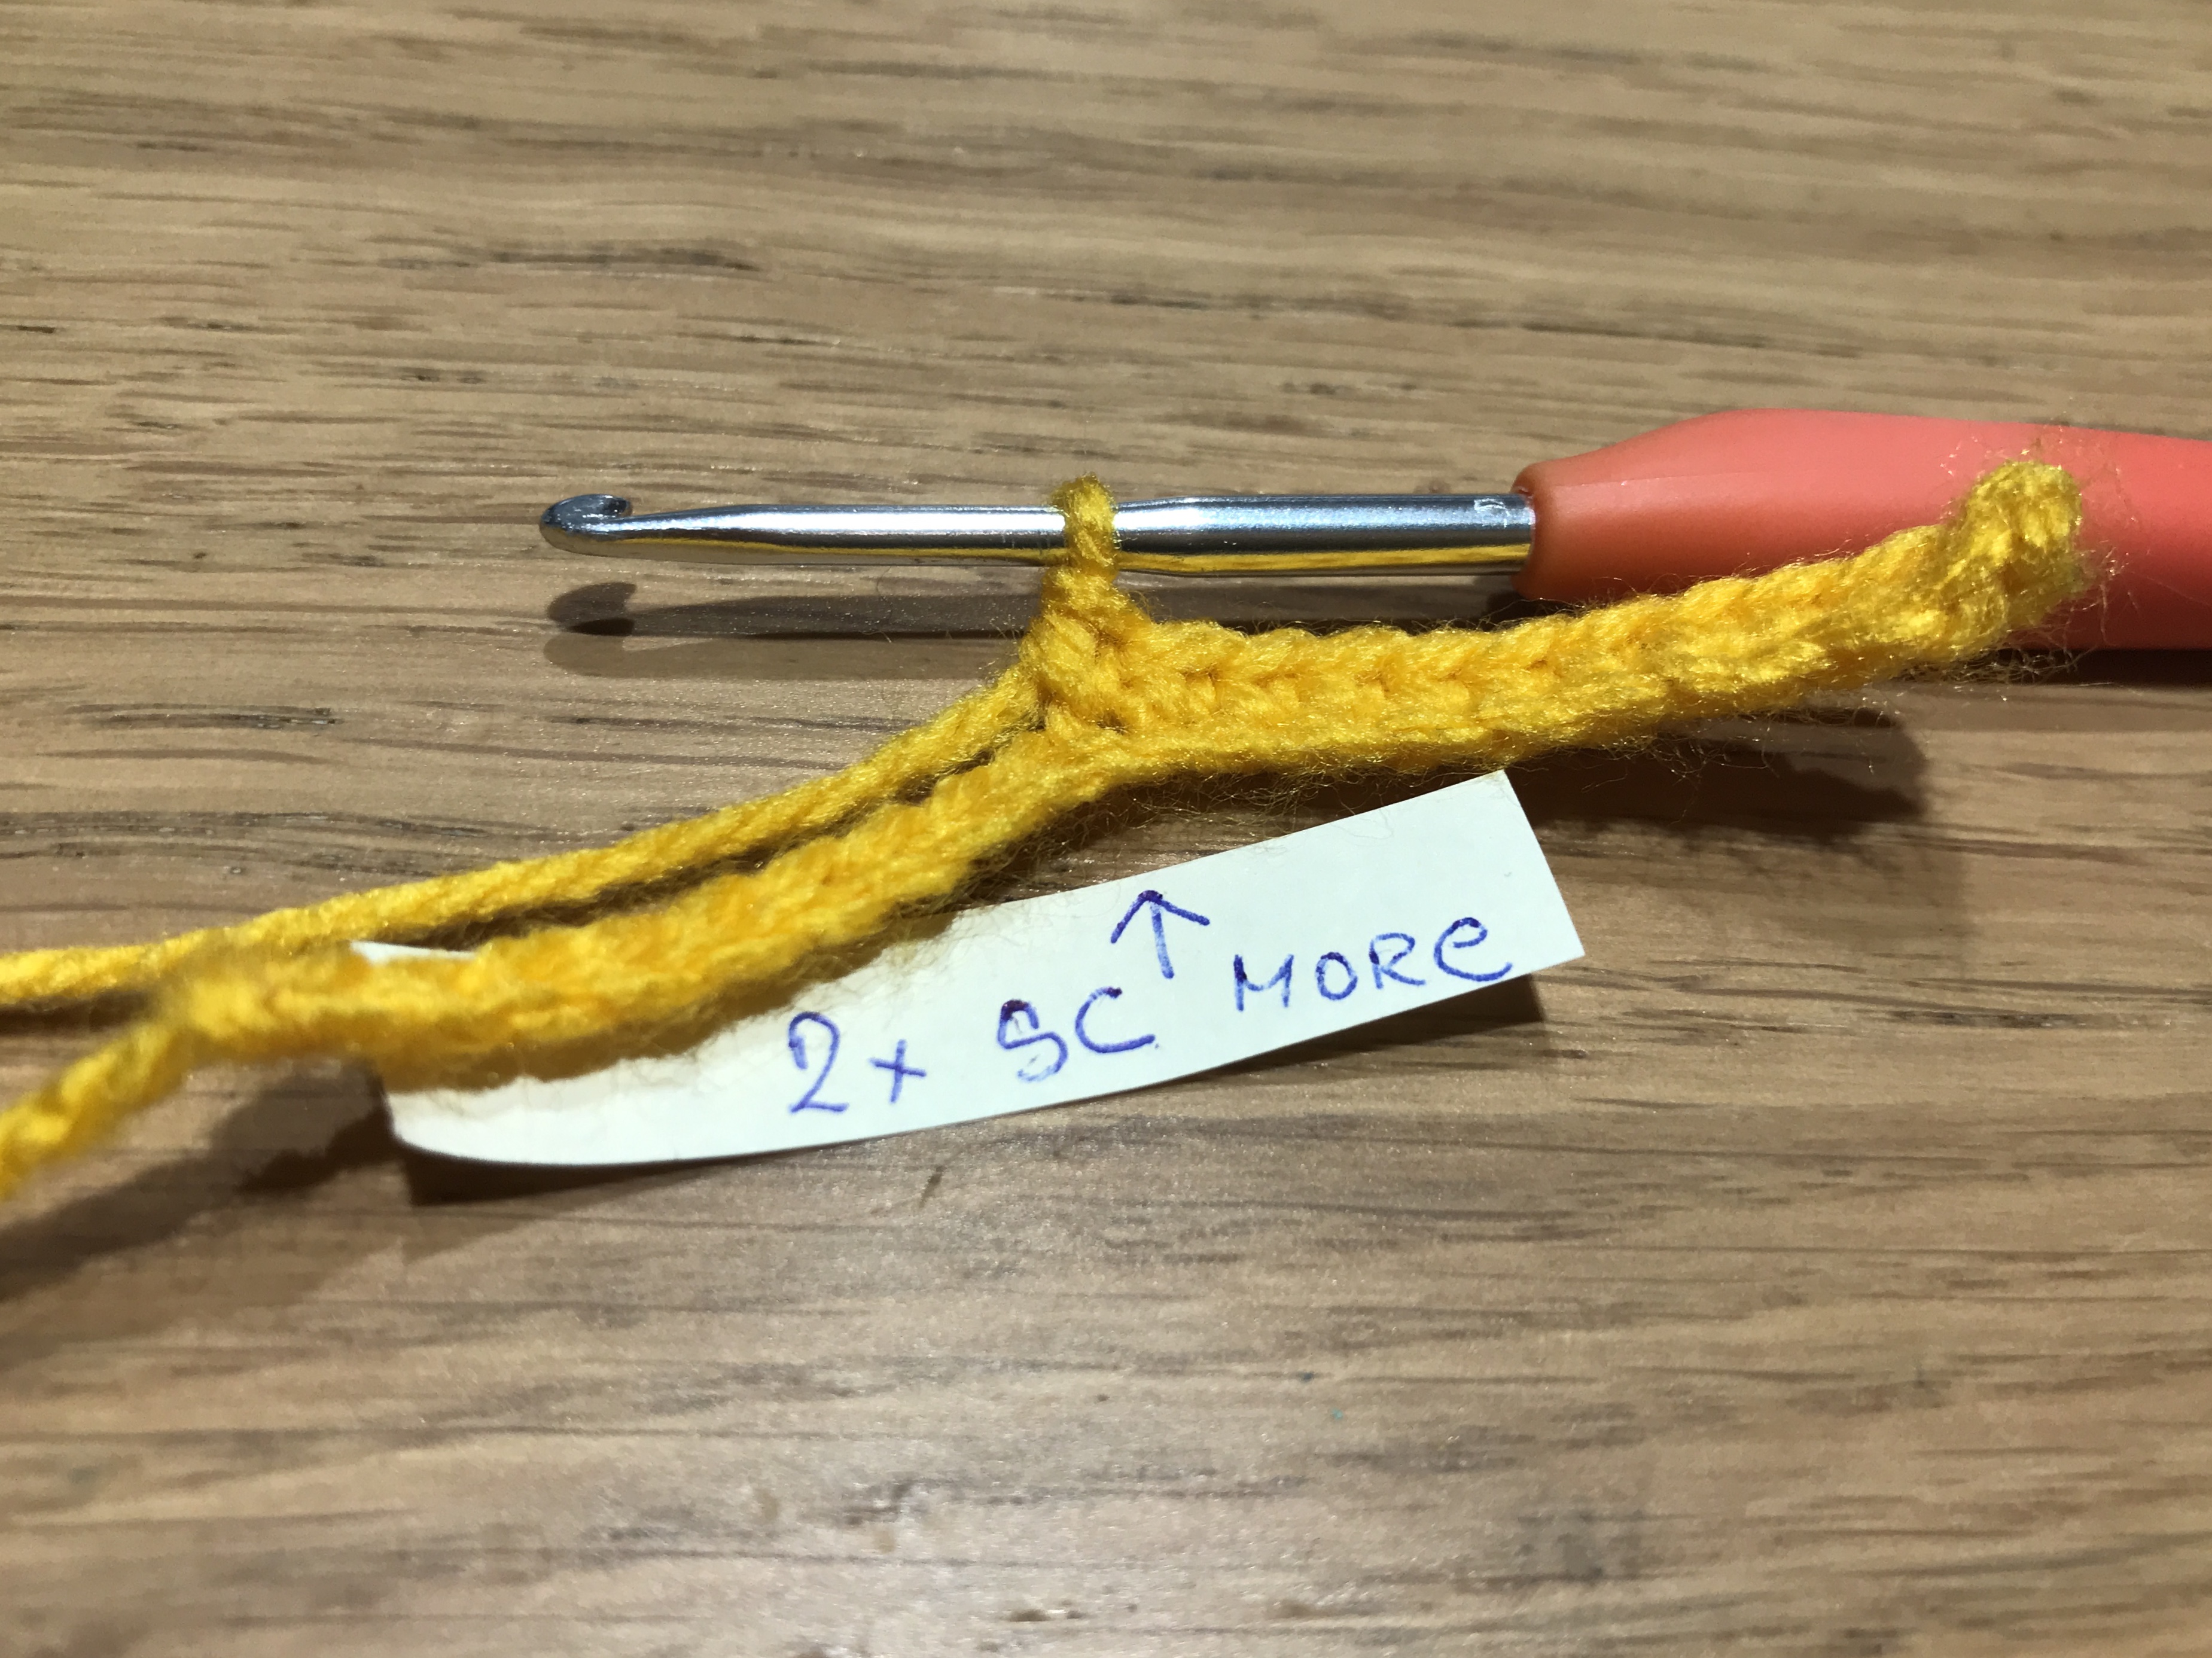
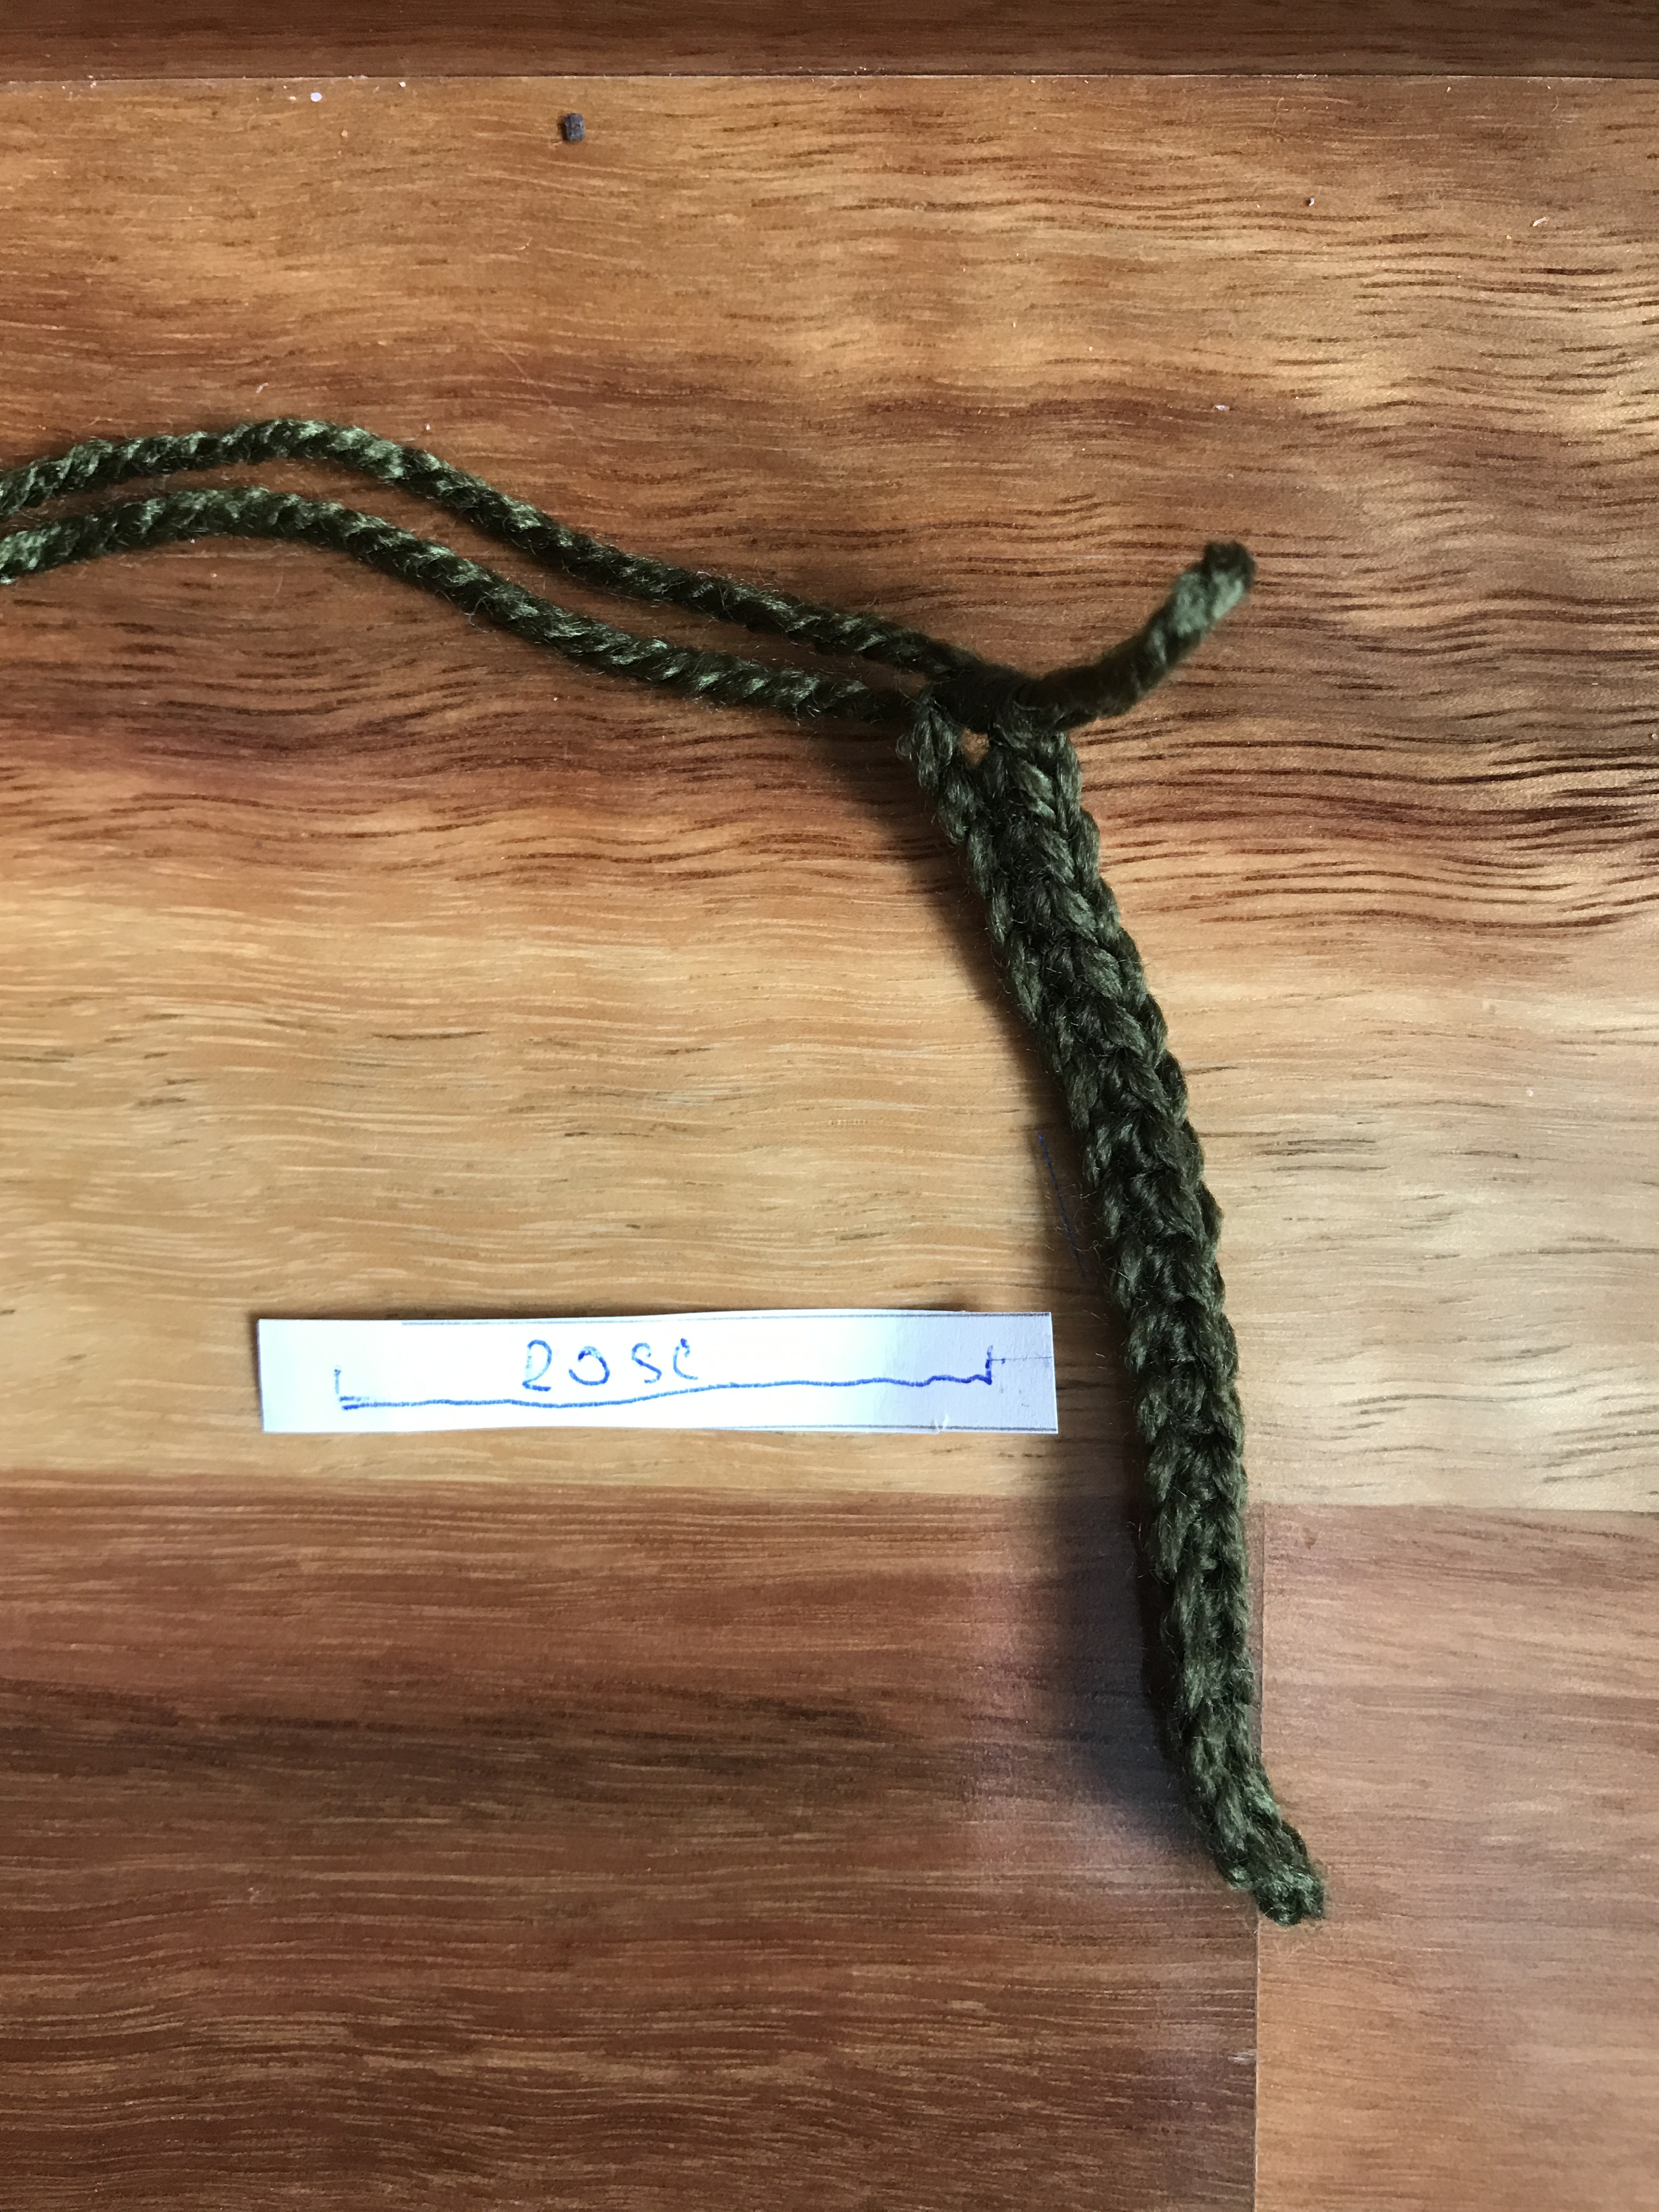
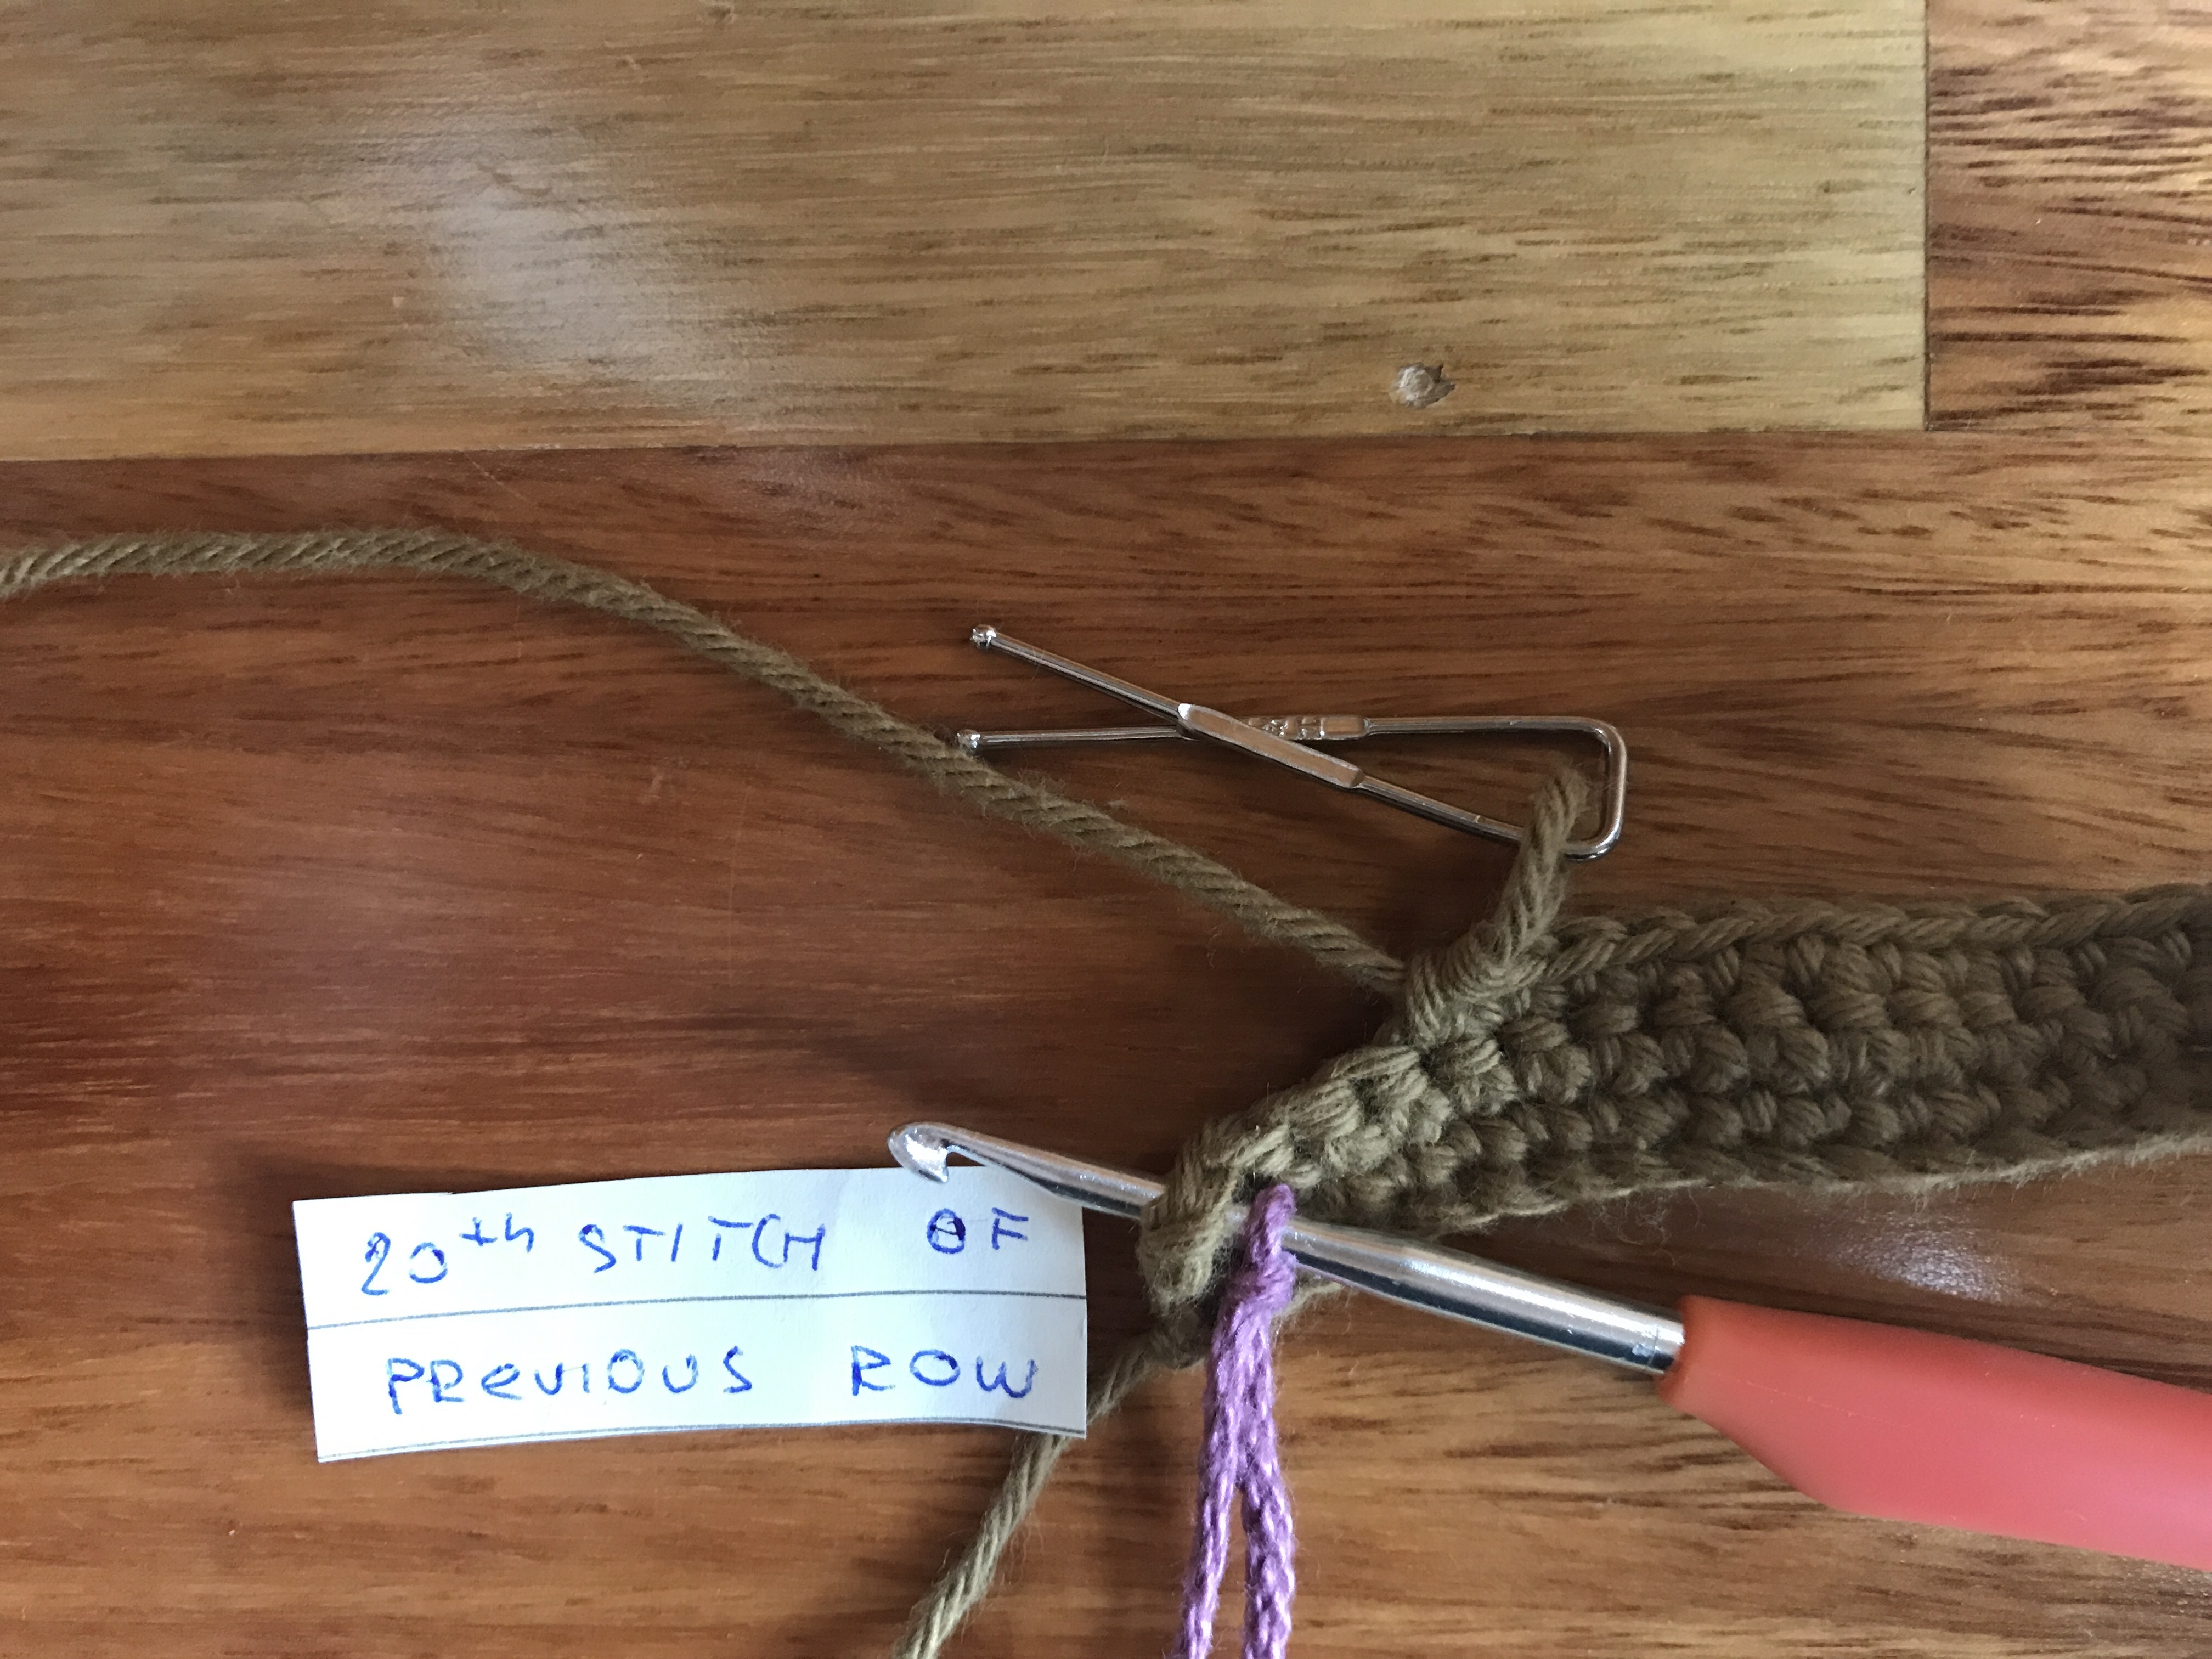
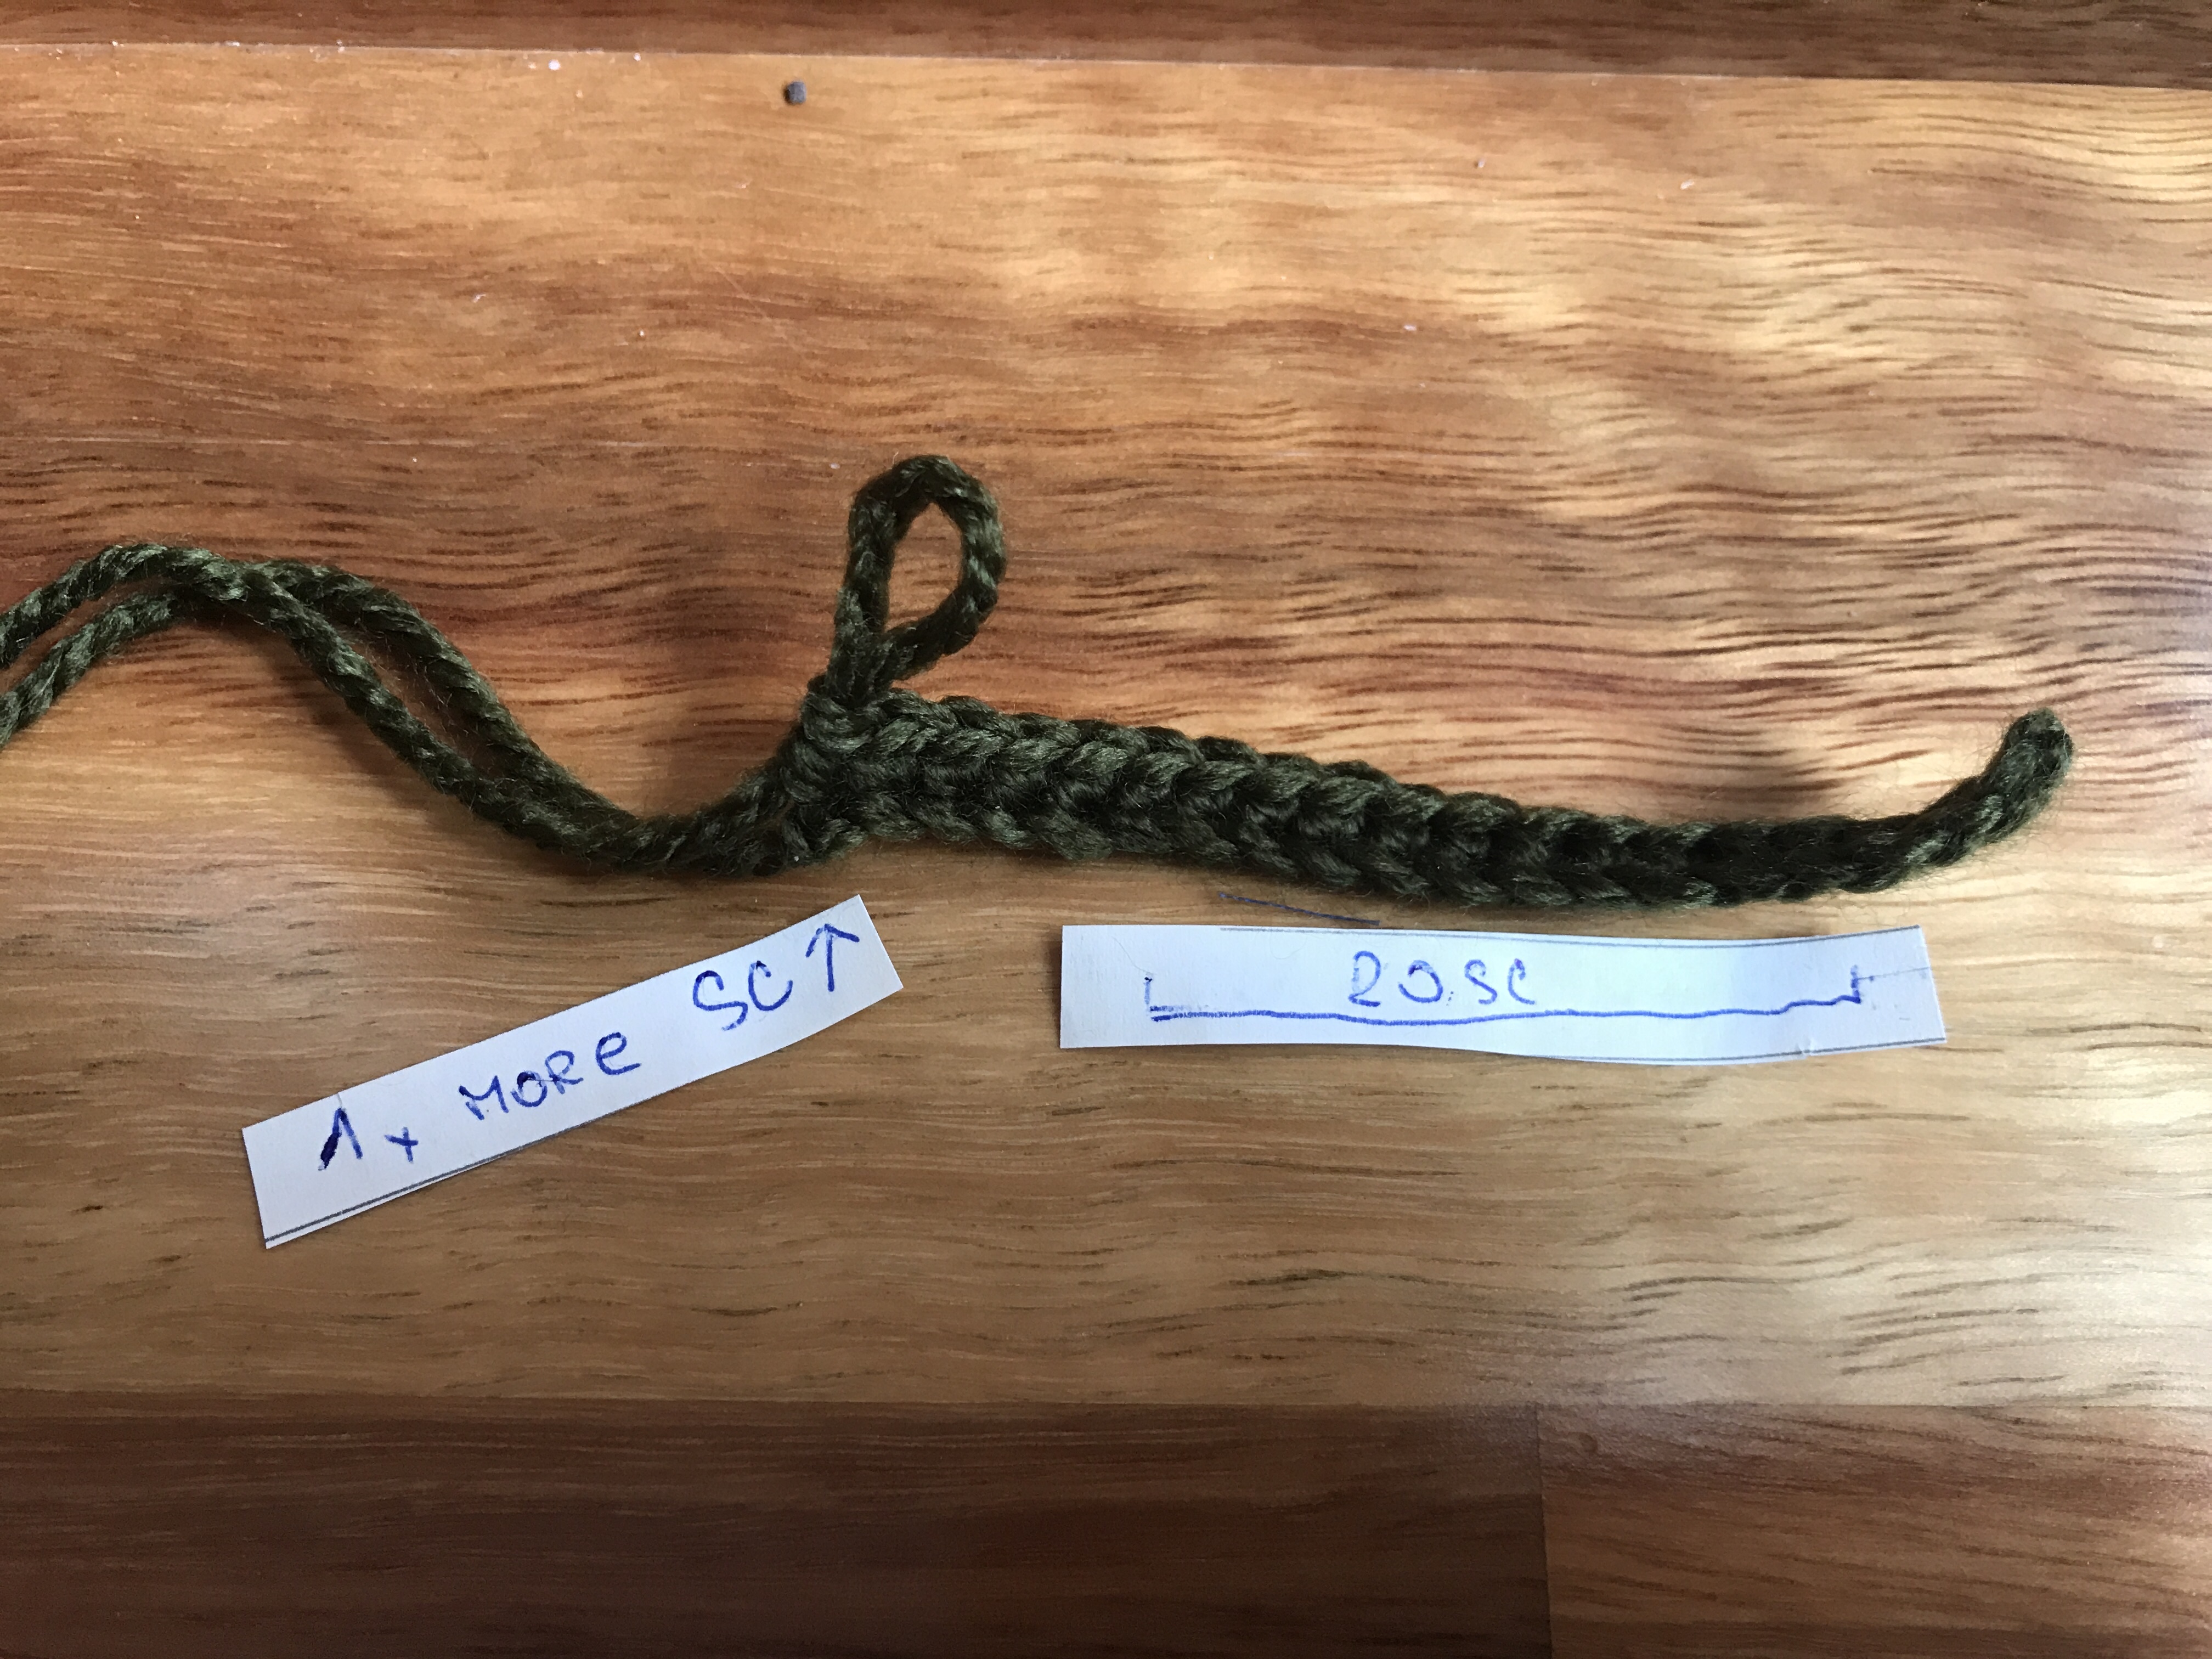 Once completed. Insert the hook into the same stitch, you have just worked on! Work the stitch exactly in the same manner as the first SC in the 20th stitch.


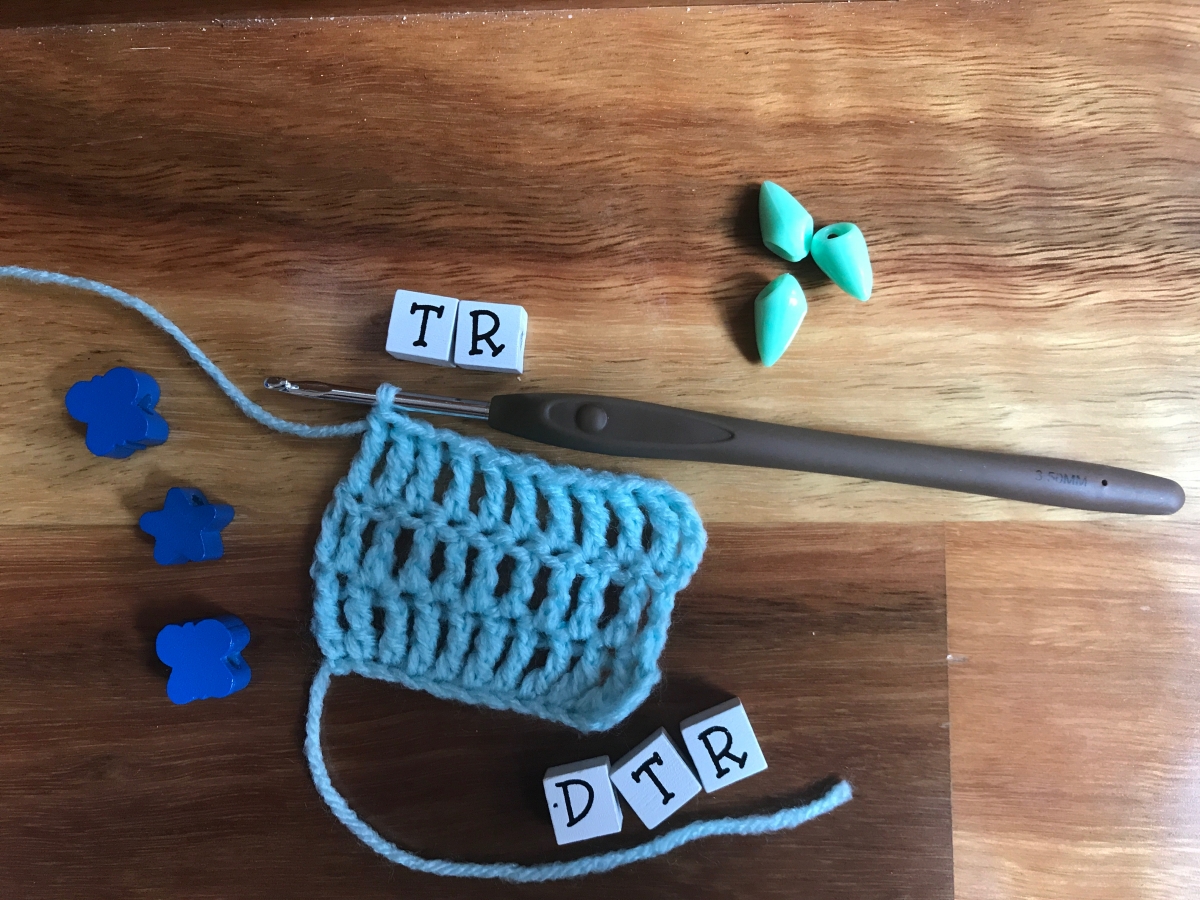


 Do not forgot to make the turning stitches as Treble Crochet Stitch (tr) is tall stitch and the edges would not be straight or they will look squashed without turning chains.
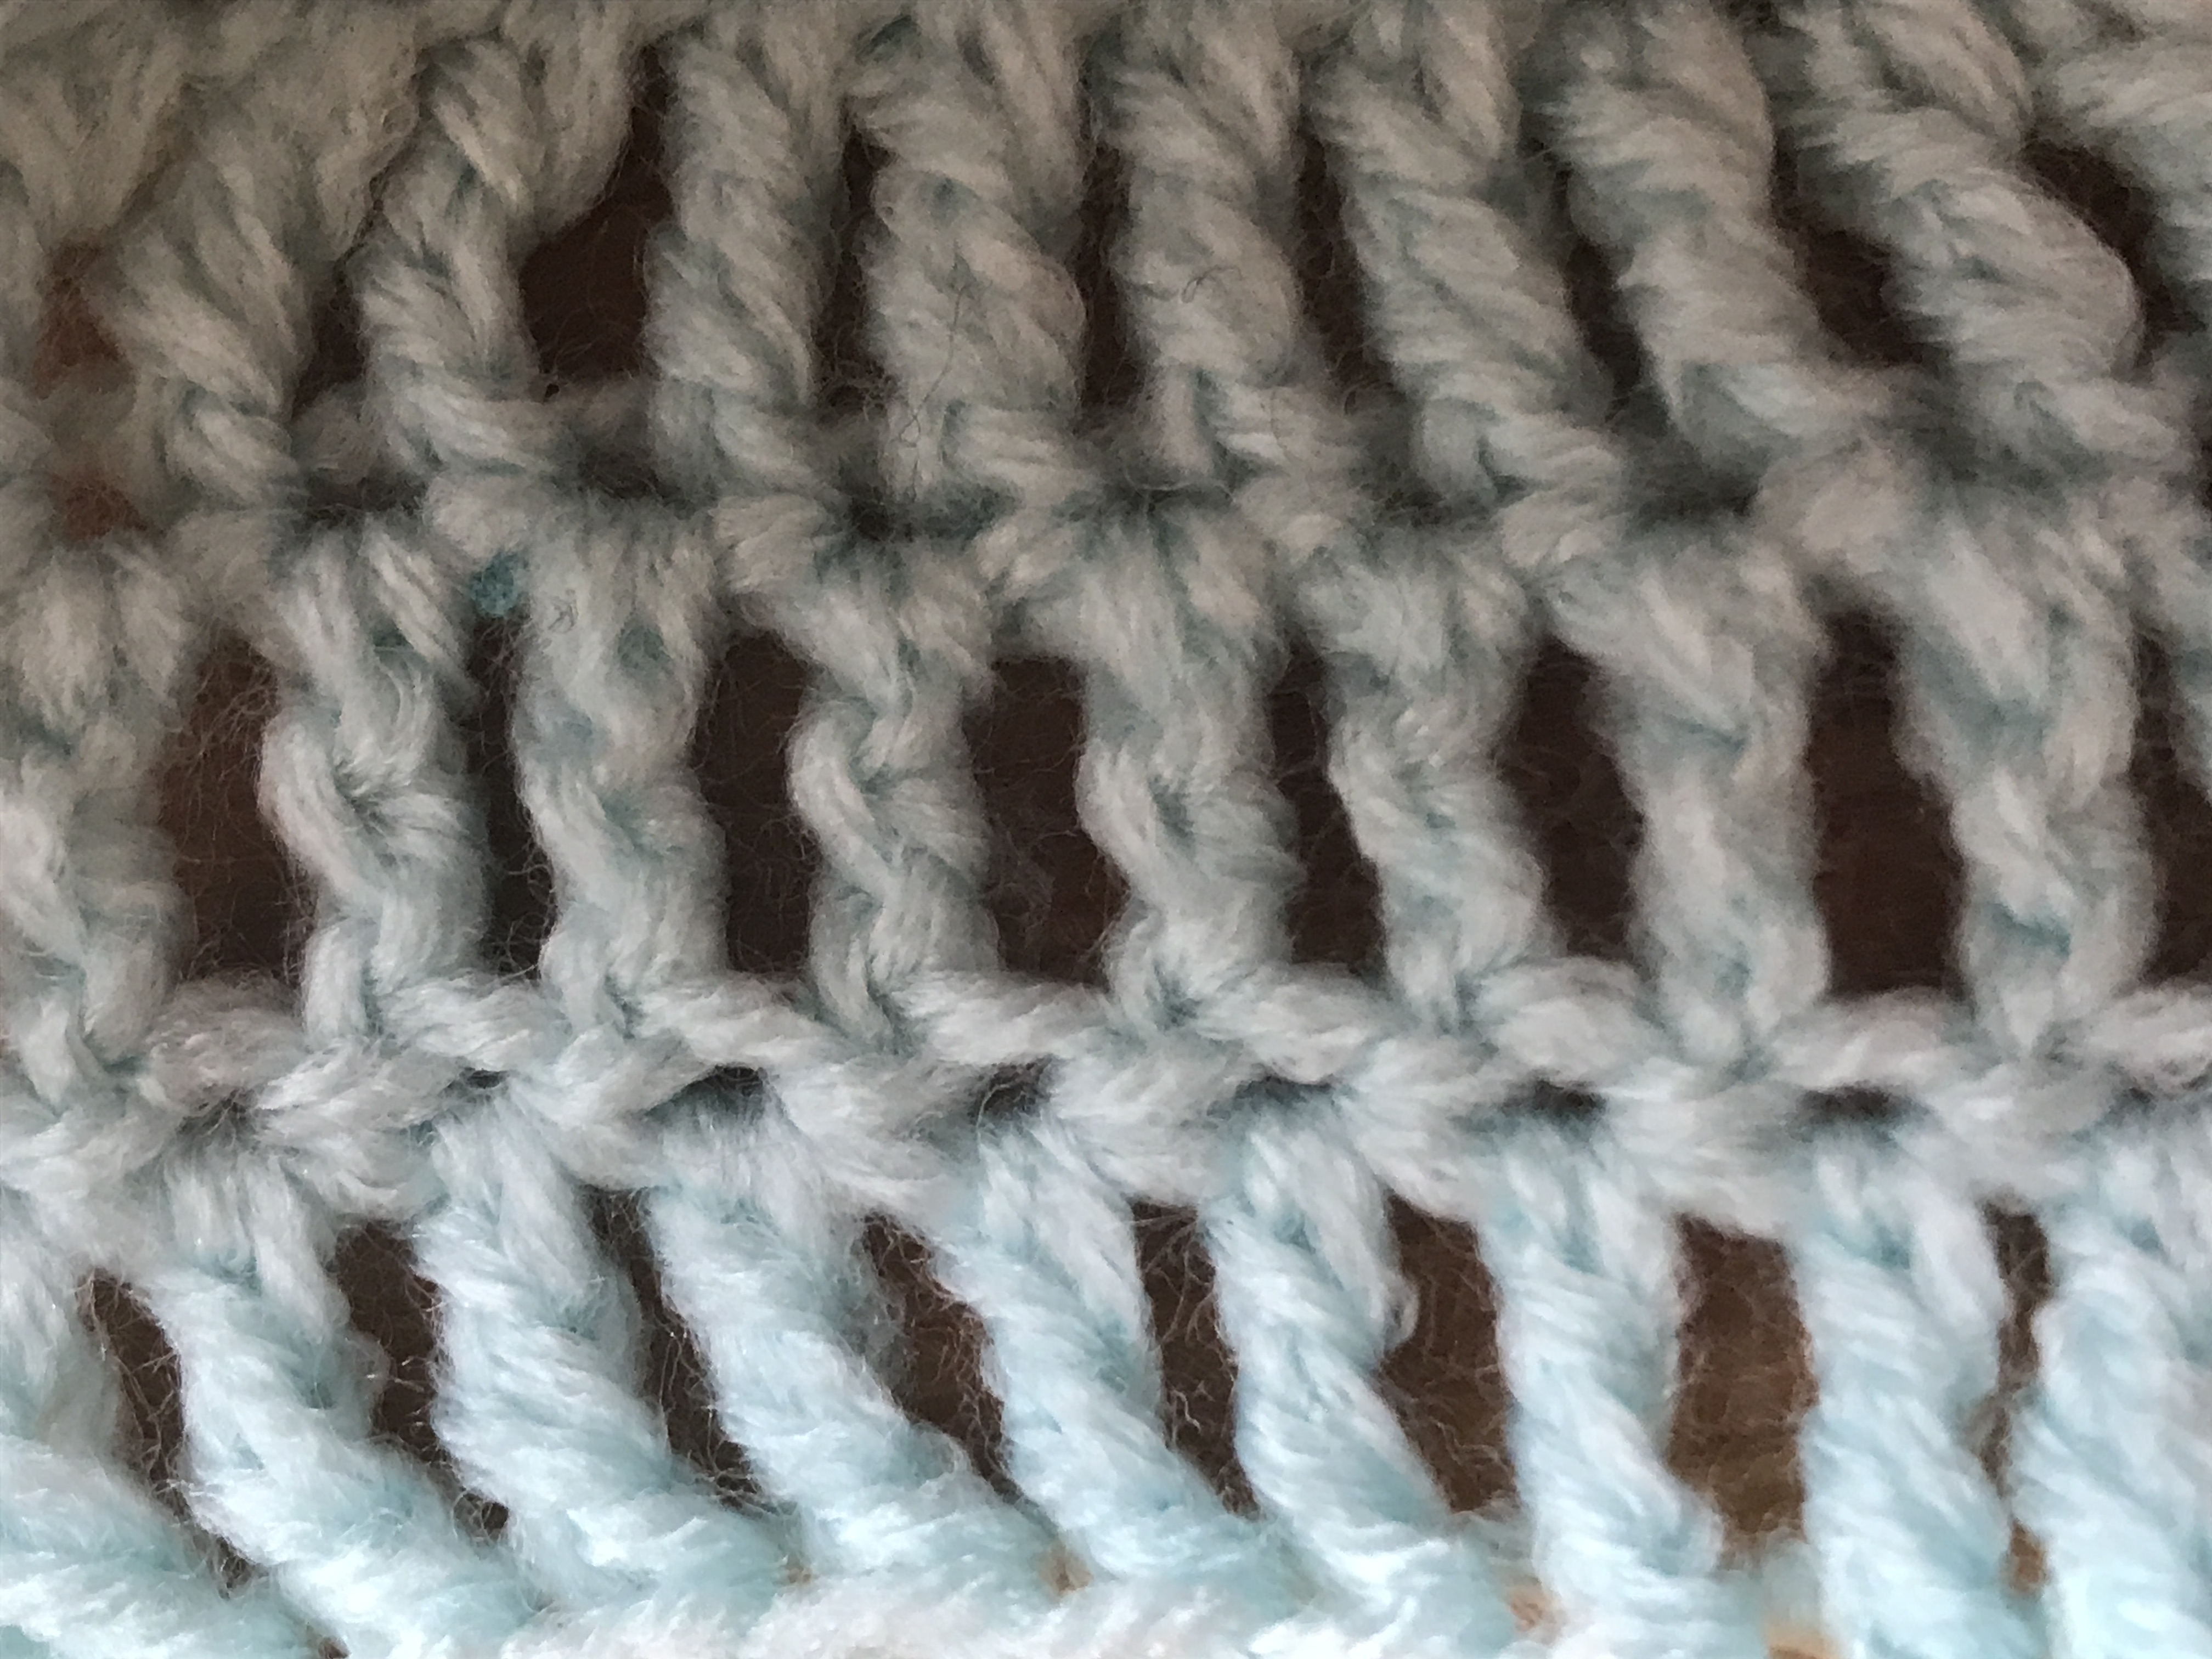
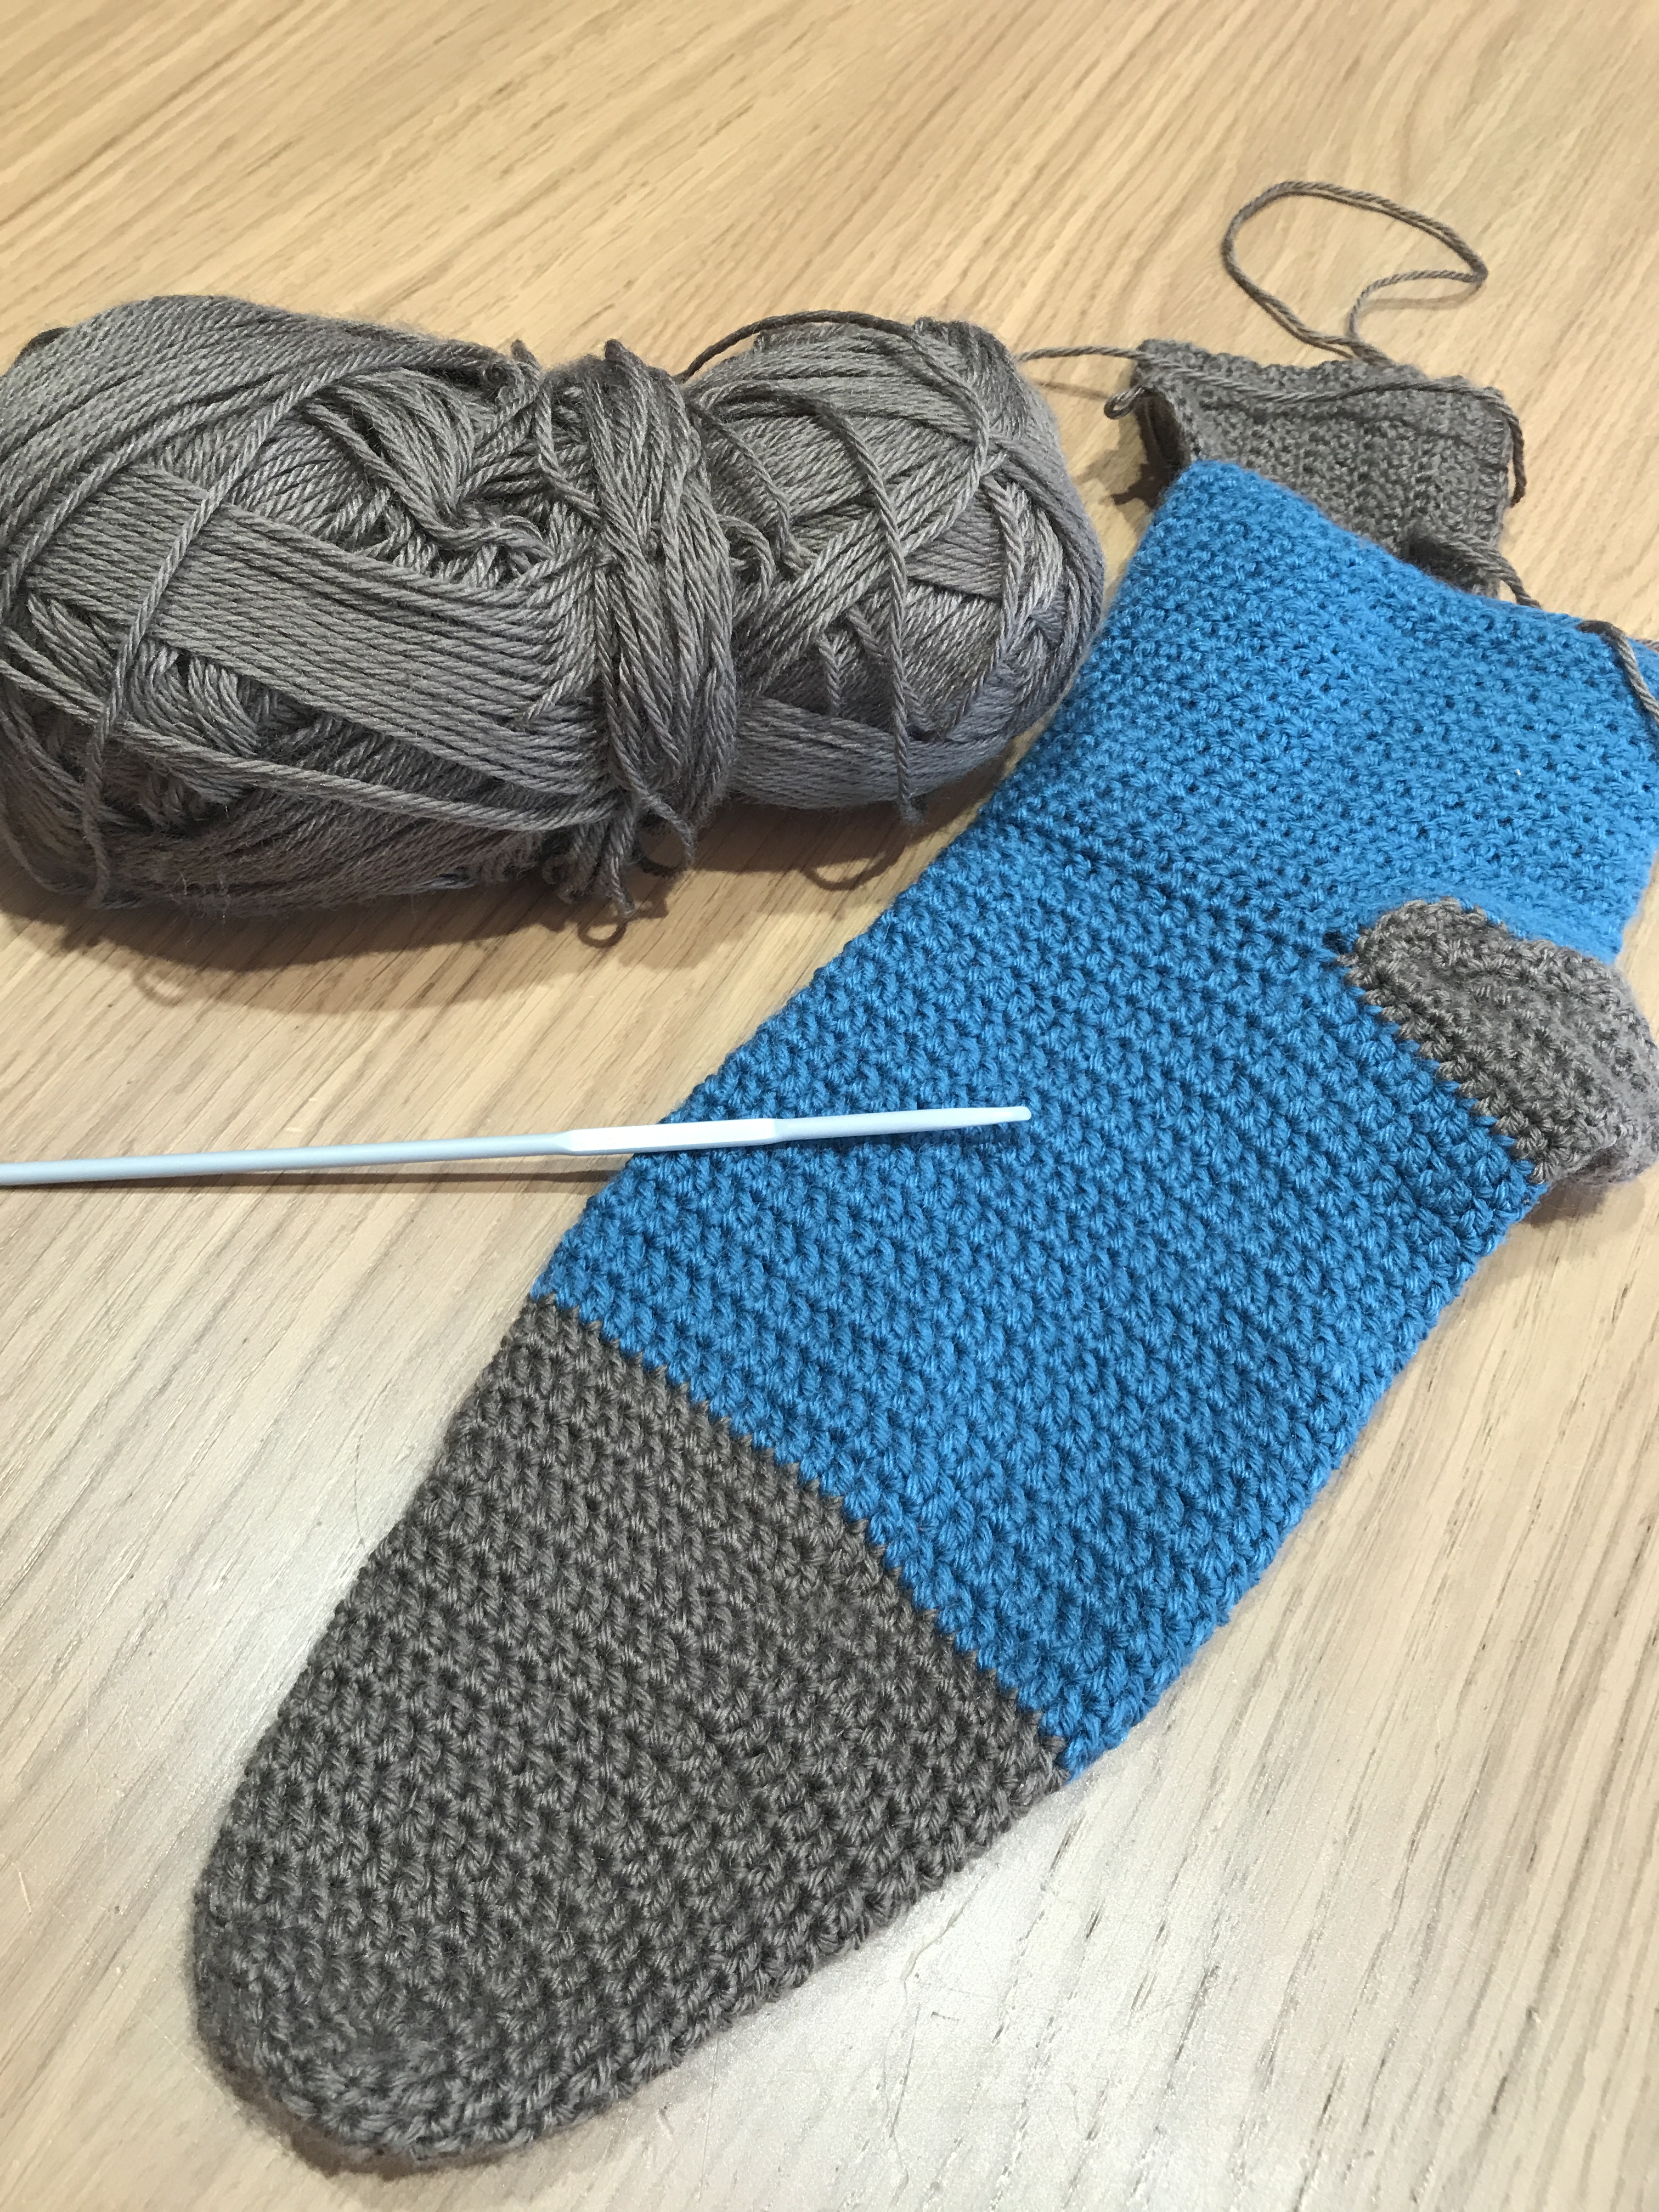 I used it even on a dog jumper :). You can read here all about the dog jumper project: